1×4 Membrane Matrix Keypad User’s Guide

1. Overview
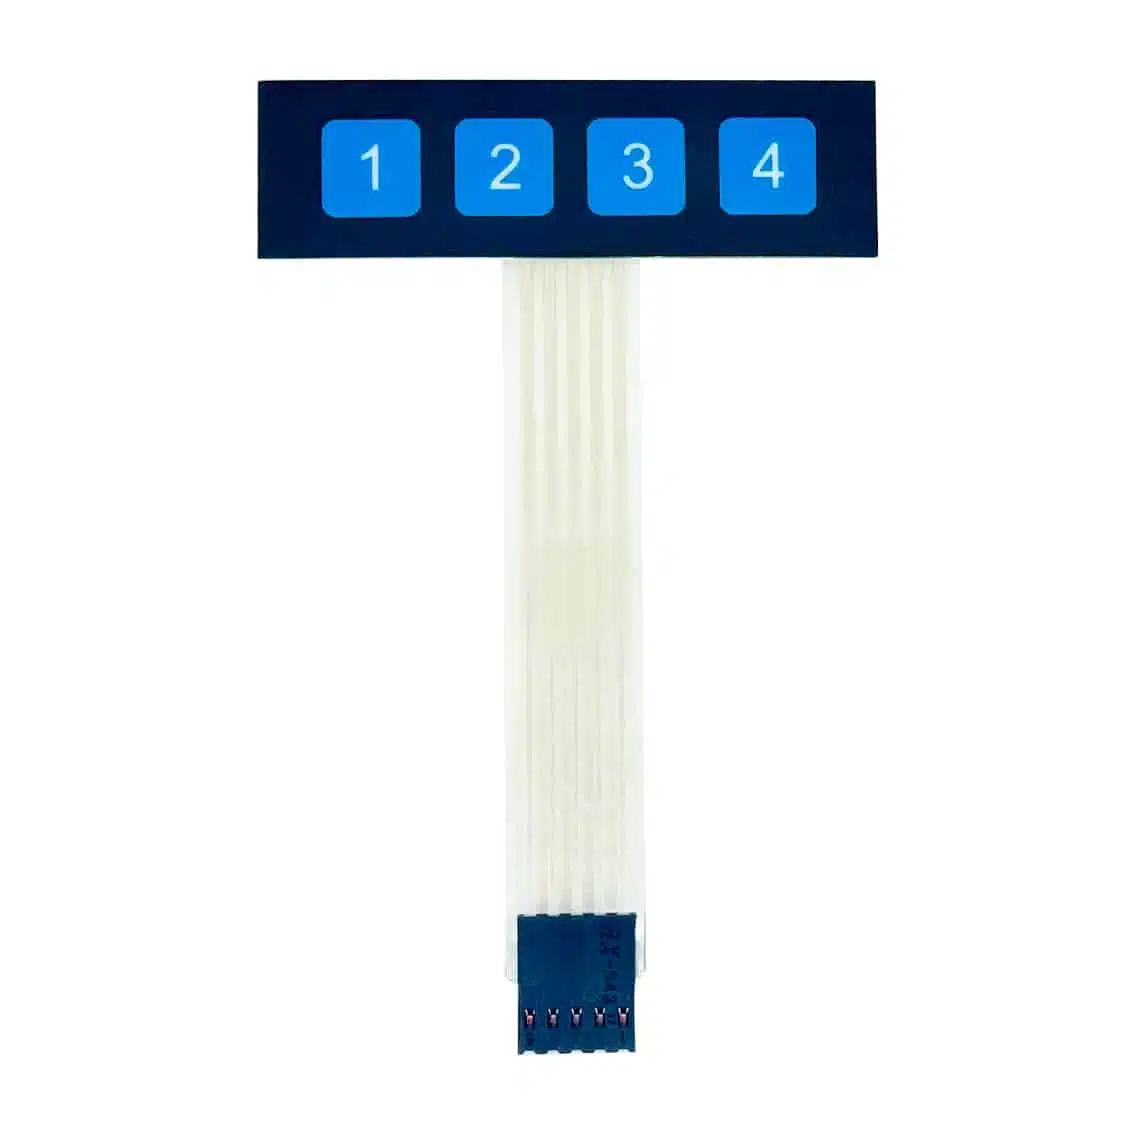
The 1×4 membrane keypad is a compact input device with four keys (1, 2, 3, 4) arranged in a single row. It’s designed for simple numeric or mode selection tasks in embedded projects.
- Connector: 5‑pin, 2.54 mm pitch
- Mounting: Self‑adhesive backing for easy installation
- Applications: Menu navigation, mode switching, PIN entry, educational kits
2. Specifications
- Operating Voltage: Up to 35 VDC
- Max Current: 100 mA
- Contact Resistance: 100–500 Ω
- Insulation Resistance: ≥100 MΩ @ 100 VDC
- Dielectric Strength: 250 VRMS (1 min)
- Bounce Time: ≤5 ms
- Life Expectancy: ≥1 million actuations
- Operating Temp: -20°C to +40°C
These values confirm it’s safe for microcontroller logic (3.3 V or 5 V) and durable for repeated use.
3. Pinout (Typical)
| Pin | Function | Notes |
|---|---|---|
| 1 | Common row line (R1) | Shared across all keys |
| 2 | Column 1 (C1) | Key “1” |
| 3 | Column 2 (C2) | Key “2” |
| 4 | Column 3 (C3) | Key “3” |
| 5 | Column 4 (C4) | Key “4” |
4. Wiring to Arduino UNO (Example)
Keypad Pin → Arduino Pin
R1 → D2
C1 → D3
C2 → D4
C3 → D5
C4 → D6
5. Arduino Code Example
#include <Keypad.h>

const byte ROWS = 1; // one row
const byte COLS = 4; // four columns

char keys[ROWS][COLS] = {
  {'1','2','3','4'}
};

byte rowPins[ROWS] = {2};          // connect to R1
byte colPins[COLS] = {3, 4, 5, 6}; // connect to C1–C4

Keypad keypad = Keypad(makeKeymap(keys), rowPins, colPins, ROWS, COLS);

void setup() {
  Serial.begin(9600);
}

void loop() {
  char key = keypad.getKey();
  if (key) {
    Serial.println(key);
  }
}
6. Applications
- Mode selection: Switch between 4 modes
- Menu navigation: Simple option control
- PIN entry: Basic password input
- Educational kits: Beginner‑friendly input device
7. Best Practices
- Verify pinout with a multimeter before wiring.
- Use the Keypad library for scanning and debouncing.
- Keep ribbon cable connections secure to avoid false inputs.
- Mount with adhesive backing for durability.