
HG7811 Dual Channel Motor Driver Board – User’s Guide
HG7811 Dual Channel Motor Driver Board – User’s Guide
Overview
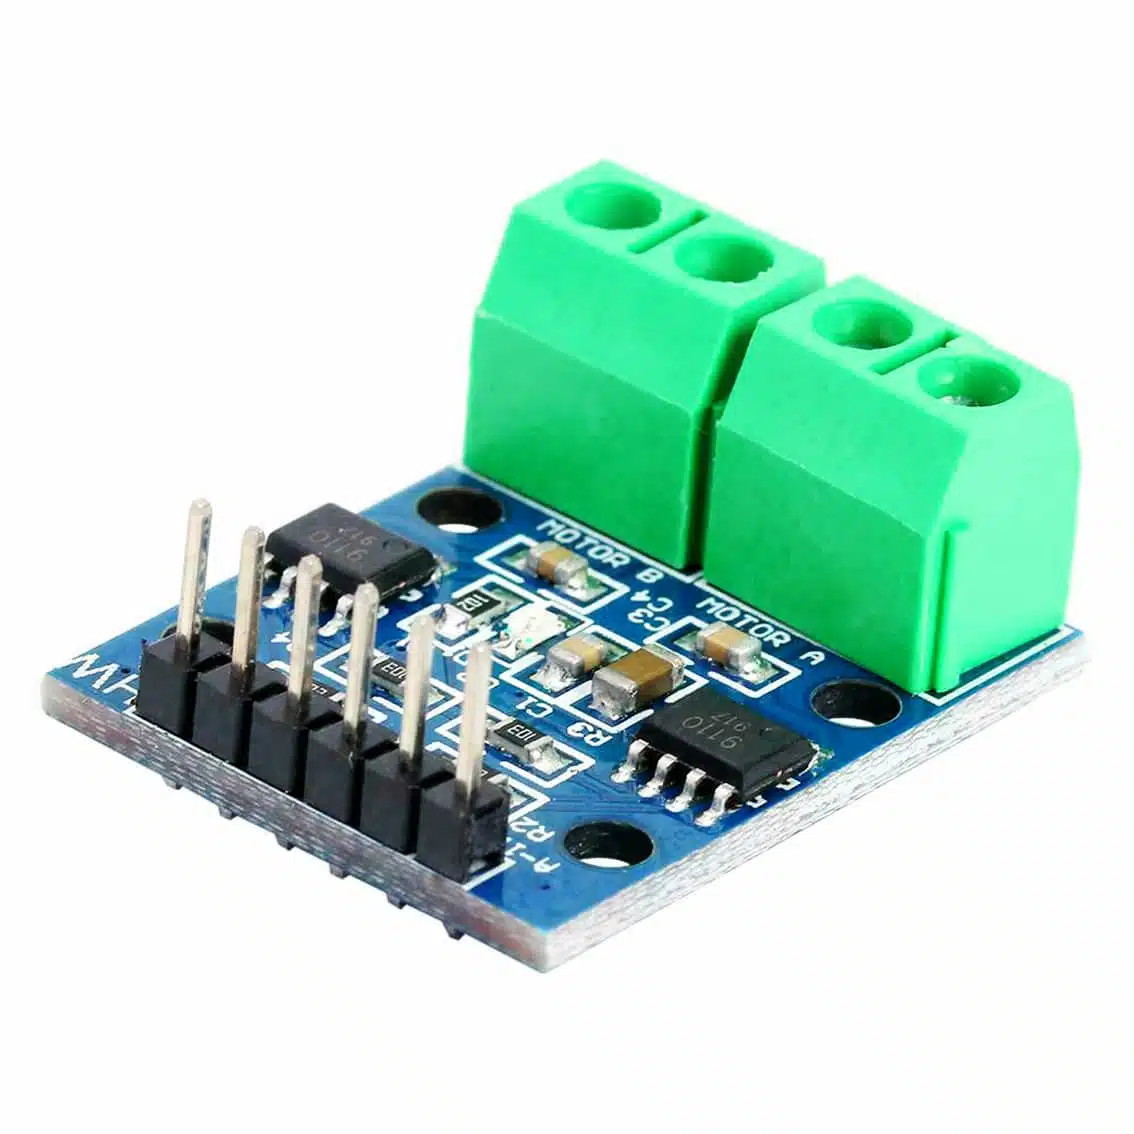
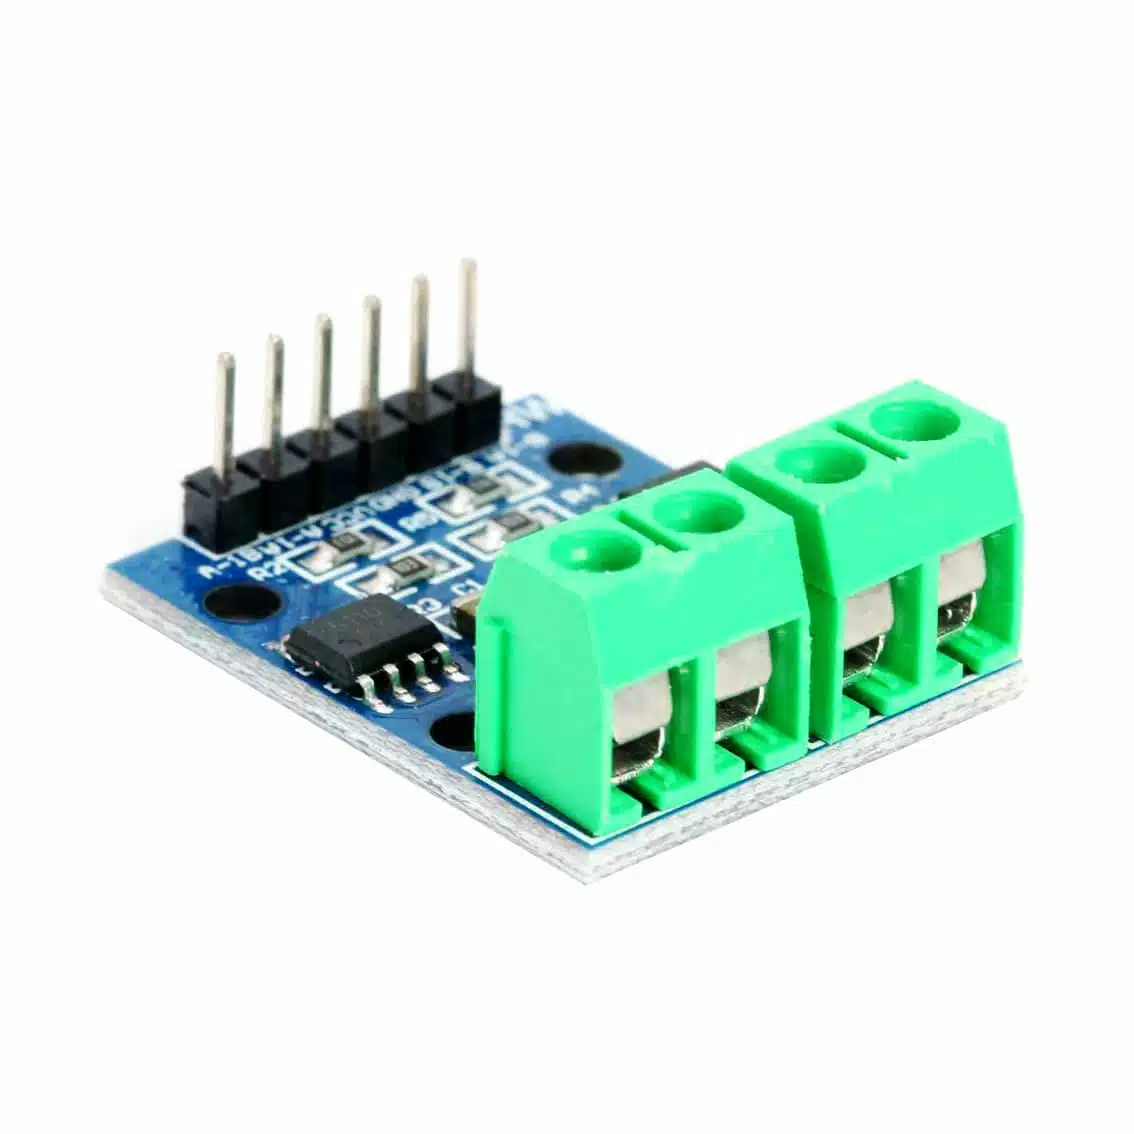
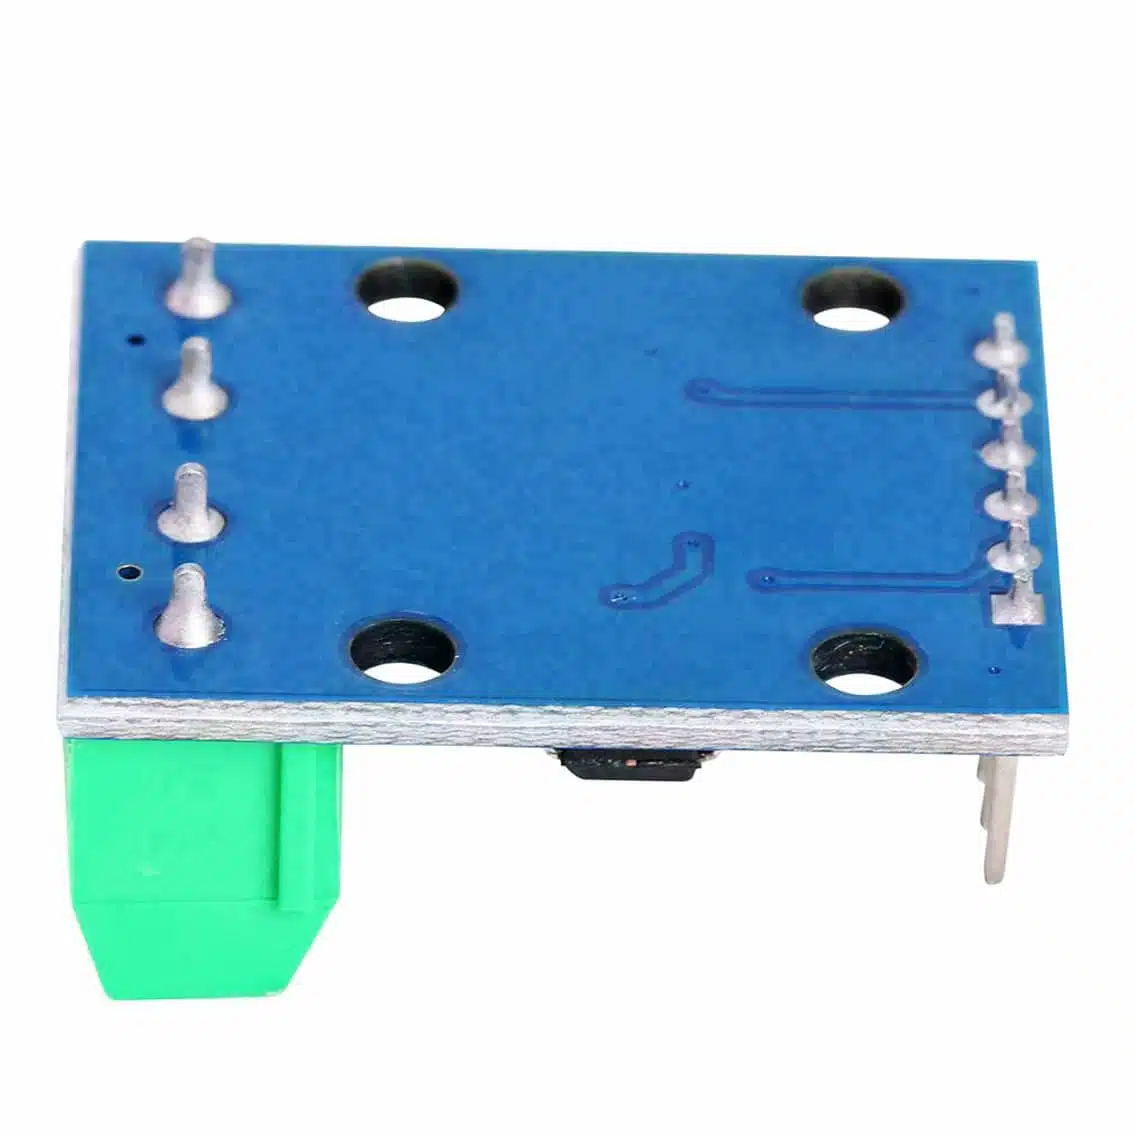
The HG7811 (often labeled as HG7881) is a dual-channel motor driver module based on the L9110 IC. It provides two independent H‑bridge circuits, allowing you to control two DC motors or one small stepper motor. It’s widely used in robotics, DIY kits, and educational electronics.
Specifications
- Operating Voltage: 2.5 V – 12 V
- Continuous Current: ~800 mA per channel
- Peak Current: up to 1.5 A
- Channels: 2 (Motor A and Motor B)
- Control Inputs: 2 pins per motor (logic HIGH/LOW)
- Functions: Forward, Reverse, Stop (Coast), Brake
- Speed Control: via PWM signals
Pinout
| Pin | Function | Notes |
|---|---|---|
| A1 | Motor A Input 1 | Logic control |
| A2 | Motor A Input 2 | Logic control |
| B1 | Motor B Input 1 | Logic control |
| B2 | Motor B Input 2 | Logic control |
| VCC | Power Supply | 2.5–12 V |
| GND | Ground | Common ground with microcontroller |
| Motor A | Output terminals | Connect DC motor |
| Motor B | Output terminals | Connect DC motor |
Control Logic (One Motor)
| IN1 | IN2 | Motor Action |
|---|---|---|
| HIGH | LOW | Forward |
| LOW | HIGH | Reverse |
| LOW | LOW | Stop (Coast) |
| HIGH | HIGH | Brake |
Wiring Guide (Arduino Example)
- Power: Connect VCC to 5 V (or motor supply voltage), GND to Arduino GND.
- Motor A: Connect motor wires to Motor A terminals.
- Motor B: Connect motor wires to Motor B terminals.
- Inputs:
- A1 → Arduino digital pin (e.g., D3)
- A2 → Arduino digital pin (e.g., D4)
- B1 → Arduino digital pin (e.g., D5)
- B2 → Arduino digital pin (e.g., D6)
Example Arduino Code
int A1 = 3;
int A2 = 4;
int B1 = 5;
int B2 = 6;

void setup() {
  pinMode(A1, OUTPUT);
  pinMode(A2, OUTPUT);
  pinMode(B1, OUTPUT);
  pinMode(B2, OUTPUT);
}

// Motor A forward, Motor B reverse
void loop() {
  digitalWrite(A1, HIGH);
  digitalWrite(A2, LOW);
  digitalWrite(B1, LOW);
  digitalWrite(B2, HIGH);
  delay(2000);

  // Stop both motors
  digitalWrite(A1, LOW);
  digitalWrite(A2, LOW);
  digitalWrite(B1, LOW);
  digitalWrite(B2, LOW);
  delay(2000);
}
Applications
- Small robot cars and line followers
- Educational kits for children
- Stepper motor control (2‑phase)
- DIY projects requiring bidirectional DC motor control
Best Practices
- Use a separate power supply for motors if they require >5 V.
- Always connect grounds together (Arduino GND ↔ HG7811 GND).
- Avoid exceeding 1 A continuous current per channel.
- Add a heat sink or airflow if driving near peak current.
- Use PWM for smooth speed control.