
← Back
You are here:
Print
Data Logging Shield – Arduino Compatible User’s Guide
Last Updated On
0
0
Overview
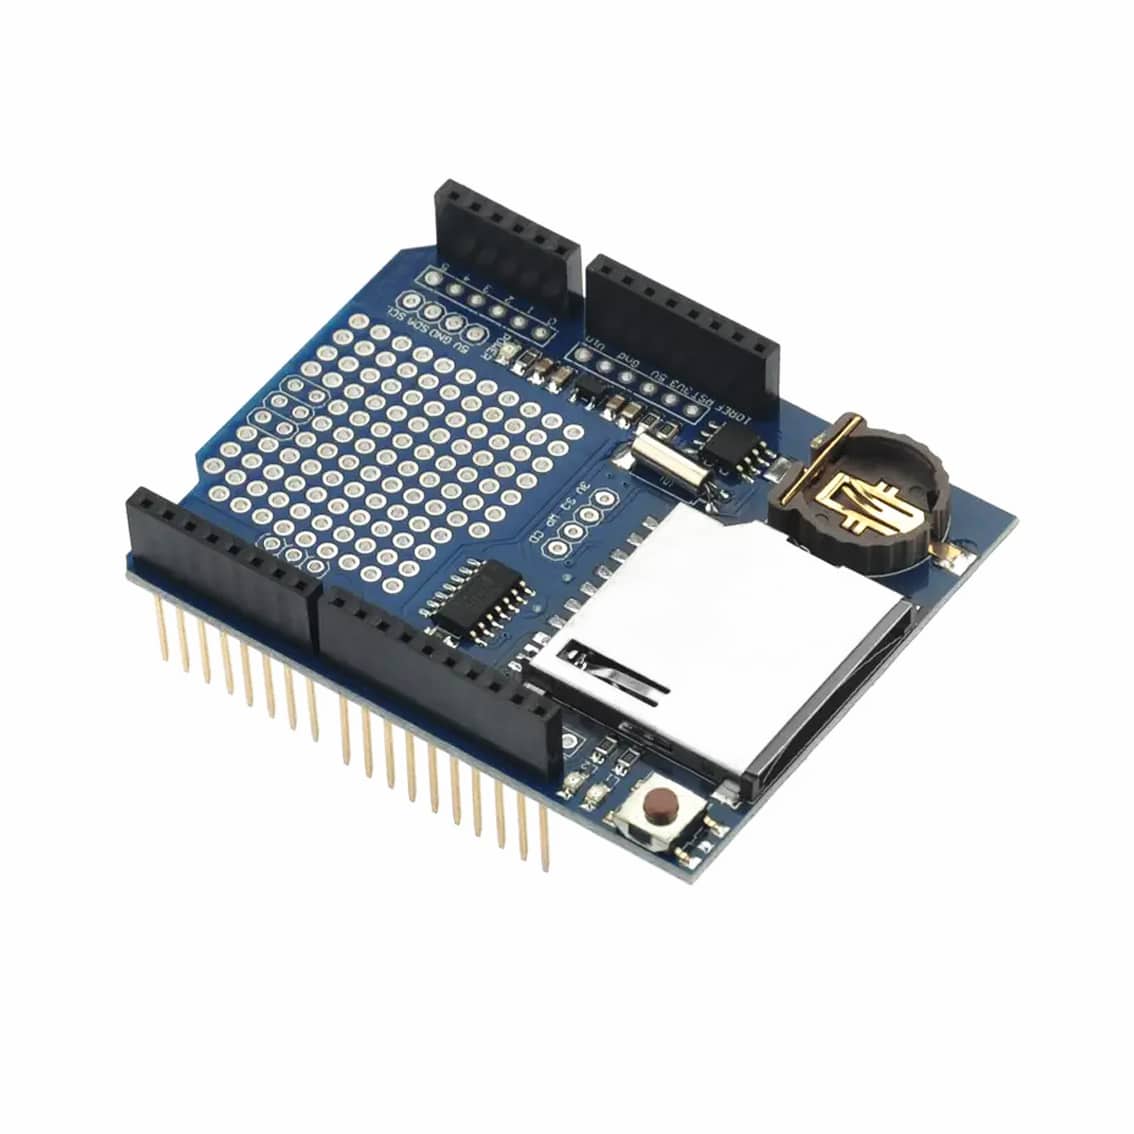
This shield adds SD card storage and a real‑time clock (RTC) to your Arduino. It’s perfect for recording sensor data with timestamps — ideal for environmental monitoring, experiments, and educational kits.
Key Components
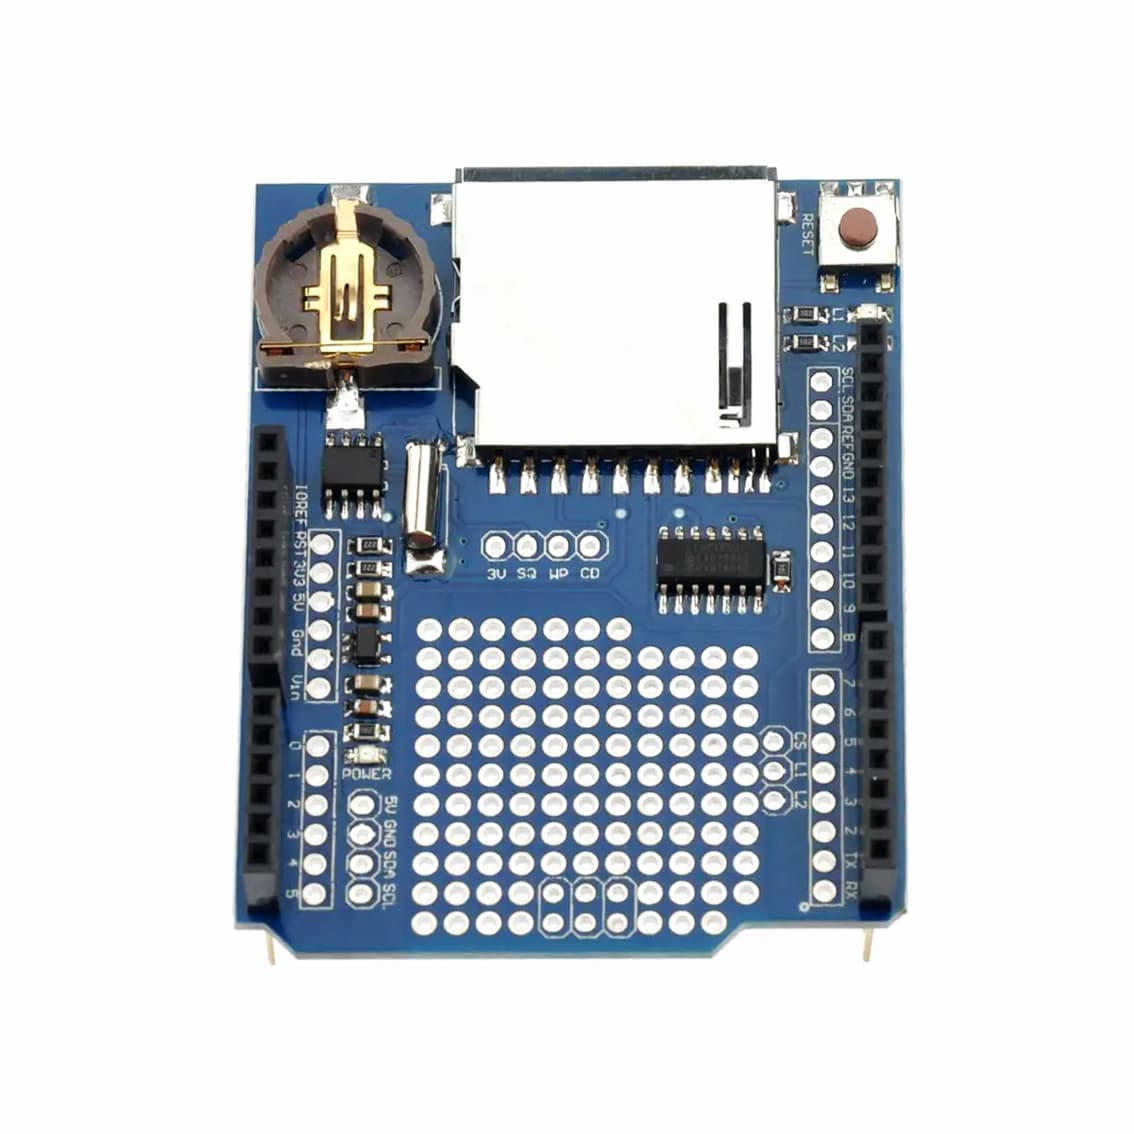
| Label on Shield | Function |
|---|---|
| SD Card Slot | Stores logged data (FAT16/FAT32 format) |
| RTC Module (DS1307/DS3231) | Keeps time even when Arduino is off |
| Coin Cell Battery Holder | Powers RTC backup |
| RESET Button | Resets Arduino without removing shield |
| Prototyping Area | Solder pads for custom sensors or circuits |
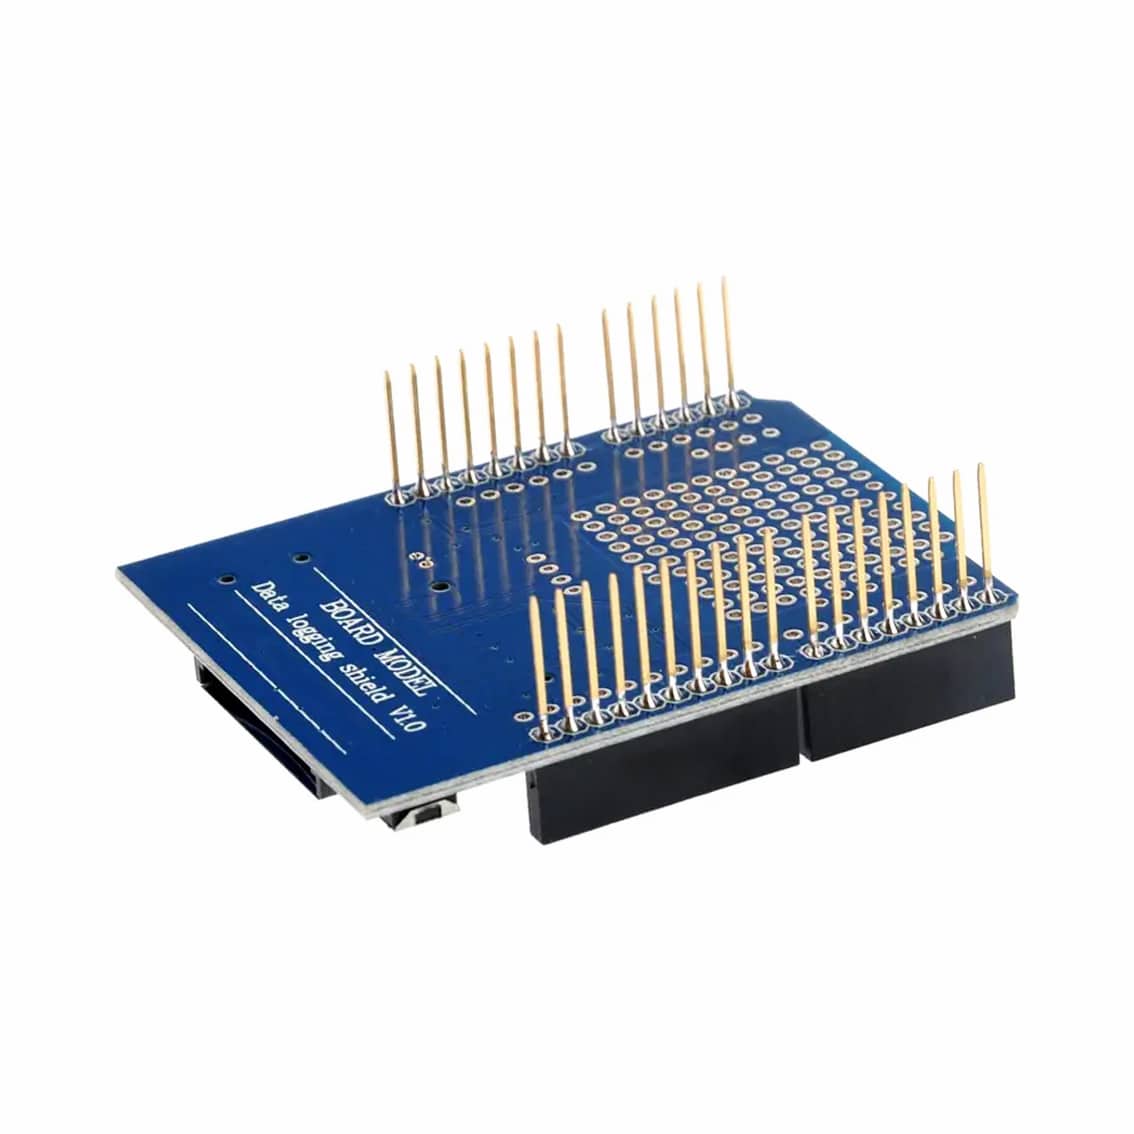
| Pin Headers | Connect directly to Arduino UNO or MEGA |
Pinout
| Shield Label | Arduino Pin | Description |
|---|---|---|
| 3V | 3.3 V | Power for low‑voltage peripherals |
| 5V | 5 V | Main logic supply |
| GND | GND | Common ground |
| VIN | VIN | External voltage input |
| SDA | A4 (UNO) / 20 (MEGA) | I²C data line for RTC |
| SCL | A5 (UNO) / 21 (MEGA) | I²C clock line for RTC |
| CS | D10 | SD card chip select |
| MOSI | D11 | SPI data output to SD card |
| MISO | D12 | SPI data input from SD card |
| SCK | D13 | SPI clock |
| WP / CD | Optional | Write‑protect and card‑detect signals (usually unused) |
Setup Steps
- Stack the Shield onto your Arduino.
- Insert SD Card (formatted FAT16/FAT32).
- Install Libraries in Arduino IDE:
SD.hfor SD card accessRTClib.hfor RTC control
- Connect Sensors to the prototyping area.
- Upload Example Sketch:
#include <SD.h> #include <RTClib.h> RTC_DS1307 rtc; File logFile; void setup() { Serial.begin(9600); SD.begin(10); rtc.begin(); logFile = SD.open("data.txt", FILE_WRITE); logFile.println("Time,SensorValue"); logFile.close(); } void loop() { DateTime now = rtc.now(); int sensorValue = analogRead(A0); logFile = SD.open("data.txt", FILE_WRITE); logFile.print(now.timestamp()); logFile.print(","); logFile.println(sensorValue); logFile.close(); delay(1000); } - Open Serial Monitor to verify logging.
- Remove SD Card and read data on your computer.
Troubleshooting
| Problem | Possible Cause | Solution |
|---|---|---|
| SD card not detected | Wrong CS pin or bad format | Check CS = D10, reformat card |
| RTC not keeping time | Battery missing or dead | Replace CR1220 coin cell |
| Data not logging | File not opened correctly | Verify SD.begin() and file permissions |
Design Tips
- Keep SDA/SCL traces close together for clean I²C signals.
- Add GND vias near the shield corners for solid grounding.
- Use short wires for sensors to reduce noise.
- For long‑term logging, enable Arduino sleep modes to save power.
Table of Contents