DS0138 Digital Oscilloscope with Acrylic Case
CASE ASSEMBLY:
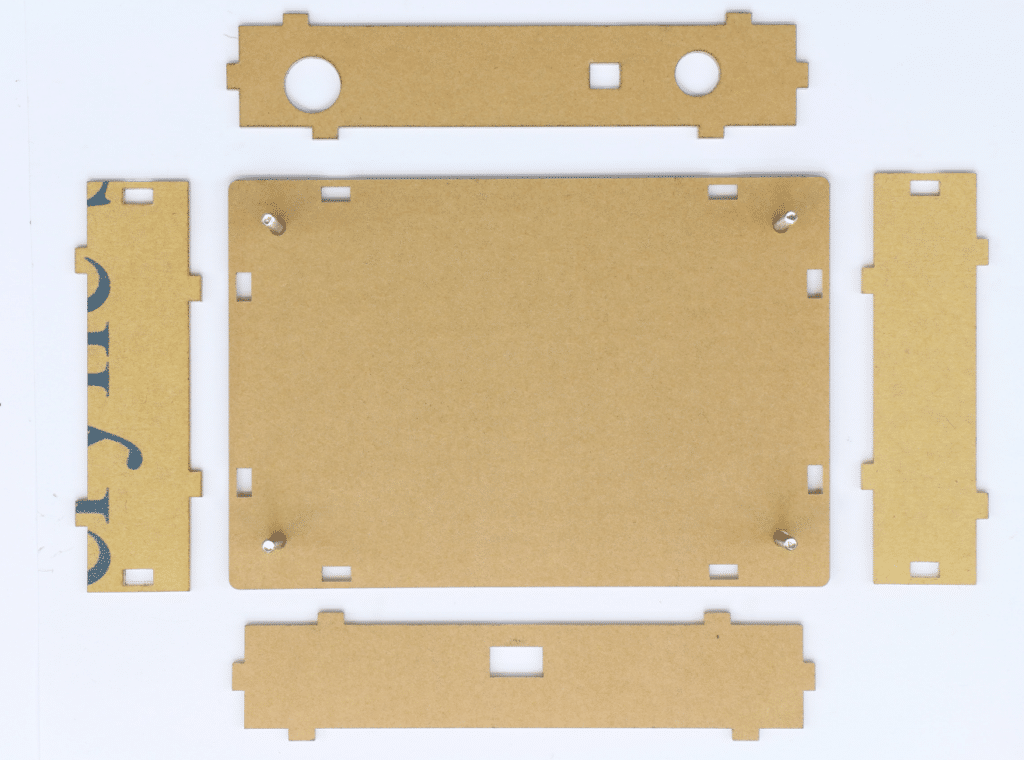
Put the base-plate and the 4 side-parts in the orientation as shown here flat on a table. Insert the 4 long M3x30 bolts from below into the base-plate and fix them loosely with 4 M3-nuts.
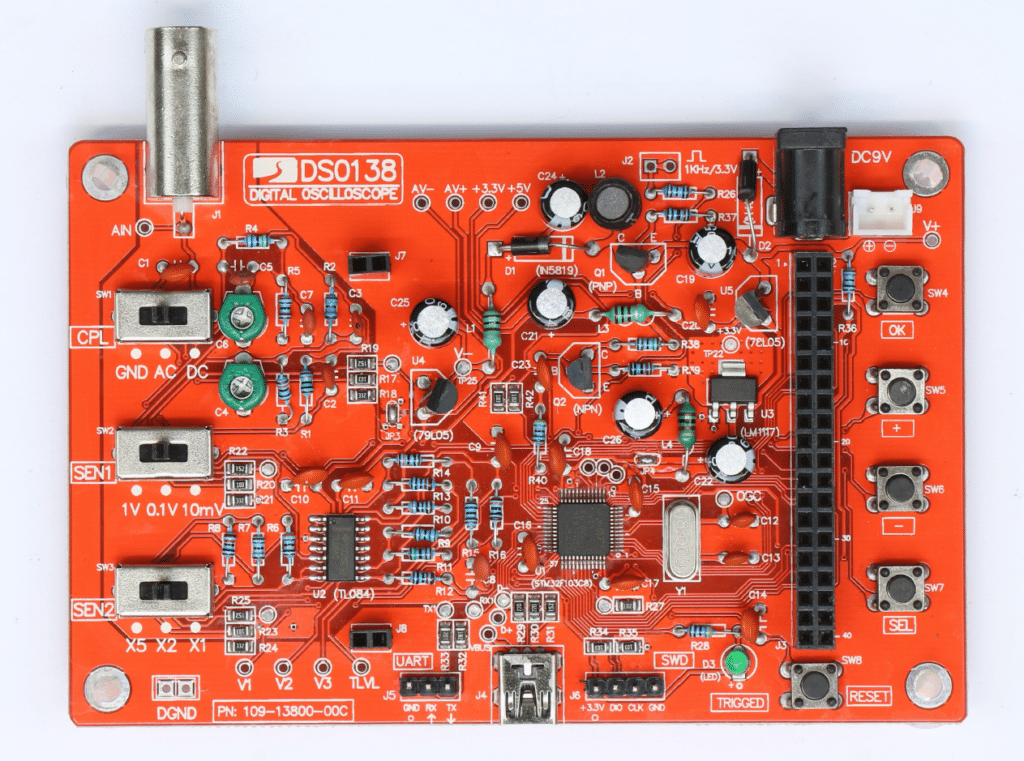
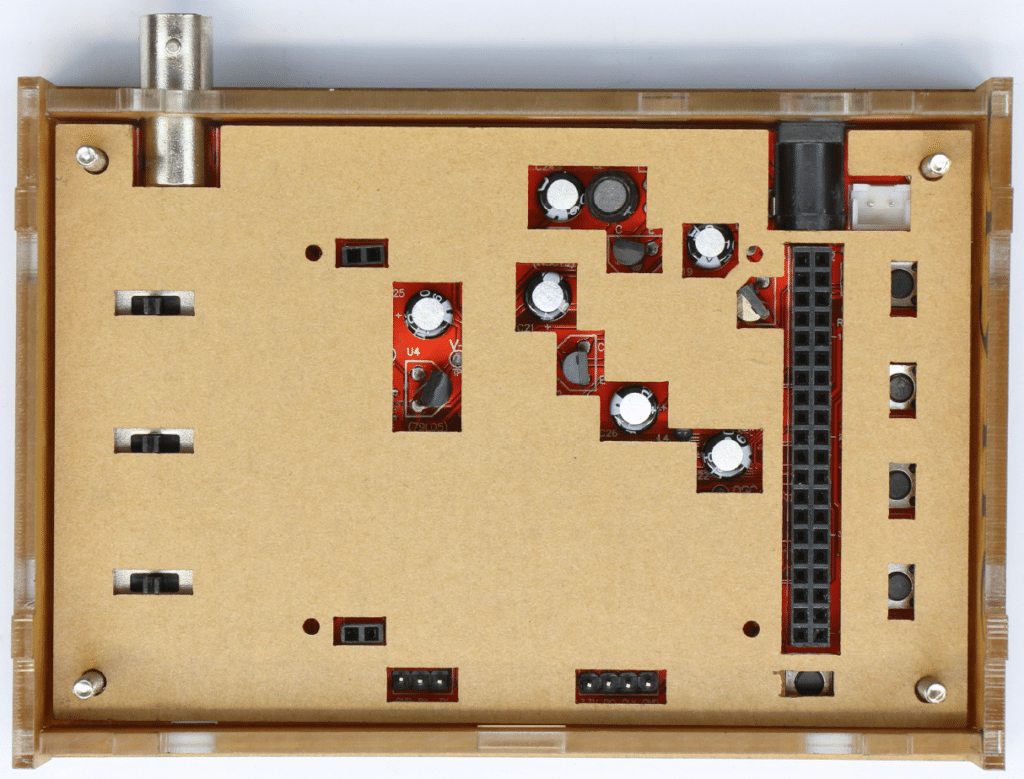
Detach the display-PCB of the DSO138 from the motherboard. Grip it at the right long side where it is fastened with the large double-pin header with the motherboard. You may need to use some force and wiggling to get it detached.
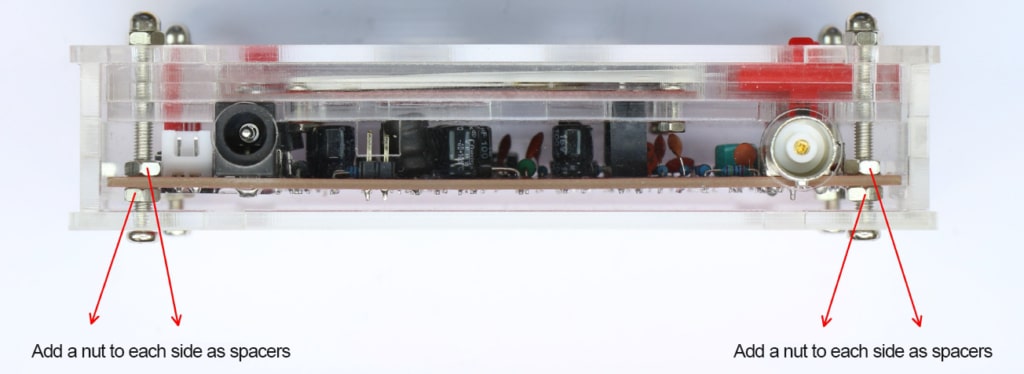
bolt another 4 M3-nuts onto the long M3x30 srews. They serve as spacers for the motherboard. You get the right position if the BNC-jack and the barrel-jack are centred at the holes of the temporarily inserted side-plates.
The image here contains an error! The 4 upper M3-nuts are needless. They belong down at the bottom of the long M3x30 bolts to fasten the M3 bolts.
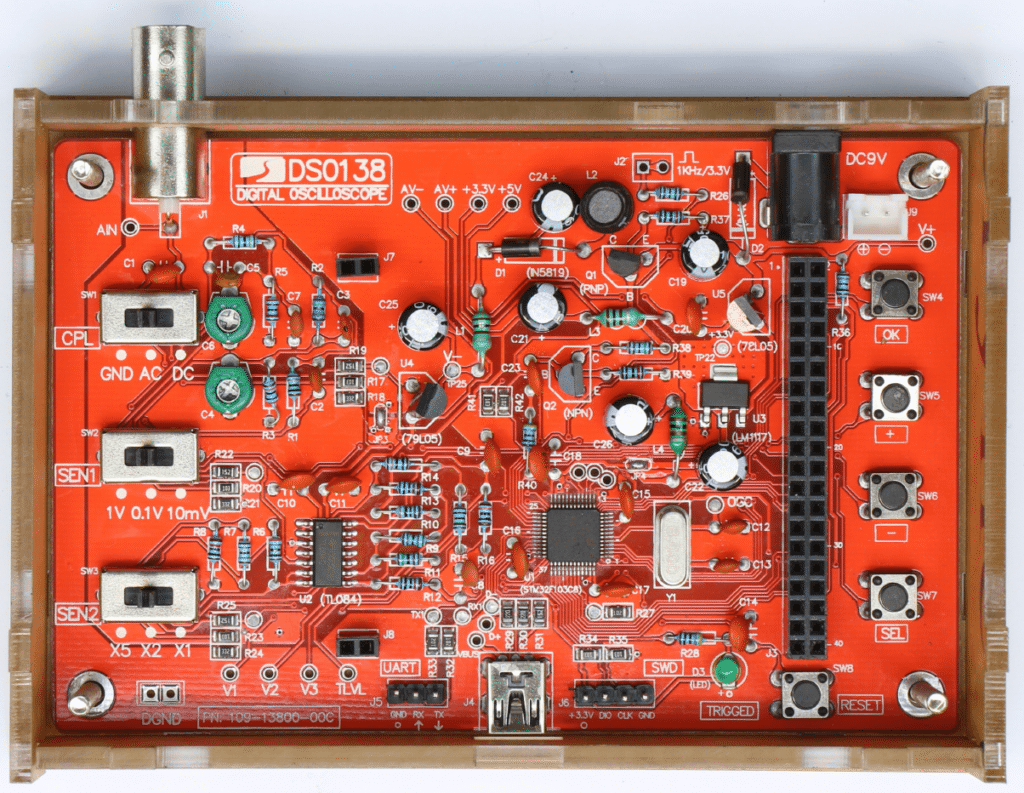
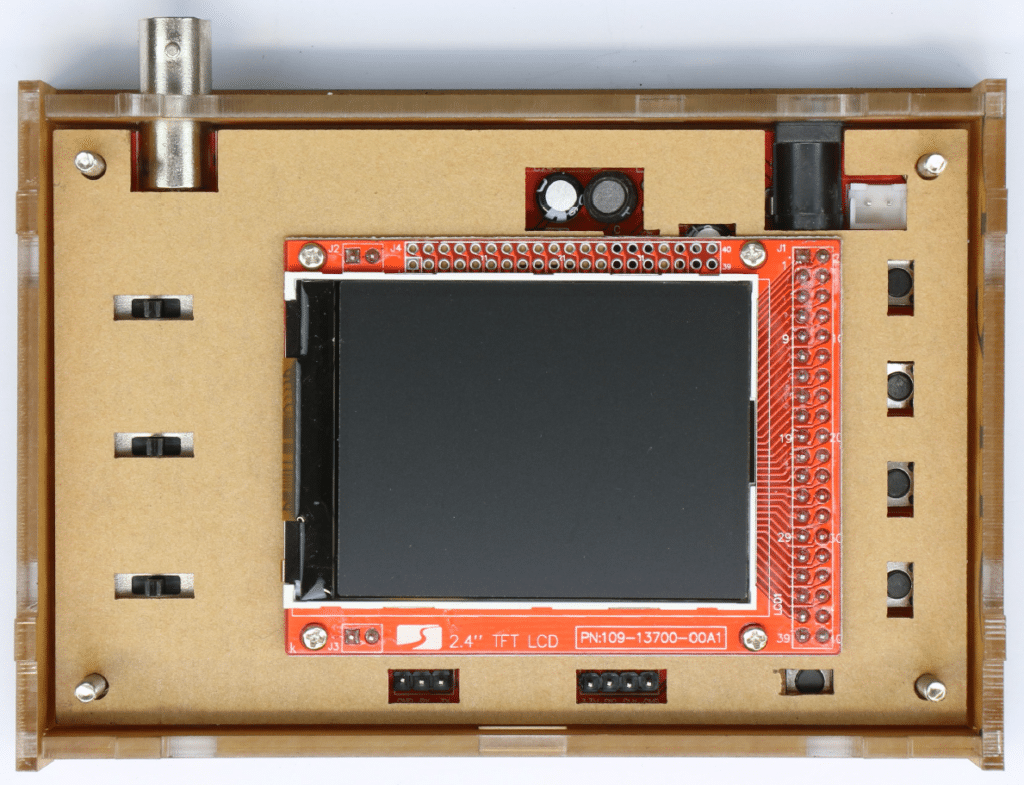
Then connect the display with the first intermediate-plate by means of the 4 little M2x6 bolts and nuts. Then insert the 2 identical intermediates on the stack of plates.
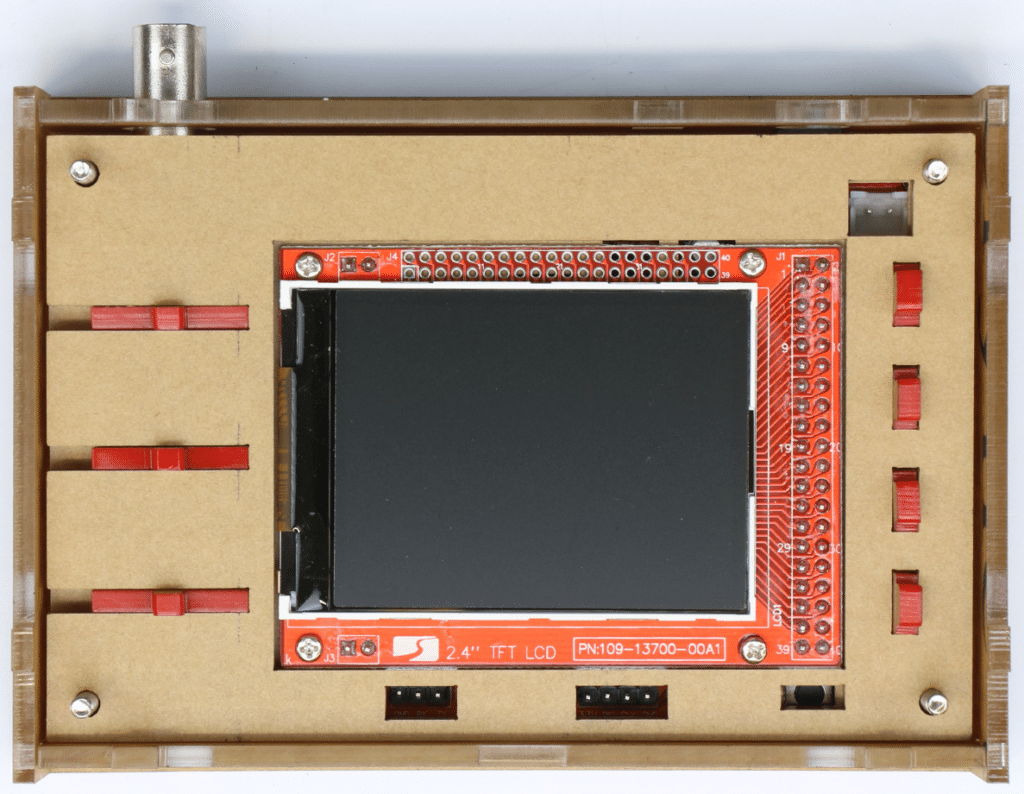
There is a fifth cap on the lower right for the RESET-button, which was forgotten when taking the picture.
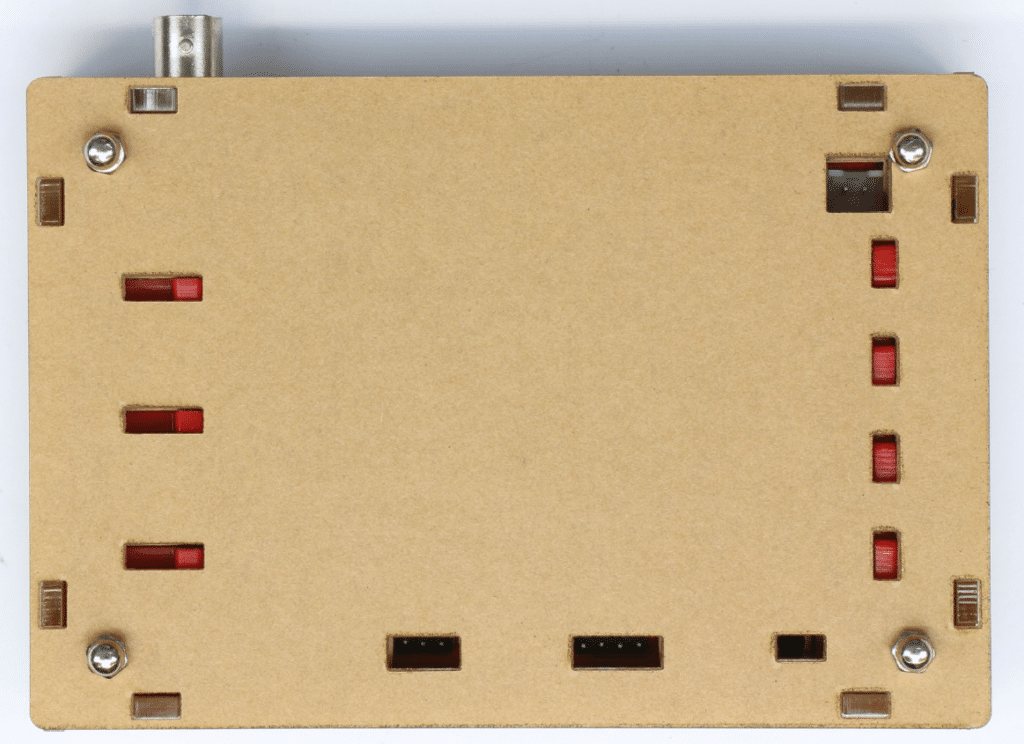
Then reinsert the 4 side plates and the cover-plate and fix the stack with the 4 cover-nuts.
*The assembly instructions were extracted from ak-modul-bus.de website.