Ready to assemble your Xiaozhi AI Otto Robot? Find the detailed instructions here.
Assembling the Body
The main part that houses the Xiaozhi AI Otto Robot board (with LCD), speaker, battery, boot and power-on buttons is the robot body. With this, you can start installing the cavity speaker. Get some self-tapping screws from your servo motor plastic bag, as there will be some extras left.
Next, you can begin installing the left and right leg servo motors inside the body. Use the self-tapping screws again for this.
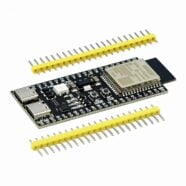
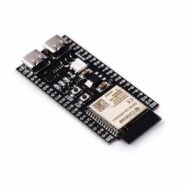
Then install the Xiaozhi AI Otto Robot PCB (w/ LCD) along with the plastic buttons. Along with this, remember to connect both the speaker and battery terminals to the board while aligning the PCB. Align the USB-C port to the USB-C slot below. Snap the LCD in place through the front side opening window. The battery should fit horizontally on the back part of the body.
Installing The LIMB Attachments and Servos
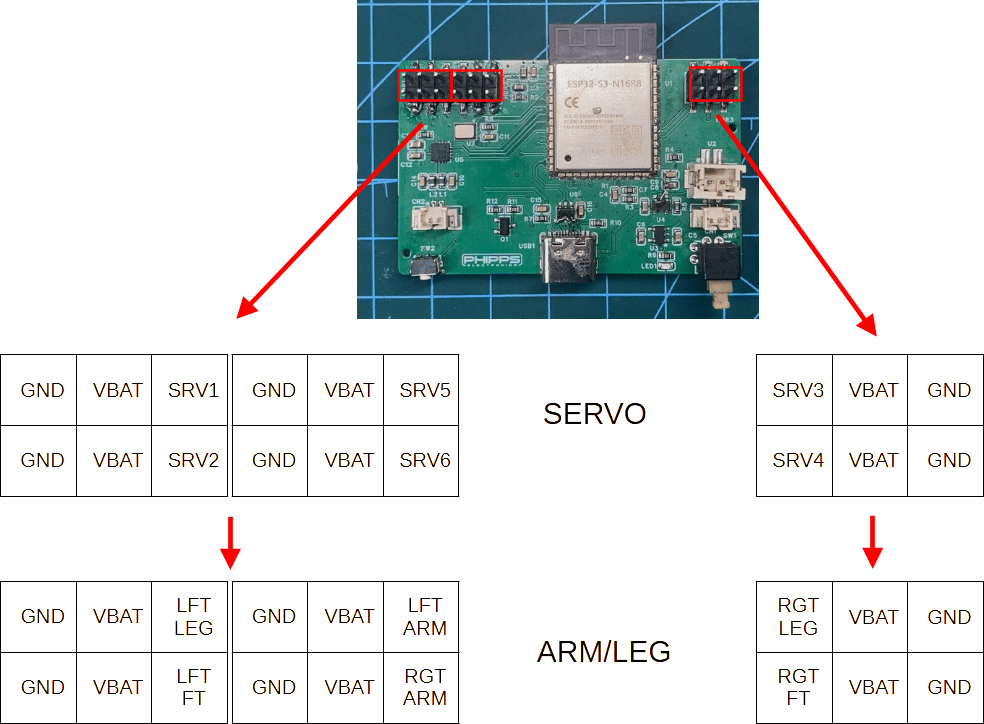
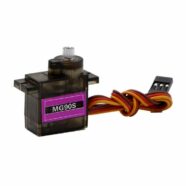
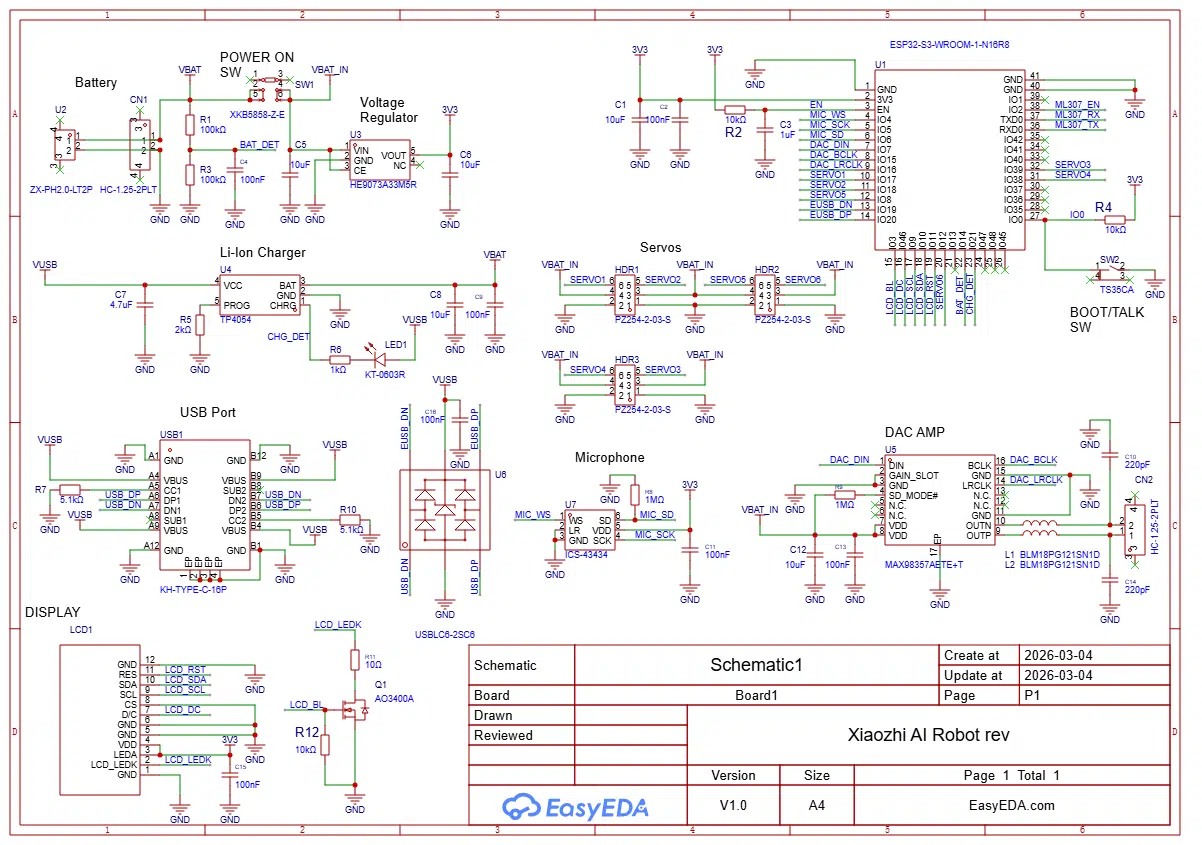
Before continuing, become familiar with the servo motors and limb connections of the Otto Robot board connectors in relation to the schematic shown below.
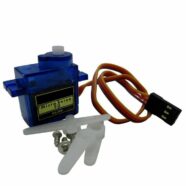
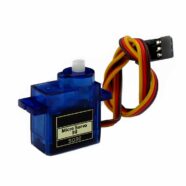
Below is the wiring layout of each servo motor.
You can begin connecting the servo wires to the Otto Robot board as you attach the robot’s limbs.
Left and Right Leg
You can start installing both the left and right legs on the servos. However, note that you must ensure the motor is in its default position. Fortunately, whenever you power on the Otto Robot, the servos return to their default position. Below is just a demo to show this.
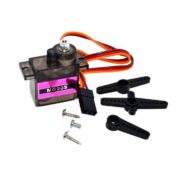
Now start installing the left and right 3D-printed legs, along with the servo arm, to the servo motor. Cut the plastic servo arm lengths just enough to fit the 3D printed part. Screw that mini assembly using the included machine screws onto the protruded part of the servo under the body. Make sure you have also connected those servos’ wires to the Otto Robot servo board connectors.
You can always check your servo alignment by powering on/resetting the board.
Left and Right Feet
You can start installing the servos for the left and right feet on the left and right legs. This may present some slight challenges, as you have to screw the servos from the sides of the legs through a built-in hole.
But first, get the servo wire through the leg and the body through the built-in slots. Then align the servo’s plastic curve housing on the slotted curve on the robot leg.
Insert the servo wires into the Otto Robot board connectors using the table as a reference. After that, you may want to do some servo alignment by resetting the board.
You can now continue installing the two 3D-printed feet, as you have already installed the servos for them. Get two half arms for the servo and install them on the motors as straight as possible. Don’t worry if it is not perfect; you can do calibration later. Screw them with machine screws. Always check servo alignment by r powering up the board.
Next, install the two 3D-printed feet. Install the 1/2 plastic servo arm by screwing it onto the servo.
Install the 3D-printed feet by fitting them to the servo arms and the pegs on the 3D-printed legs at the same time.
Left and Right Arm
Installing the servos for the left and right arms is a bit of a challenge, as is installing the servos for the left and right feet. See below. Use the self-taping screws to secure the servos. Remember to run the wires through the hole slots in the body.
The 3D-printed arms are installed in the body below. Please arrange the wires properly, as there was a mistake in the video.
Install the Top Cover for the Body
The top cover will protect the inner circuit. Snap it on the top of the body.
INstall the Hands
Lastly, install the 3D printed hands on the arms. The hand’s pegs might not fit into the tiny holes in the arms. You can burn the pegs of the hands slightly to melt them so they can fit.


