Introduction
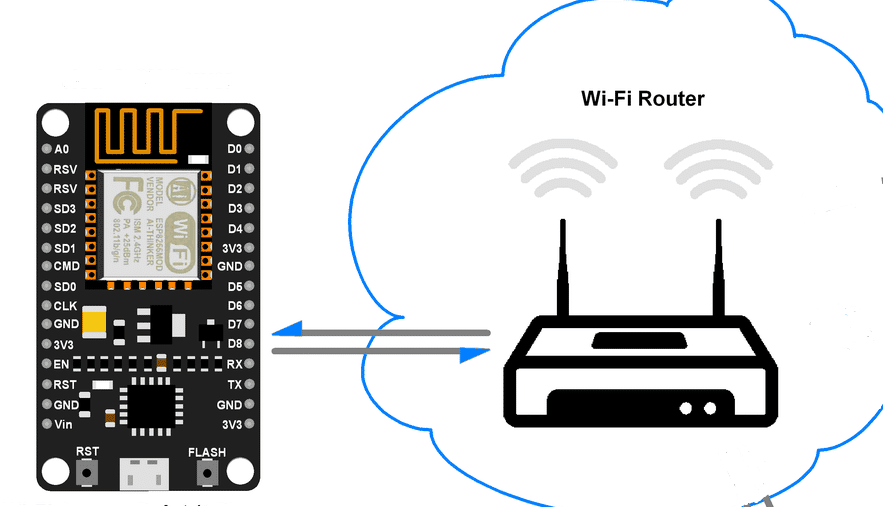
NodeMCU is an ESP8266 based IoT board that is very popular and relatively easy to use. The board can be programmed with the Arduino IDE as seen in a previous post on the Introduction to NodeMCU. In this tutorial, we will go over how to scan for a wifi network and connect to it.
Scanning Available WiFi Networks
To start working with IoT witchcraft and wizardry we first need to be able to discover existing wifi networks around us and then connect with them. So, let get started with the code to find the wifi networks around us.
					#include "ESP8266WiFi.h"

void setup() {
  Serial.begin(115200);

  // Set WiFi to station mode and disconnect from an AP if it was previously connected
  WiFi.mode(WIFI_STA);
  WiFi.disconnect();
  delay(100);

  Serial.println("Setup done");
}

void loop() {
  Serial.println("scan start");

  // WiFi.scanNetworks will return the number of networks found
  int n = WiFi.scanNetworks();
  Serial.println("scan done");
  if (n == 0) {
    Serial.println("no networks found");
  } else {
    Serial.print(n);
    Serial.println(" networks found");
    for (int i = 0; i < n; ++i) {
      // Print SSID and RSSI for each network found
      Serial.print(i + 1);
      Serial.print(": ");
      Serial.print(WiFi.SSID(i));
      Serial.print(" (");
      Serial.print(WiFi.RSSI(i));
      Serial.print(")");
      Serial.println((WiFi.encryptionType(i) == ENC_TYPE_NONE) ? " " : "*");
      delay(10);
    }
  }
  Serial.println("");

  // Wait a bit before scanning again
  delay(5000);
}
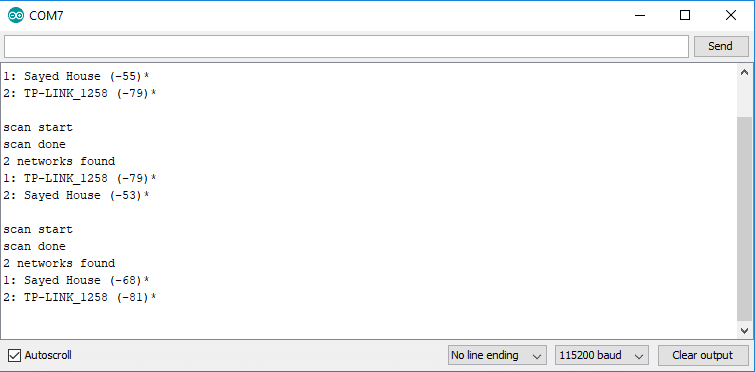
After uploading the code, open your serial monitor. You should see something like this listing your available wifi networks around you.
Connecting to WiFi
Now that we can scan and see the wifi networks around us, we need to be able to connect our NodeMCU with them to be able to do greater things.
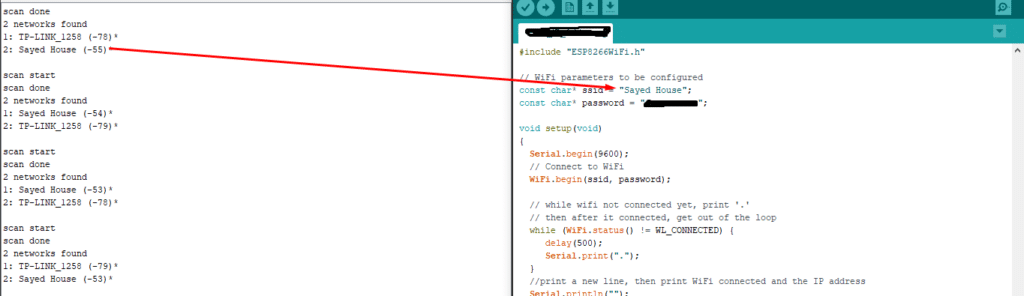
Among the wifi networks we’ve listed, let’s say we want to connect with. So, for that we need the following code:
					#include "ESP8266WiFi.h"

// WiFi parameters to be configured
const char* ssid = "NAME-HERE";
const char* password = "PASSWORD-HERE";

void setup(void)
{
  Serial.begin(9600);
  // Connect to WiFi
  WiFi.begin(ssid, password);

  // while wifi not connected yet, print '.'
  // then after it connected, get out of the loop
  while (WiFi.status() != WL_CONNECTED) {
     delay(500);
     Serial.print(".");
  }
  //print a new line, then print WiFi connected and the IP address
  Serial.println("");
  Serial.println("WiFi connected");
  // Print the IP address
  Serial.println(WiFi.localIP());

}
void loop() {
  // Nothing
}
Make sure to change the code a little bit with the username and password, then upload the code to your NodeMCU:
After uploading open the Serial Monitor and you should see something like the following:
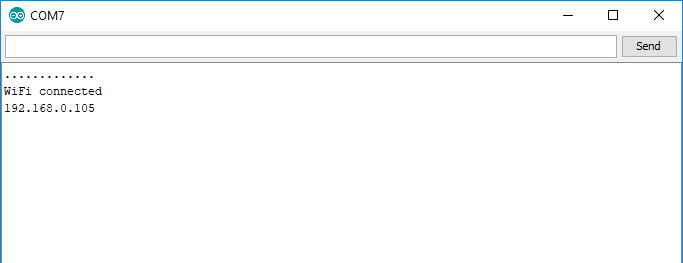
Congratulations. You just have learnt to scan and connect with Wifi networks.