Learn different prototype board tools and accessories that you can use for your projects.
Introduction
Before creating your final project, you’ll usually need to make a validated and working prototype. To create a reliable prototype, you also have to choose your prototype board accessories and tools wisely. You don’t want to spend an entire day troubleshooting only to find out its your prototyping tools that are at fault. With this, get to know the different tools available for your prototype circuit boards.
Prototyping Tools Checklist
Different projects may need different prototyping components and tools. Most projects require a breadboard, some connecting wires, and a power supply. Some need a more robust interconnection so a prototyping PCB (also called a Zero PCB) is required. Depending on your needs, this section will try to list down all the prototyping tools you may need below.
For a Breadboarded Project
This section will list down the prototyping tools you need if you have a breadboarded project. Certainly, the main requirement for this is acquiring a breadboard first.
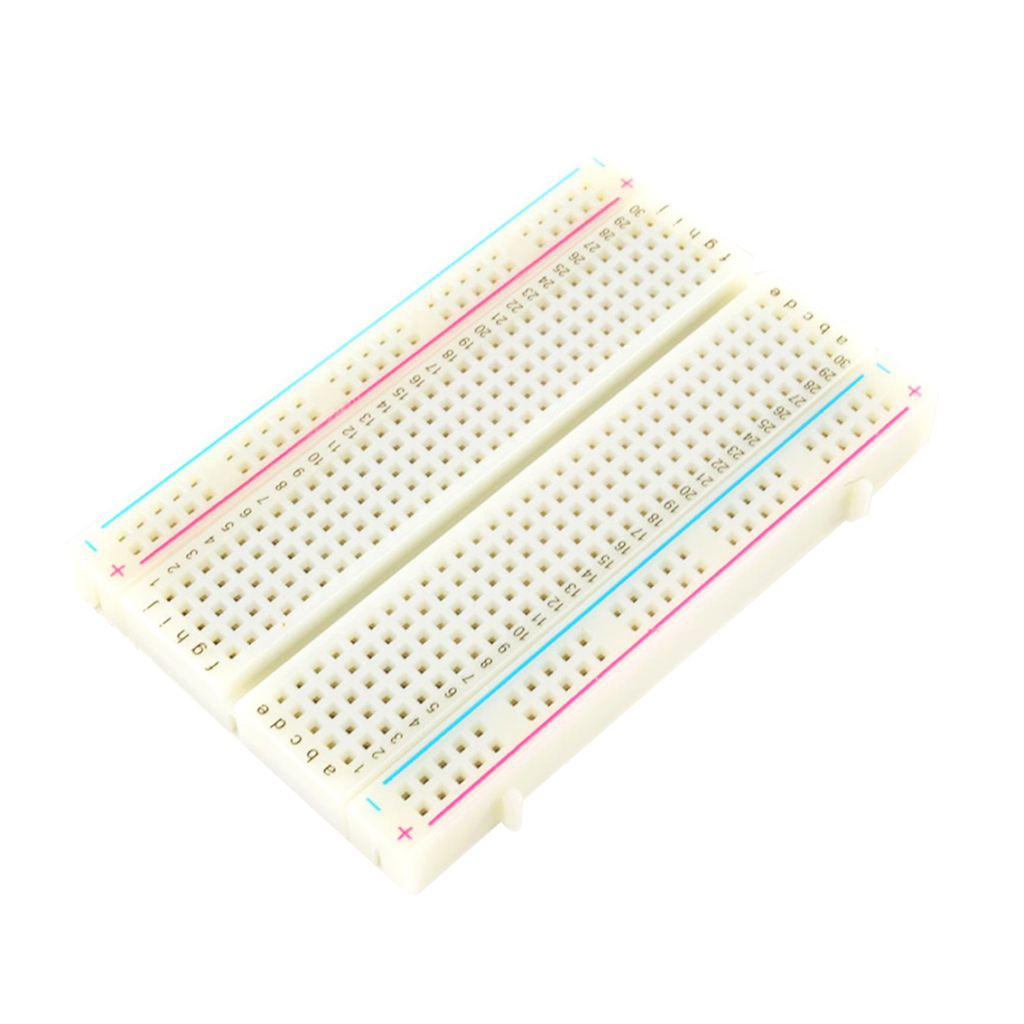
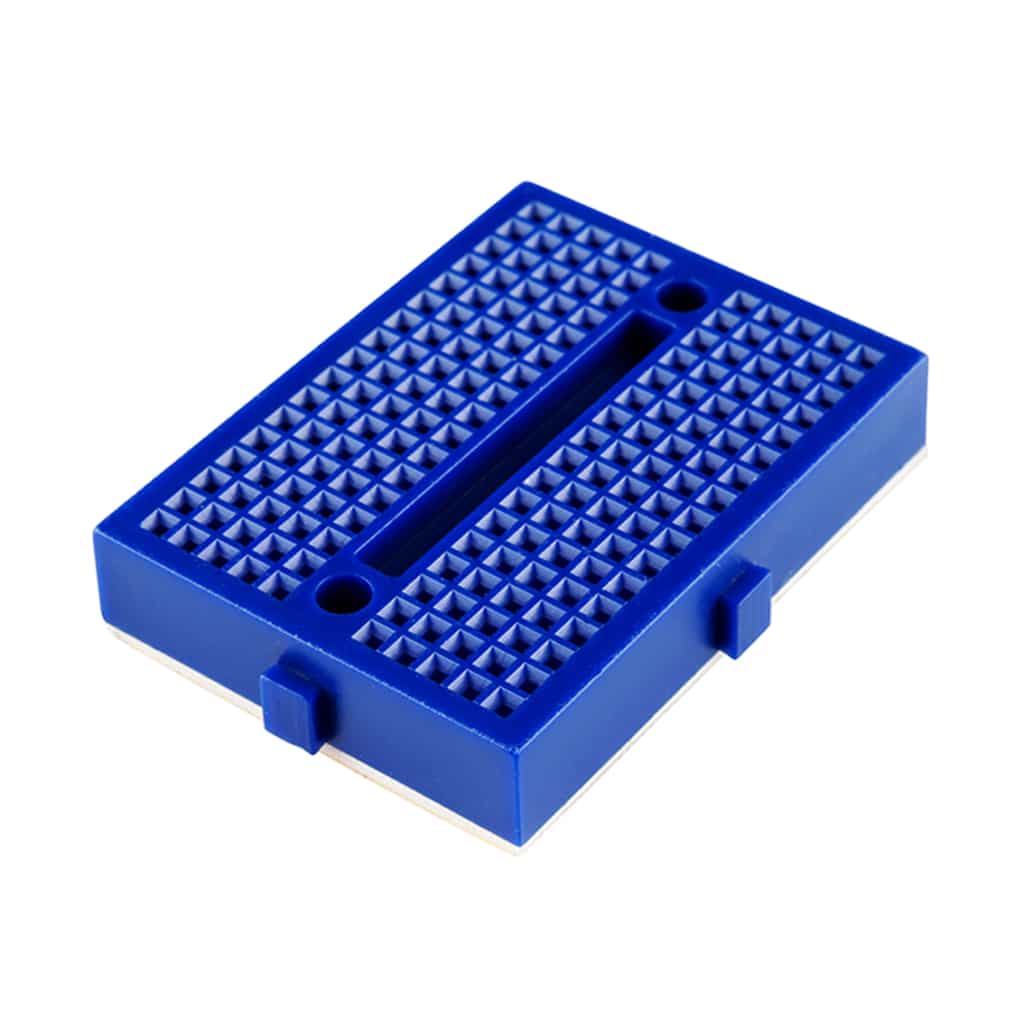
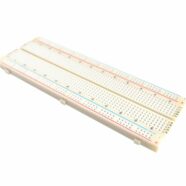
Breadboard
There are different kinds of breadboards you can choose from. There is the wide-type (usually having 830 insertion points), the half-type (having 400 insertion points), and even the smaller type (only having 170 points). Each column of the insertion points connects vertically to one another, only being separated by a long horizontal ravine. This ravine allows a DIP-type component to sit through the insertion points, where each side of the DIP connections is isolated. Breadboards don’t require soldering and all connections are non-permanent. Also, most of these breadboards have horizontal power rails located on the top and bottom sides. Click through the images above to learn more about them.
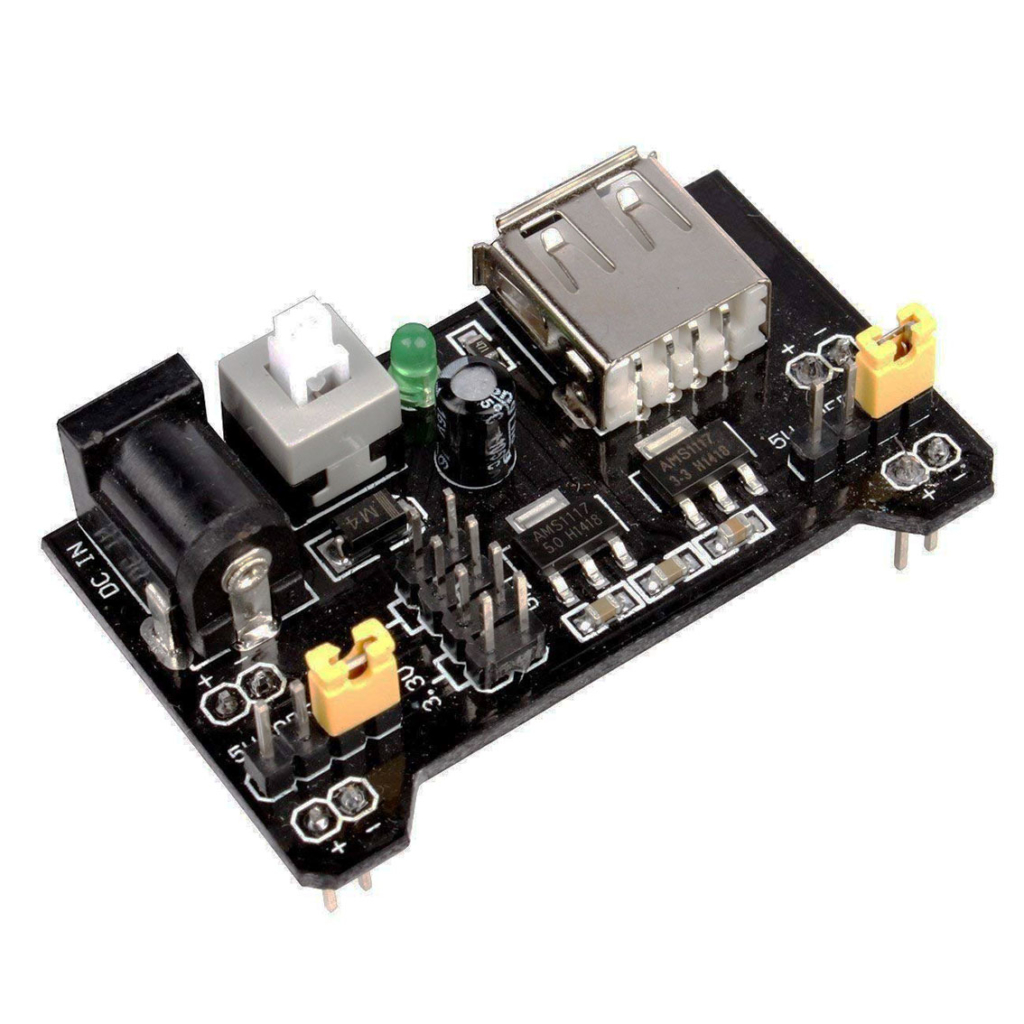
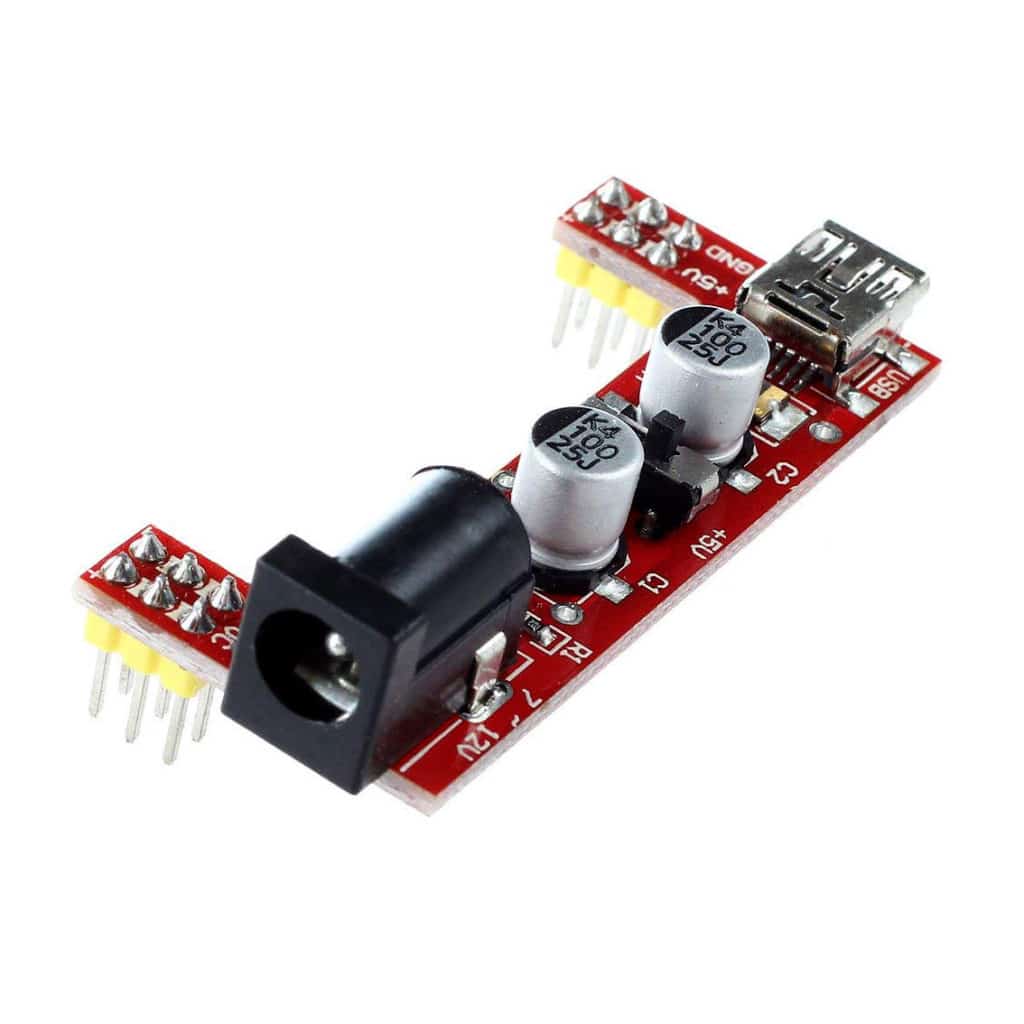
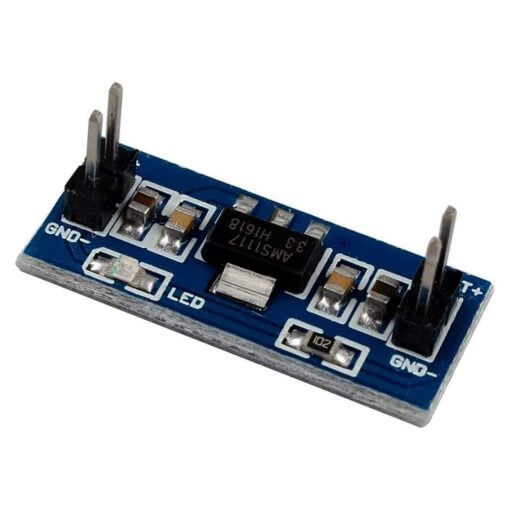
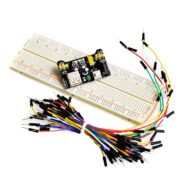
Breadboard Power Supply
Breadboard power supplies make prototyping on your breadboards a lot easier since you don’t have to construct a power supply circuit on them. These mini power supplies come in various packages. Some have 5V and 3.3V power supply outputs altogether. They should sit comfortably on the horizontal power rails of your breadboard. Click through the images above to learn more about them.
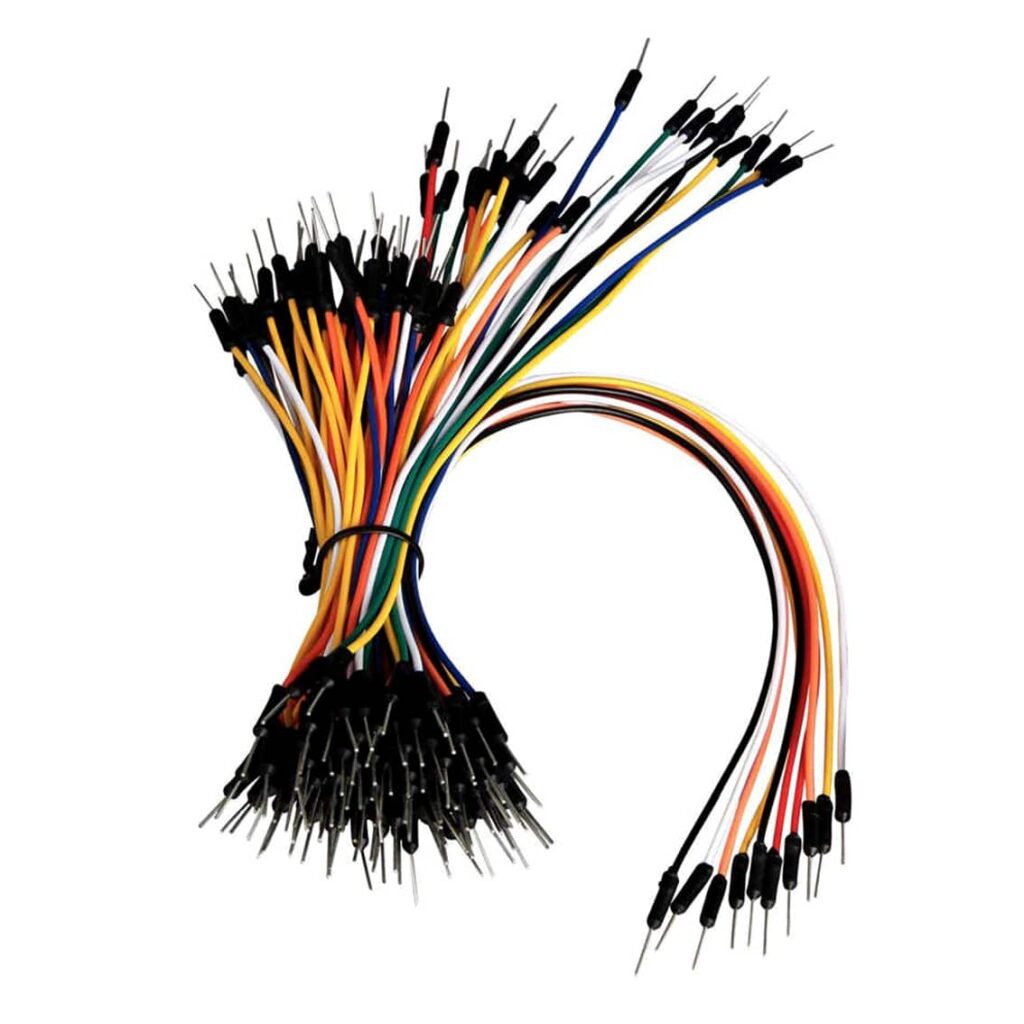
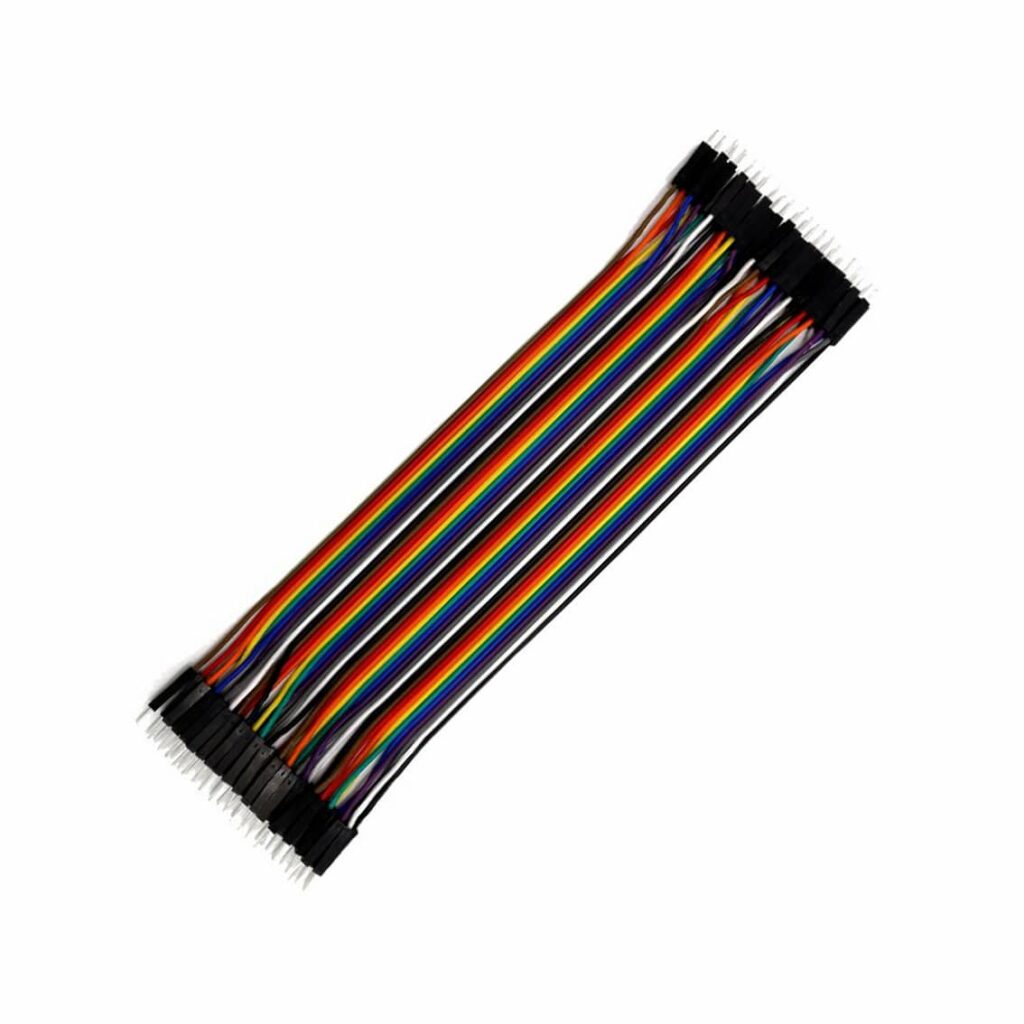
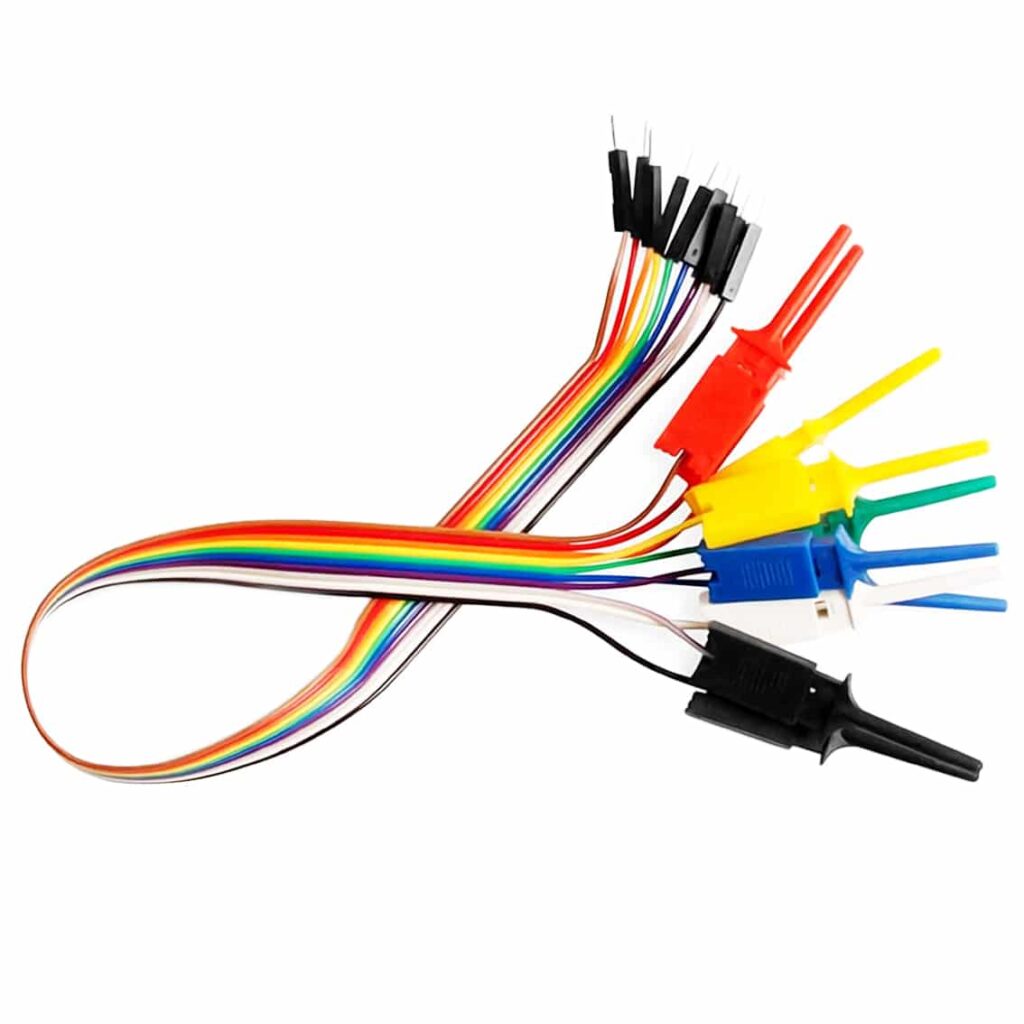
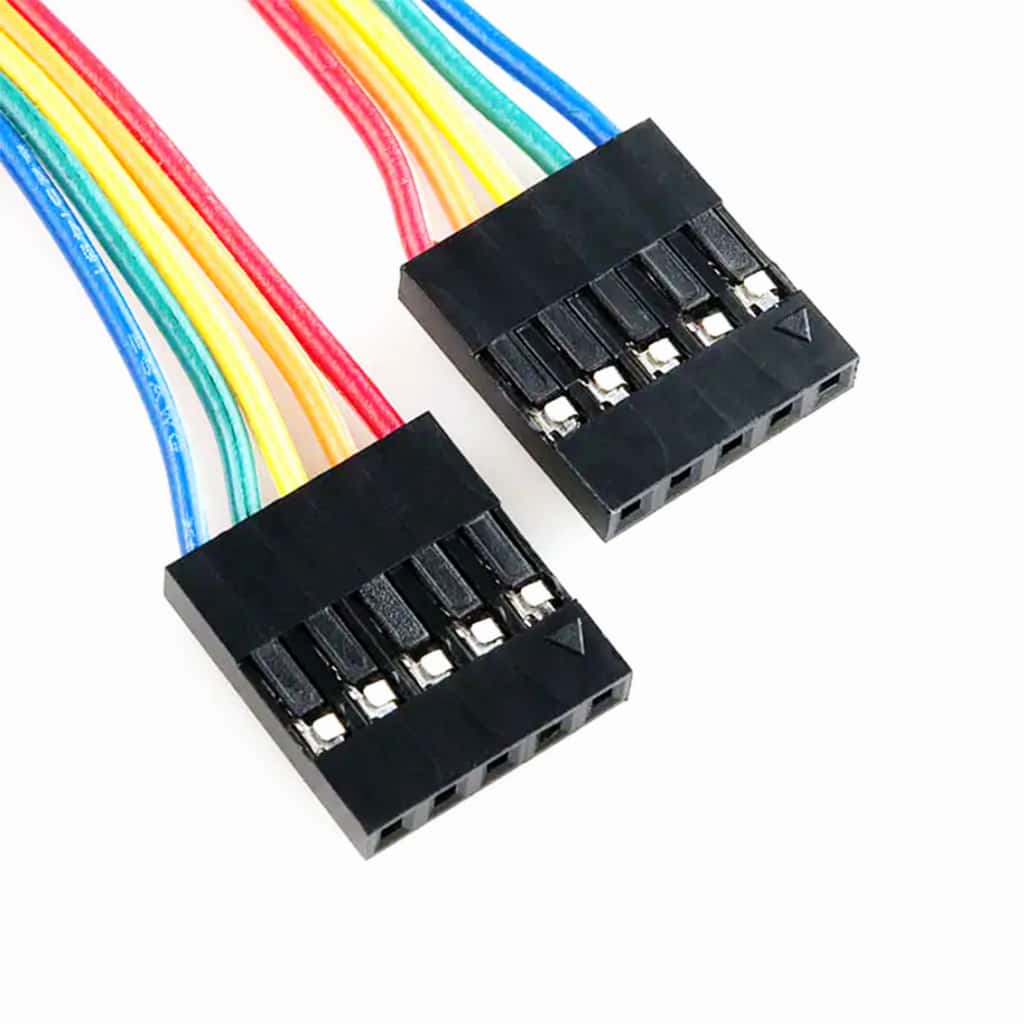
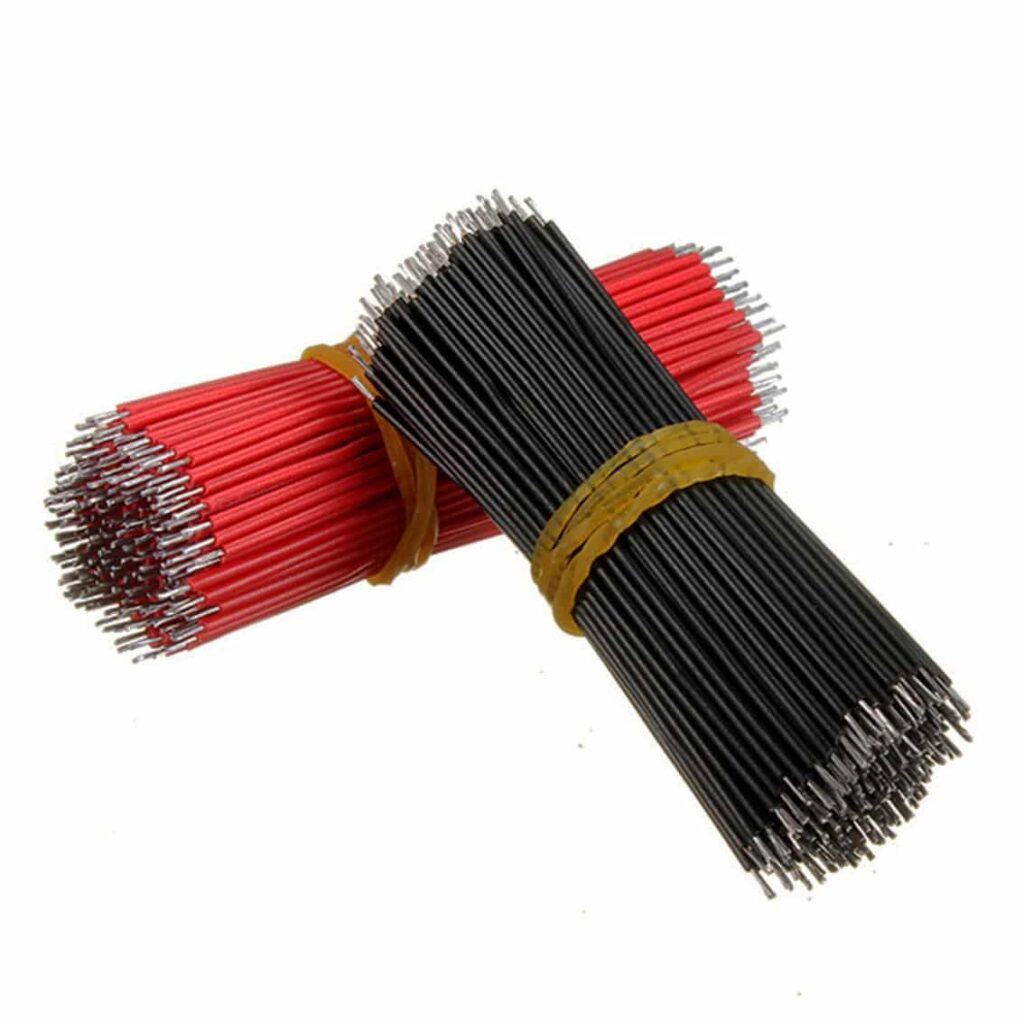
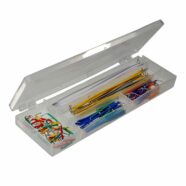
Connecting or Jumper Wires
Since you have a breadboard, wiring a circuit using connecting or jumper wires is easy. These wires are inserted into the insertion points of the breadboard. There are different kinds of connecting wires with different lengths, gender, and composition. There are plastic molded, Dupont, and solid wire types. There are even ones with connecting clips on them that can make troubleshooting your circuits easier. Click through the images above to learn more about them.
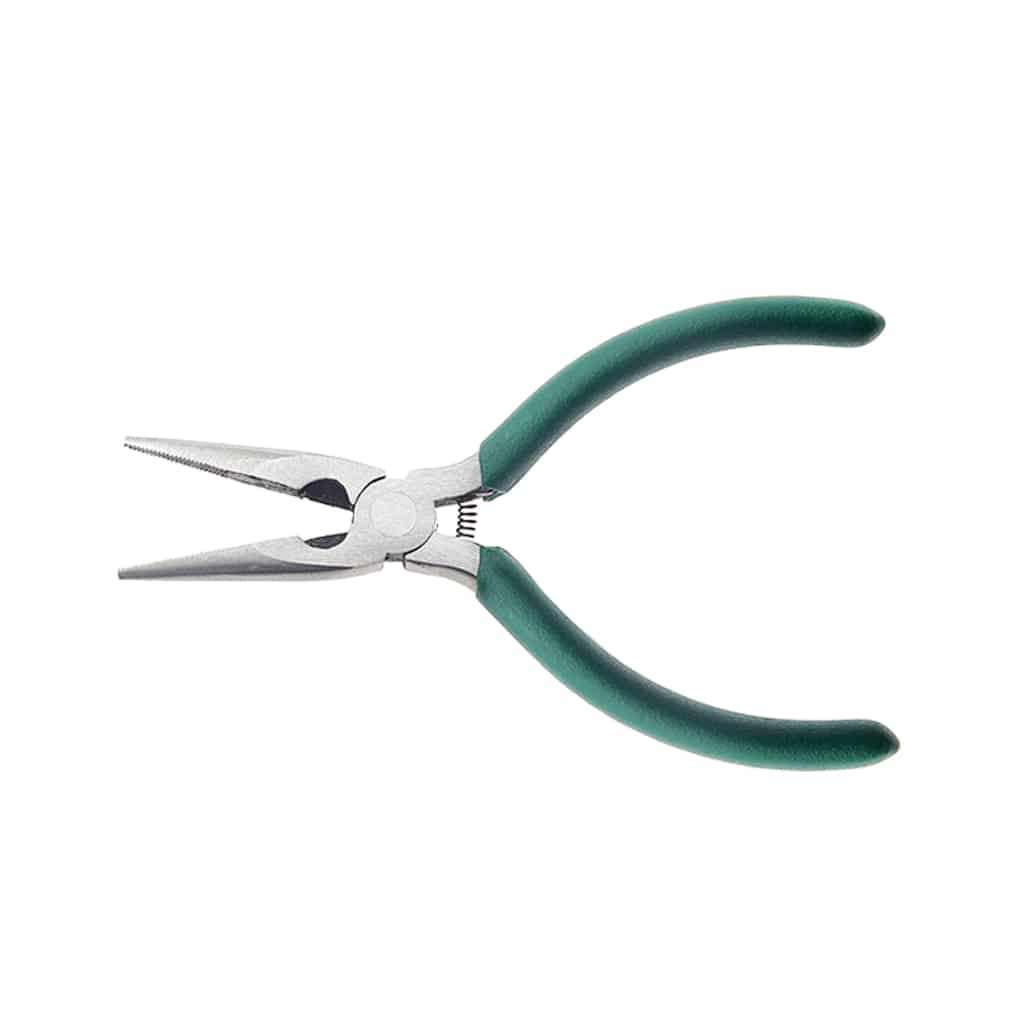
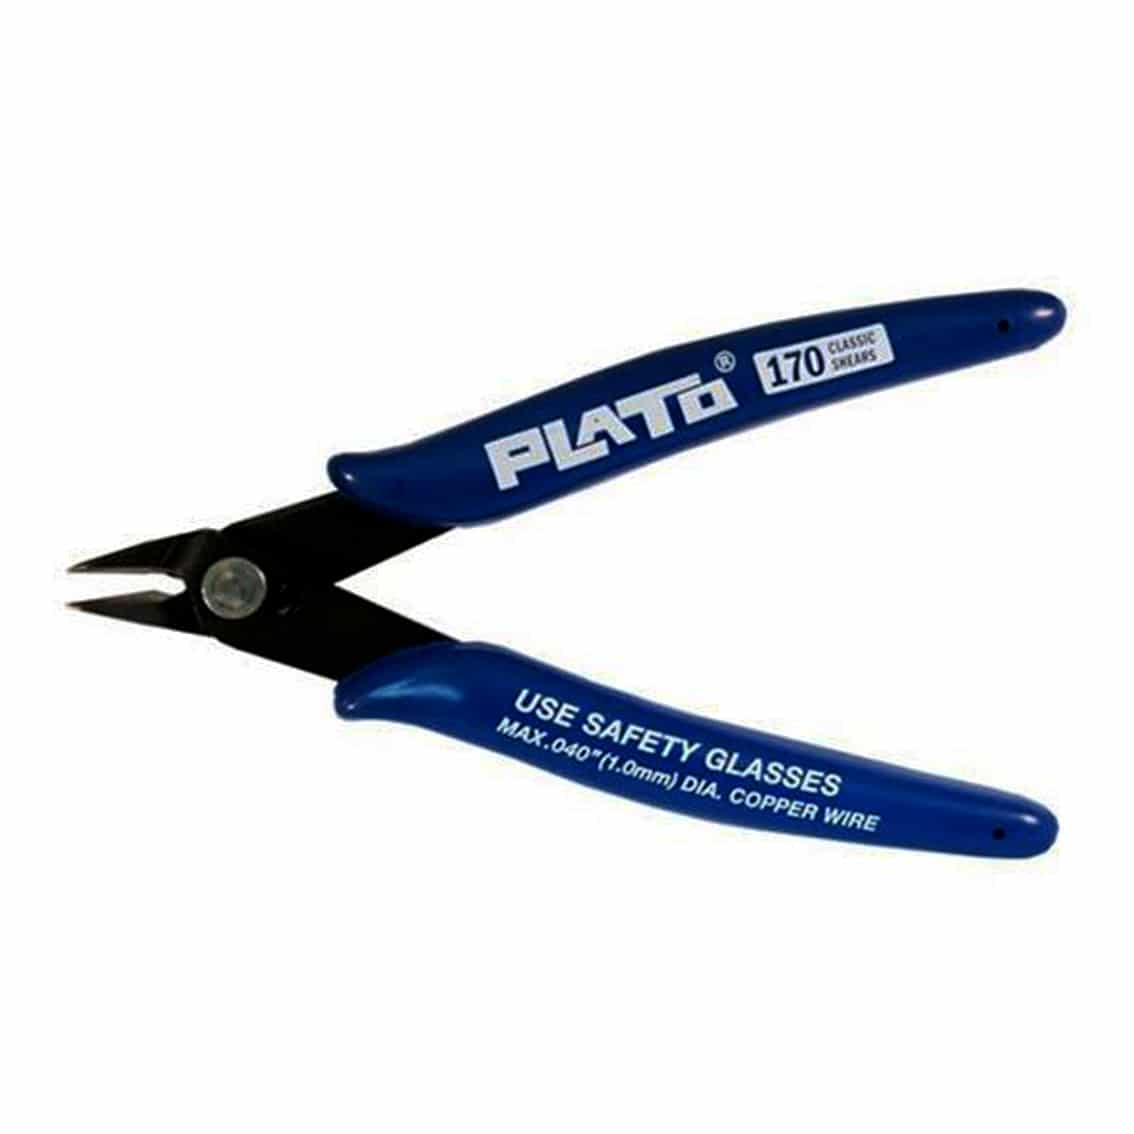
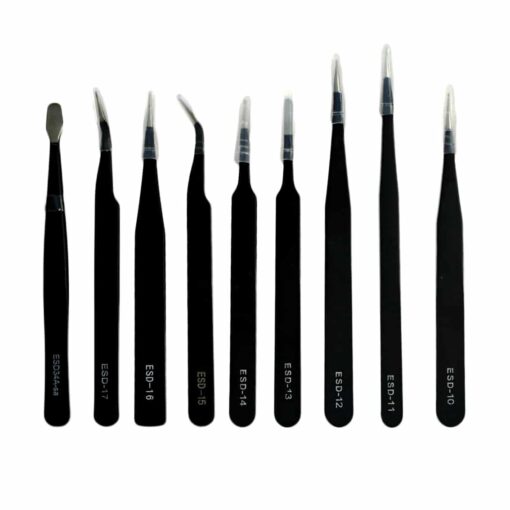
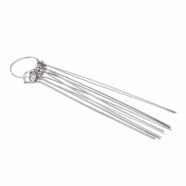
Tools for your Components
You will also need tools to neatly connect your components to your breadboard. These may include pliers, cutters, tweezers, and others. You can bend the leads of your components more easily using needle-nose pliers. You can cut wires using a shear cutter and handle small components using a tweezer.
For a Prototyping (Zero) PCB Project
If you require a prototype with robust and permanent connections, soldered prototyping boards are the way to go. Below are the accessories you need to create one. Note that you may use similar accessories (except the breadboard itself) from a breadboarded prototype on a soldered prototyping board.
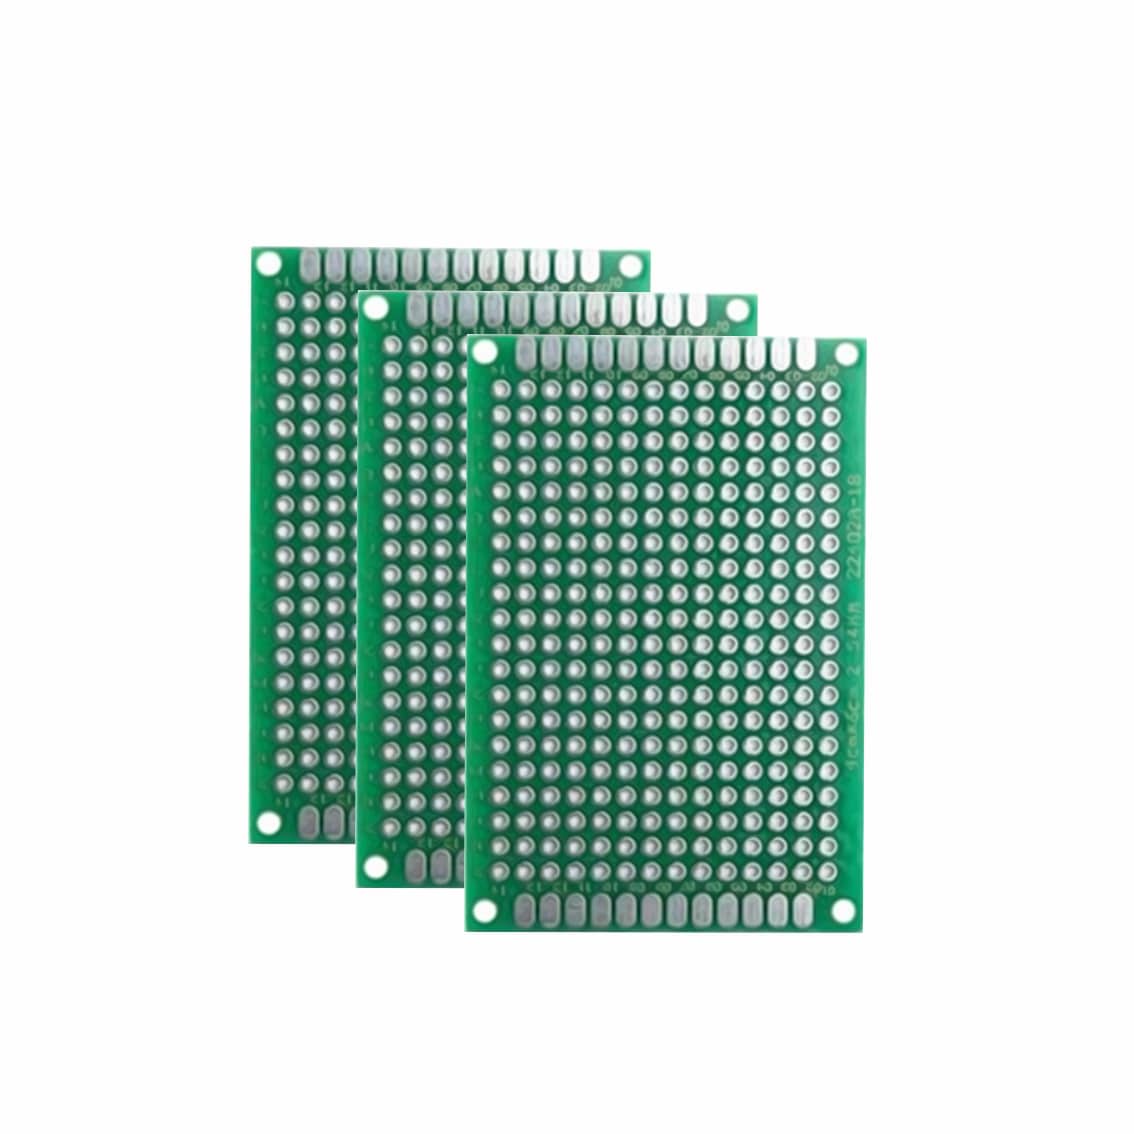
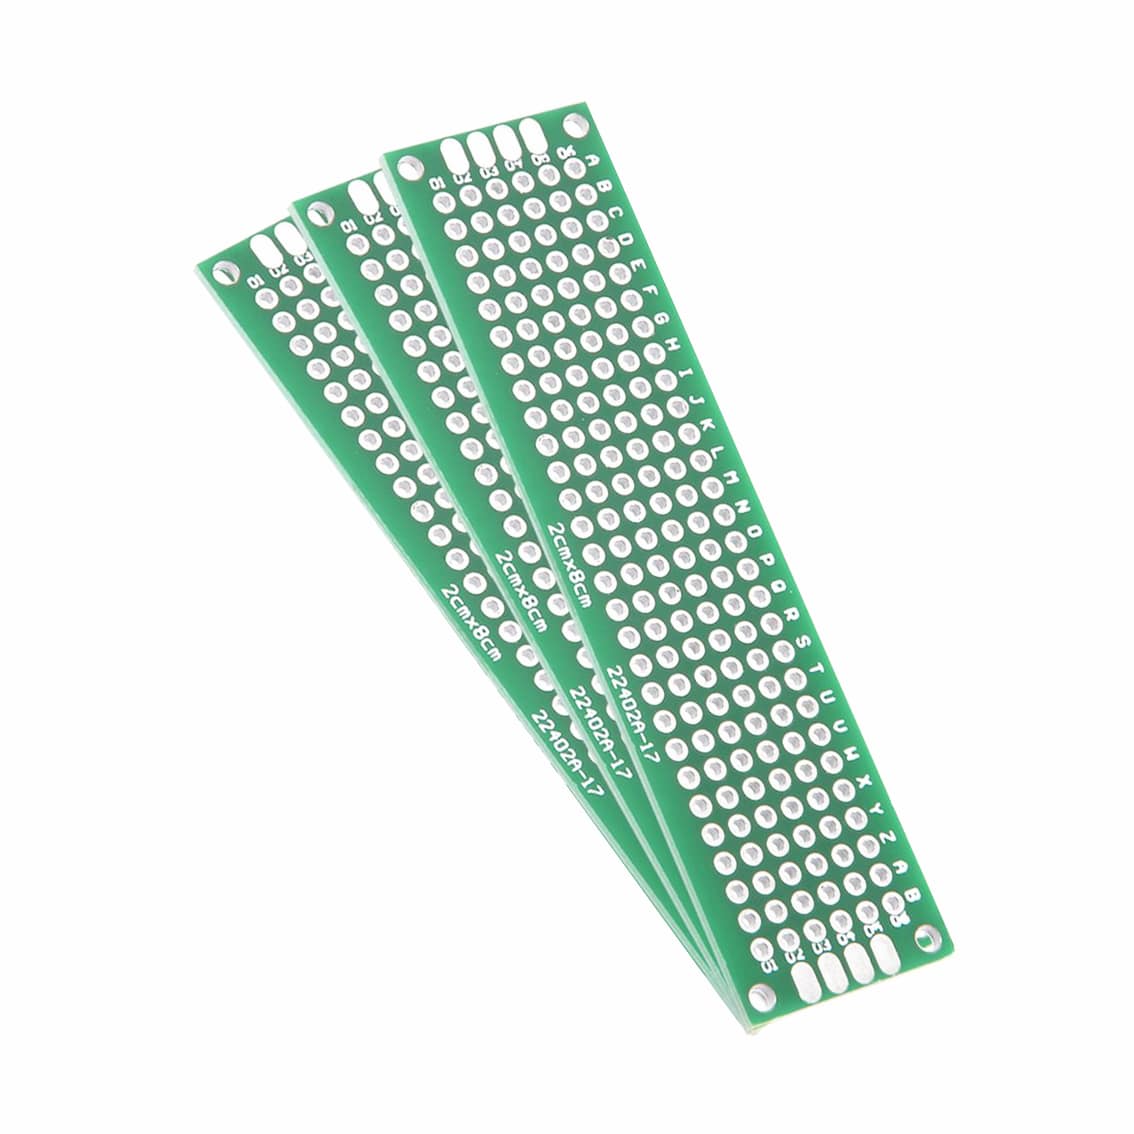
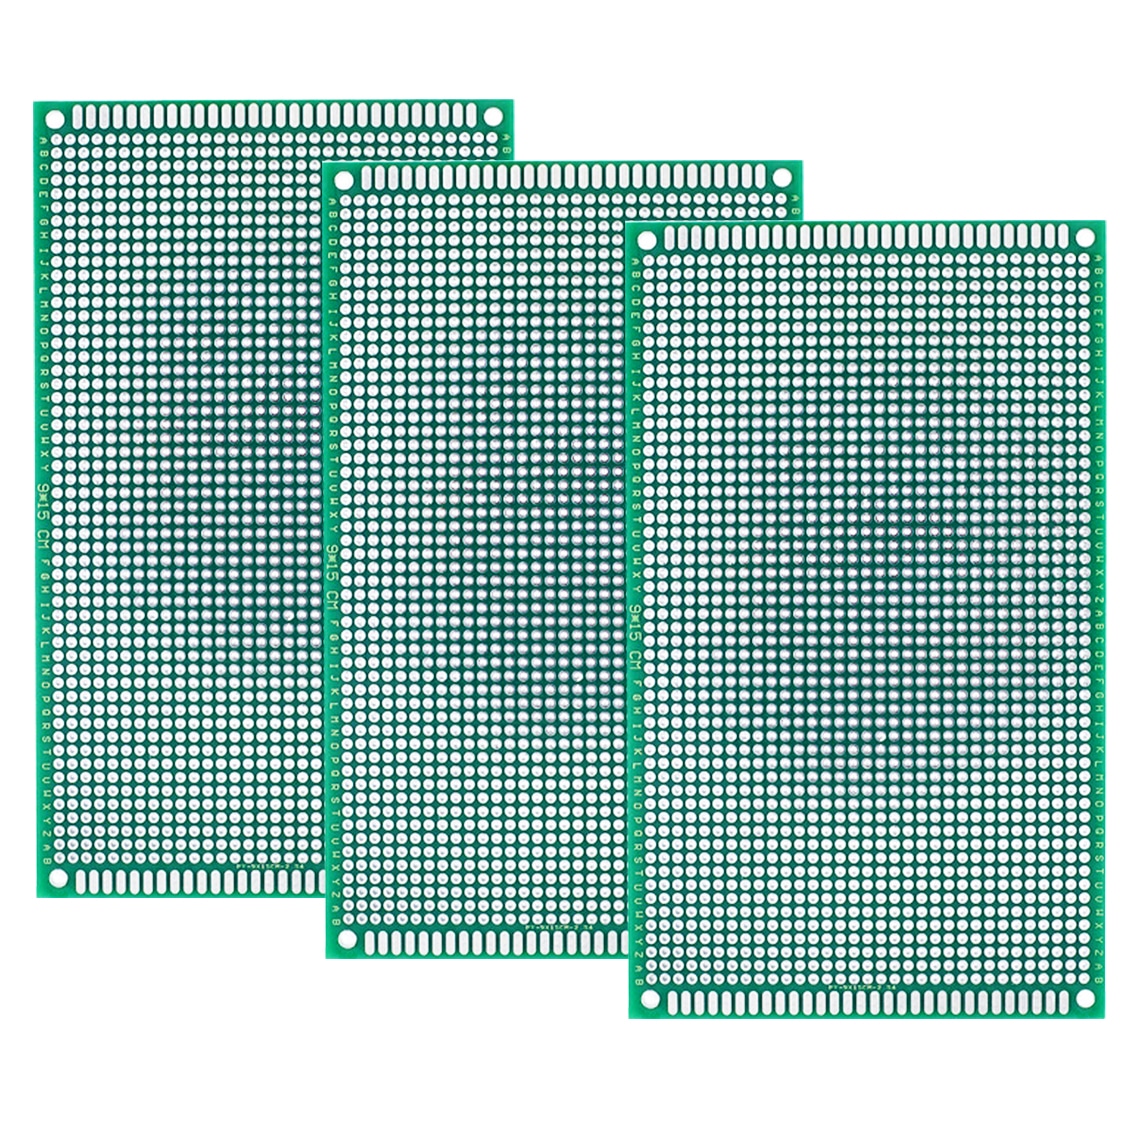
Soldered Prototyping Board
Soldered prototyping boards are PCB (Printed Circuit Boards) with donut holes to cater to your component lead interconnections. These boards can be single or double-sided and they come in various sizes. An example of a reliable prototype board is made of the FR-4 type (Flame Retardant 4) which consists of fiberglass and cloth as base material. There are also cheaper FR-1 types (usually brown-colored) composed of phenolic paper laminate. You can create circuit connections on the board through jumper wires or running solder lead tracks on consecutive donut holes.
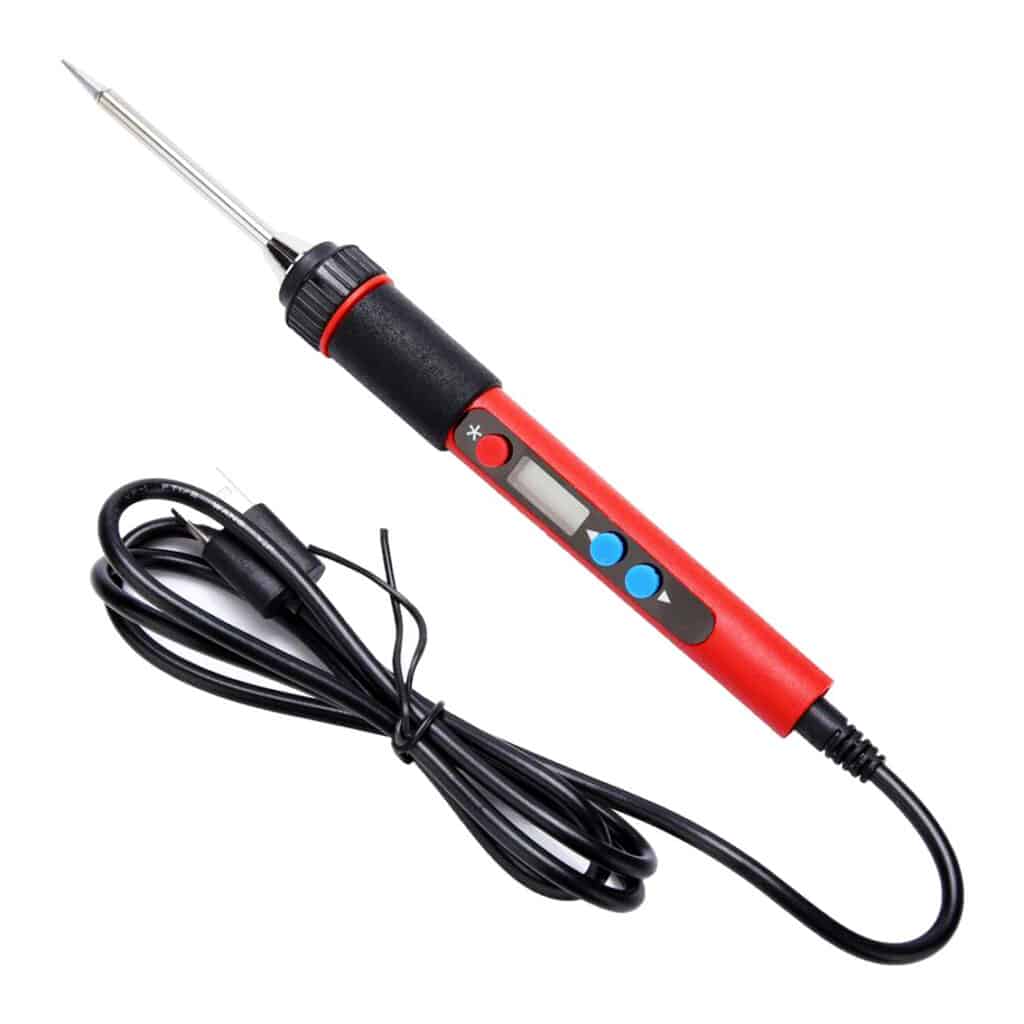
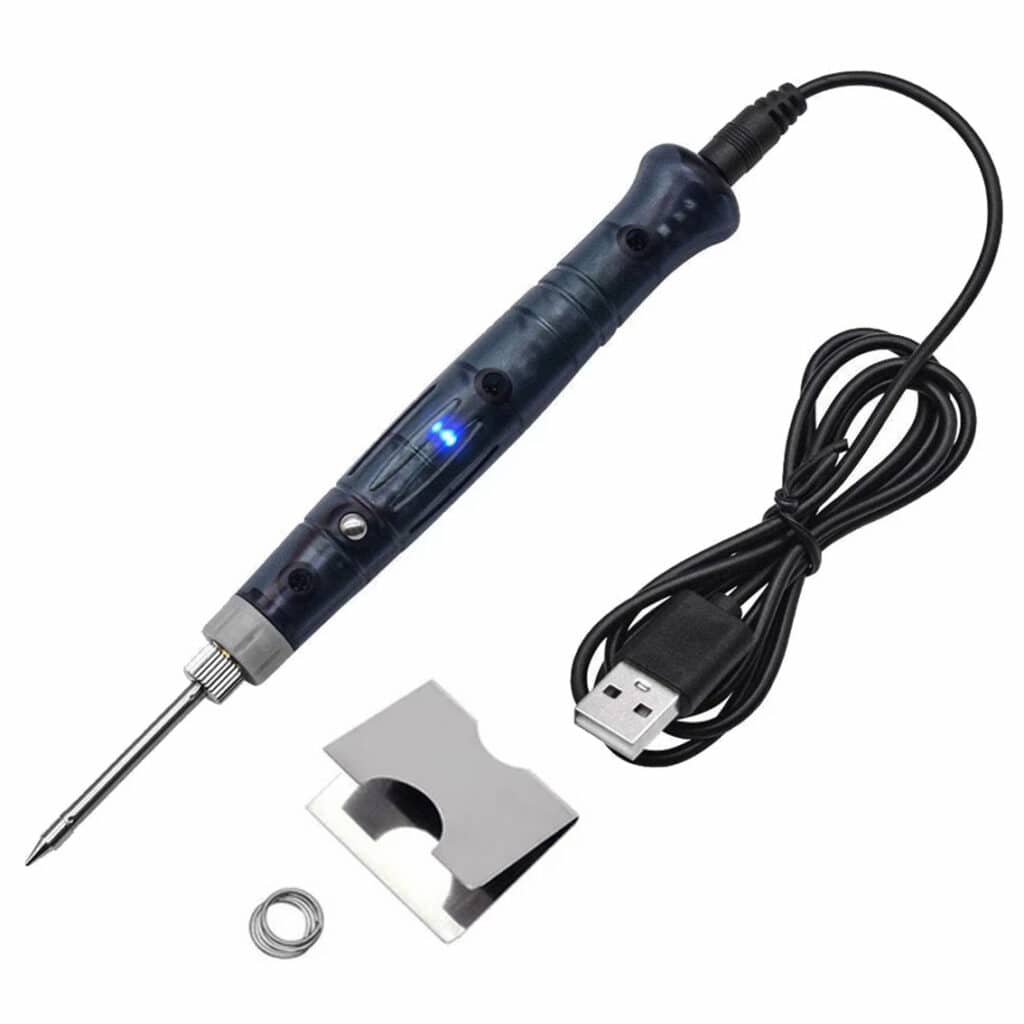
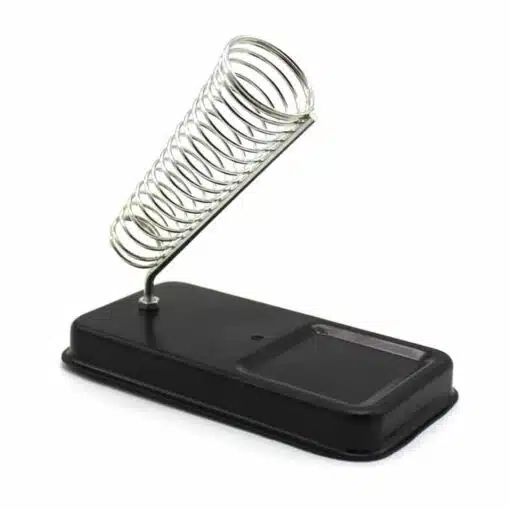
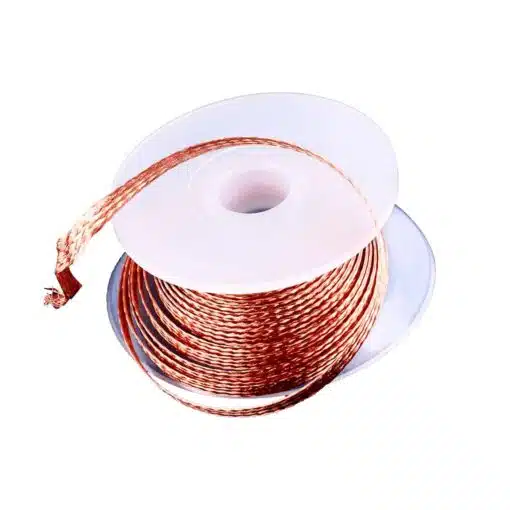
Soldering Iron, Tools, and Accessories
Since you’ll be doing a lot of soldering on your prototype board, it’s important to choose the right soldering tools. There are different soldering irons and tools to choose from and you can find more info on them above.
Choose a USB powered or standard temperature-controlled soldering iron. Along with this, get a nice soldering stand for safety concerns. To be able to solder, acquire a roll of soldering lead.
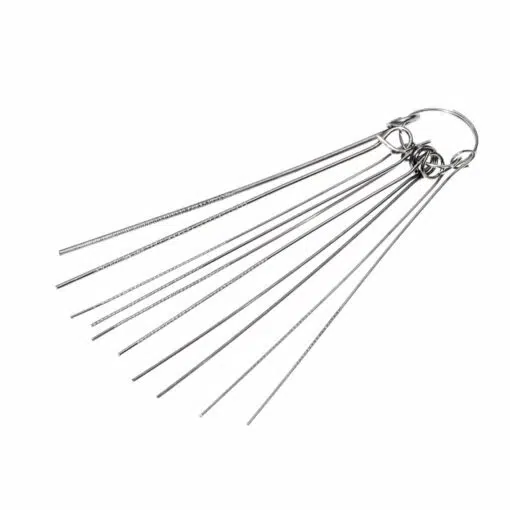
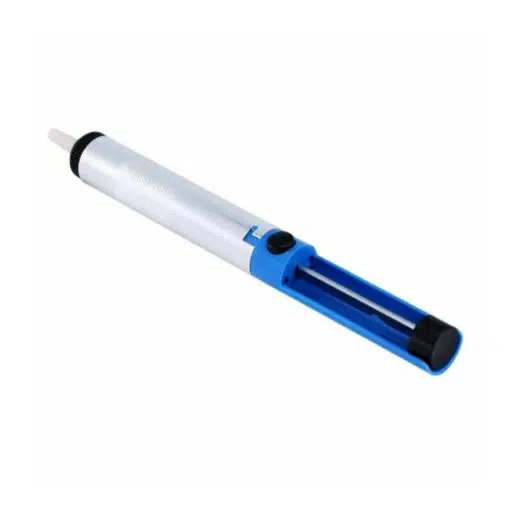
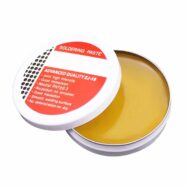
There are several accessories that can go along with a soldering iron. There is the soldering paste/flux, braid, sucker or pump, and through hole desoldering set. Solder paste/flux can make your solders look shinier and have a more robust connection. A desoldering braid can help stick solder on itself to clear out pins or copper pads. A solder sucker/pump vacuum pumps solder, having the same purpose as a desoldering braid. A trough hole desoldering set can clear out solder on a through hole pad.
Finding the Best Prototyping Tools for your Projects
It’s important to find a reliable seller for your prototyping needs. If you want, you can choose a local seller that already has their items on hand, so that you can get your items faster. Additionally, choose one that has good customer support and understands your needs.