// Arduino and GY-302 module
#include <Wire.h>
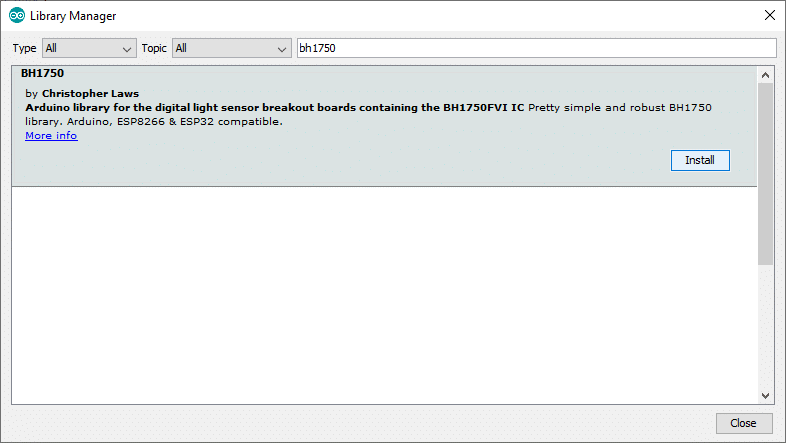
#include <BH1750.h>
BH1750 GY302; // initialize BH1750 object
void setup() {
Serial.begin(9600); // initialize serial
GY302.begin(); // initialize GY-302 module
}
void loop() {
// get reading from module
uint16_t lux = GY302.readLightLevel();
// display to Serial Monitor
Serial.print("Light: ");
Serial.print(lux);
Serial.println(" lx");
// pause for 1 second
delay(1000);
}