Want to learn how to use the SevSeg library? Read through this article to find out about this easy-to-use library for your seven segment displays.
Introduction
Dabbling with a seven-segment display is a fun way to learn about electronics. You get to know how to drive simple LED driven displays. You also get to know how to set up the digits with proper timings to be able to display them comfortably for the user. However, don’t you know there is a simple library that can take care of all the details of setting up and using a seven segment display?
Some previous posts you can check about Seven Segments:
Making use of the SevSeg library
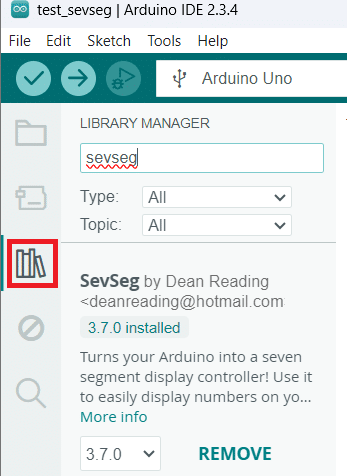
INtsallation
The SevSeg library was written by Dean Reading. It’s supposed to make coding for seven segment display types in Arduino easier. Simply go to your Library Manager to search and install it.
Usage
Definitions and Initializations
Usage is easy. Include the SevSeg library and then declare an instance of the SevSeg class.
					#include "SevSeg.h"

SevSeg sevseg; //Instantiate a seven segment object
Then declare the Arduino pins you’ll use for the digits (0 – 4 or 0 – 8, etc.) and the segments (A – G, DP) of your seven-segment. If you want to learn more about the pins of a seven-segment display, you can look at How to Test a Seven Segment Display.
					  byte numDigits = 4;
  byte digitPins[] = {PD0, PD1, PD4, PD6};
  byte segmentPins[] = {A3, PD3, A2, PD7, A0, A1, PD2, PD5};
A number of hardware and software parameters are needed to initialize the installation correctly. You can choose between a common anode or cathode configuration, if resistors are installed on the digit or segment pins, using decimal points and others.
					  bool resistorsOnSegments = true; // 'false' means resistors are on digit pins
  byte hardwareConfig = COMMON_ANODE; // See README.md for options
  bool updateWithDelays = false; // Default 'false' is Recommended
  bool leadingZeros = false; // Use 'true' if you'd like to keep the leading zeros
  bool disableDecPoint = false; // Use 'true' if your decimal point doesn't exist or isn't connected. Then, you only need to specify 7 segmentPins[]
Now you are ready to configure the sevseg instantiation with sevseg.begin() and the previously declared parameters.
					  sevseg.begin(hardwareConfig, numDigits, digitPins, segmentPins, resistorsOnSegments,
  updateWithDelays, leadingZeros, disableDecPoint);
Setting the Brightness
Instead of experimenting with different timing setups, you can easily set the brightness of your seven segments with the setBrightness() function.
sevseg.setBrightness(90);
Running your Seven Segment Code in the Main Loop
Integer Types
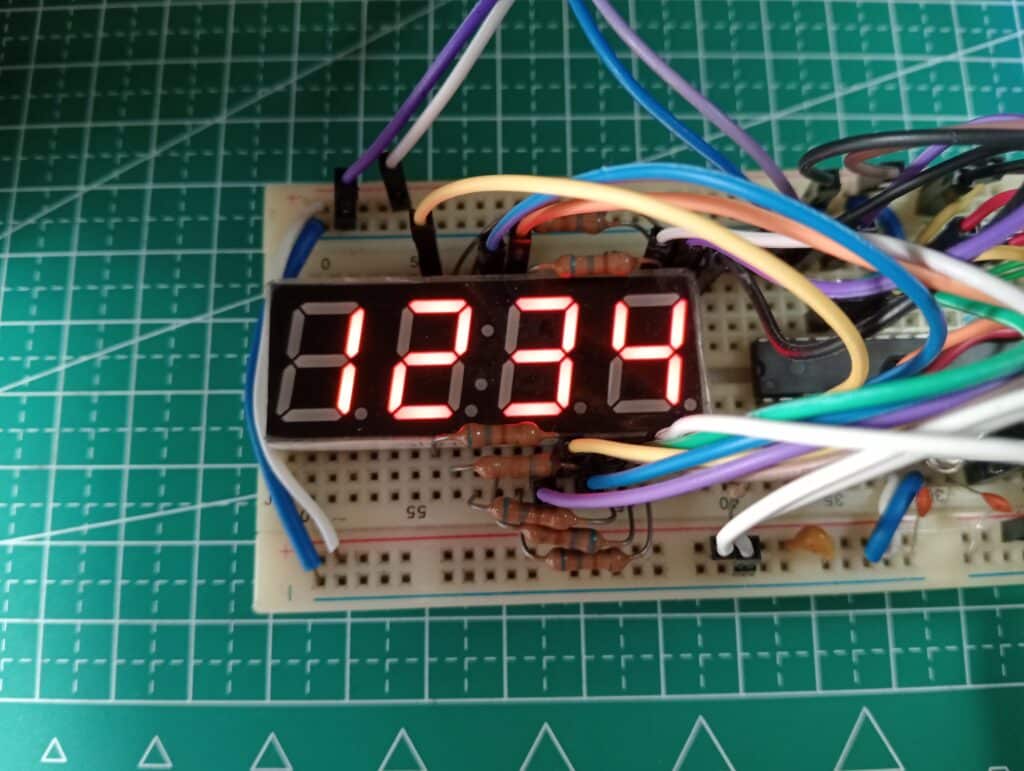
Displaying integer type numbers on your seven-segment display is as easy as using the setNumber() function along with some numerical parameters. The first parameter is your intended value. You may enable a dot notation or even a colon for clock (if you have that feature on your display) through the second parameter by choosing the digit place for that decimal point. If you don’t want to enable a decimal point, just use a -1 value for this parameter.
After setting your number, a refreshDisplay() is required to display your numerical value. This refresh takes care of the required delays to retain the numerical image on the seven-segment display enough for the user to see it.
					void loop() {

  sevseg.setNumber(1234,-1);
  sevseg.refreshDisplay();

}
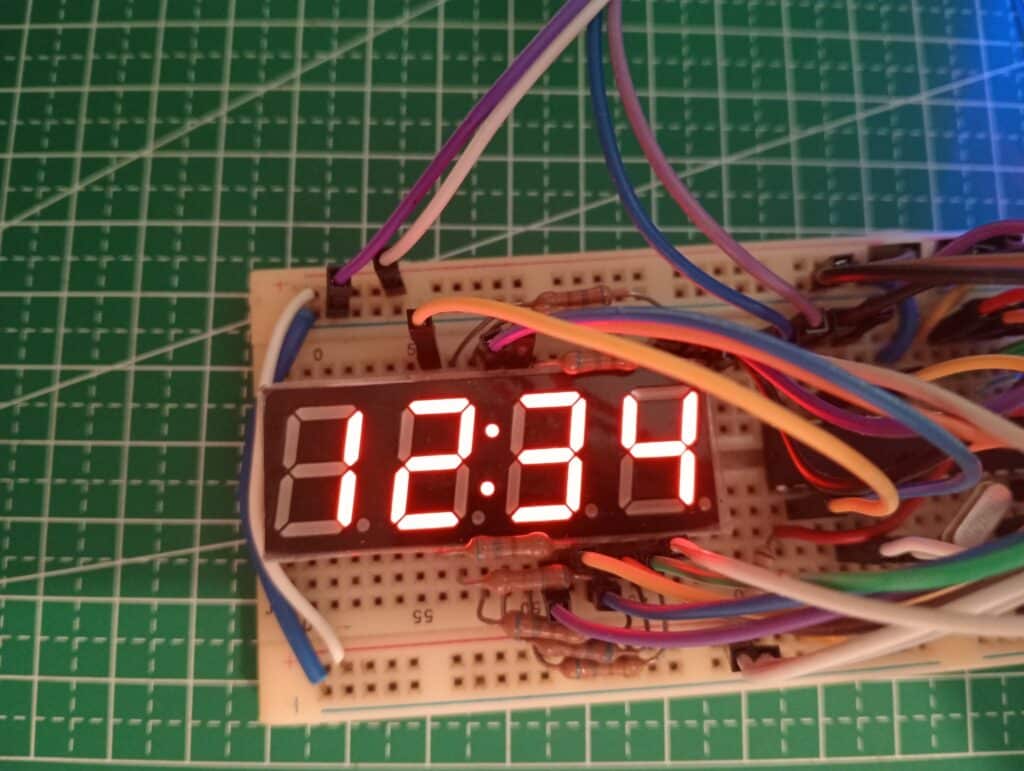
Here is an example code that displays the number with the clock colon.
					void loop() {

  sevseg.setNumber(1234,2);
  sevseg.refreshDisplay();

}
Displaying Other Types
There are other types you can show, such as floats and characters, as well as setting individual digits which you can see examples on their GitHub page.
					sevseg.setNumberF(7.1234f,3); // Displays '7.1234' as float

sevseg.setChars("abcd"); // Displays 'abcd' as charcters

// Set the segments for every digit on the display
uint8_t segs[4] = {0, 0x5B, 0x6D, 0x63};
sevseg.setSegments(segs);

// Set the segments for a single digit. Set digit 3 to 0x63.
sevseg.setSegmentsDigit(3, 0x63);
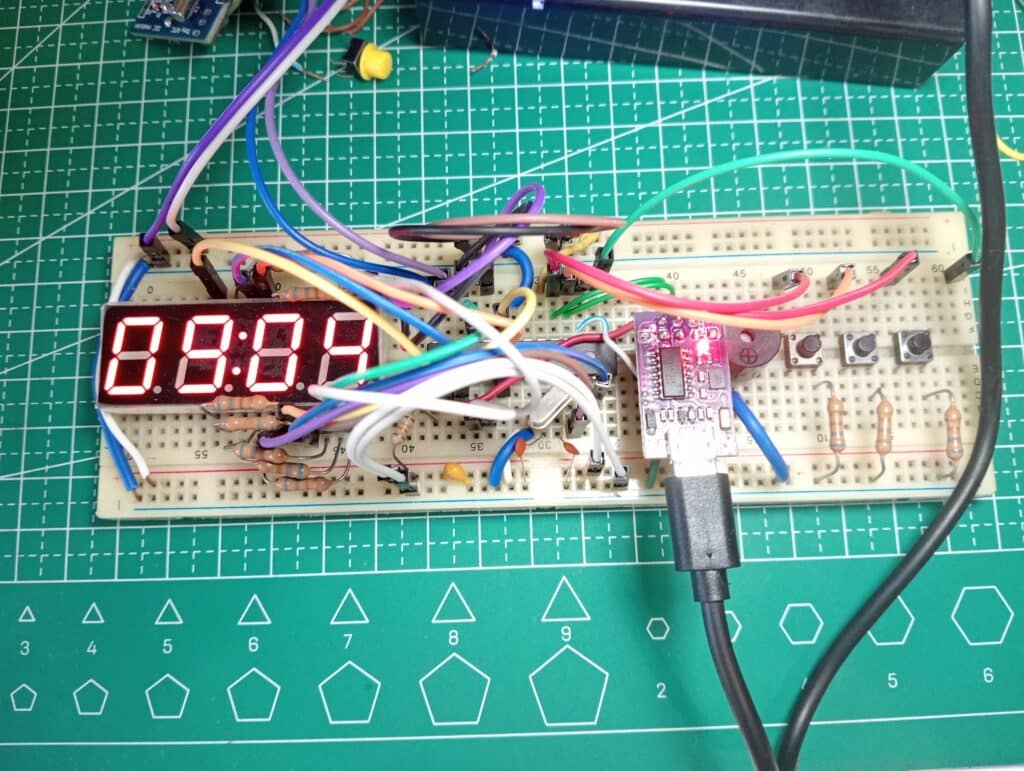
Testing Some Codes
Blinking Clock Colon
#include "SevSeg.h"


SevSeg sevseg; //Instantiate a seven segment object

bool dpState = false; // Track the state of the decimal point

unsigned long previousMillis = 0; // Store the last time the DP blinked
const long blinkInterval = 500;   // Interval for DP blinking (milliseconds)

signed int brightness;

void setup() {
  byte numDigits = 4;
  byte digitPins[] = {PD0, PD1, PD4, PD6};
  byte segmentPins[] = {A3, PD3, A2, PD7, A0, A1, PD2, PD5};

  bool resistorsOnSegments = true; // 'false' means resistors are on digit pins
  byte hardwareConfig = COMMON_ANODE; // See README.md for options
  bool updateWithDelays = false; // Default 'false' is Recommended
  bool leadingZeros = false; // Use 'true' if you'd like to keep the leading zeros
  bool disableDecPoint = false; // Use 'true' if your decimal point doesn't exist or isn't connected. Then, you only need to specify 7 segmentPins[]

  sevseg.begin(hardwareConfig, numDigits, digitPins, segmentPins, resistorsOnSegments,
  updateWithDelays, leadingZeros, disableDecPoint);

  sevseg.setBrightness(90);

}

void loop() {
  unsigned long currentMillis = millis(); // Get current time

  // Check if it's time to toggle the DP state
  if (currentMillis - previousMillis >= blinkInterval) {
    previousMillis = currentMillis; // Reset the timer
    dpState = !dpState; // Toggle the DP state
  }

  if(dpState){
    sevseg.setNumber(1205, 2); // Display a default number (you can change it as needed) with DP
  }else{
    sevseg.setNumber(1205, -1); // Display a default number (you can change it as needed) without DP
  }

  // Update the SevSeg display
  sevseg.refreshDisplay(); // Refresh the display to show updates
}
Hourly Adjust via Button Press
#include "SevSeg.h"

// Switches
#define Hr_SW   12
#define Min_SW  11

SevSeg sevseg; //Instantiate a seven segment object

bool buttonPressed = false;
int hours = 0;
unsigned long previousMillis = 0; // Store the last time the DP blinked

signed int brightness;

void setup() {
  byte numDigits = 4;
  byte digitPins[] = {PD0, PD1, PD4, PD6};
  byte segmentPins[] = {A3, PD3, A2, PD7, A0, A1, PD2, PD5};

  bool resistorsOnSegments = true; // 'false' means resistors are on digit pins
  byte hardwareConfig = COMMON_ANODE; // See README.md for options
  bool updateWithDelays = false; // Default 'false' is Recommended
  bool leadingZeros = true; // Use 'true' if you'd like to keep the leading zeros
  bool disableDecPoint = false; // Use 'true' if your decimal point doesn't exist or isn't connected. Then, you only need to specify 7 segmentPins[]

  sevseg.begin(hardwareConfig, numDigits, digitPins, segmentPins, resistorsOnSegments,
  updateWithDelays, leadingZeros, disableDecPoint);

  sevseg.setBrightness(90);

  // buttons
  pinMode(Hr_SW, INPUT_PULLUP);
  pinMode(Min_SW, INPUT_PULLUP);
}

void loop() {
  // Check if the button is pressed
  if (digitalRead(Hr_SW) == LOW && !buttonPressed) {
    hours = (hours % 12) + 1; // Increment hours and reset to 1 after 12
    buttonPressed = true; // Prevent continuous increments
  } else if (digitalRead(Hr_SW) == HIGH) {
    buttonPressed = false; // Reset button state after button is released
  }

  // Format the display to show the hours on the first two segments
  // Include trailing zeros on the last two segments (hours * 100 to shift)
  sevseg.setNumber(hours * 100, 2); // Hours appear as "HH00" format on 4 digits
  sevseg.refreshDisplay(); // Update the display to reflect the changes
}
Minute Adjust via Button Press
#include "SevSeg.h"

// Switches
#define Hr_SW   12
#define Min_SW  11

SevSeg sevseg; //Instantiate a seven segment object

bool buttonPressed = false;
int hours = 0;
int minutes = 0;
unsigned long previousMillis = 0; // Store the last time the DP blinked

signed int brightness;

void setup() {
  byte numDigits = 4;
  byte digitPins[] = {PD0, PD1, PD4, PD6};
  byte segmentPins[] = {A3, PD3, A2, PD7, A0, A1, PD2, PD5};

  bool resistorsOnSegments = true; // 'false' means resistors are on digit pins
  byte hardwareConfig = COMMON_ANODE; // See README.md for options
  bool updateWithDelays = false; // Default 'false' is Recommended
  bool leadingZeros = true; // Enable leading zeros
  bool disableDecPoint = false; // Use 'true' if your decimal point doesn't exist or isn't connected. Then, you only need to specify 7 segmentPins[]

  sevseg.begin(hardwareConfig, numDigits, digitPins, segmentPins, resistorsOnSegments,
  updateWithDelays, leadingZeros, disableDecPoint);

  sevseg.setBrightness(90);

  // buttons
  pinMode(Hr_SW, INPUT_PULLUP);
  pinMode(Min_SW, INPUT_PULLUP);
}

void loop() {
  // Check if the button is pressed
  if (digitalRead(Min_SW) == LOW && !buttonPressed) {
    minutes = (minutes + 1) % 60; // Increment minutes and reset to 0 after 59
    buttonPressed = true; // Prevent continuous increments
  } else if (digitalRead(Min_SW) == HIGH) {
    buttonPressed = false; // Reset button state after button is released
  }

  // Display the current minutes on the last two digits with leading zeros
  sevseg.setNumber(minutes, 2); // Set to display with 2 digits (forcing leading zero)
  sevseg.refreshDisplay(); // Update the display
}
SHOP THIS PROJECT
-
Sale!

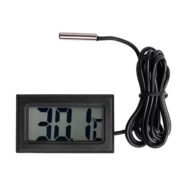
Digital LCD Thermometer Temperature Gauge with Probe
$15.95Original price was: $15.95.$14.95Current price is: $14.95. Add to cart