Introduction
This tutorial details the MQ- # module, its functions, and the method to build a simple project using the MQ gas sensor module and an Arduino.
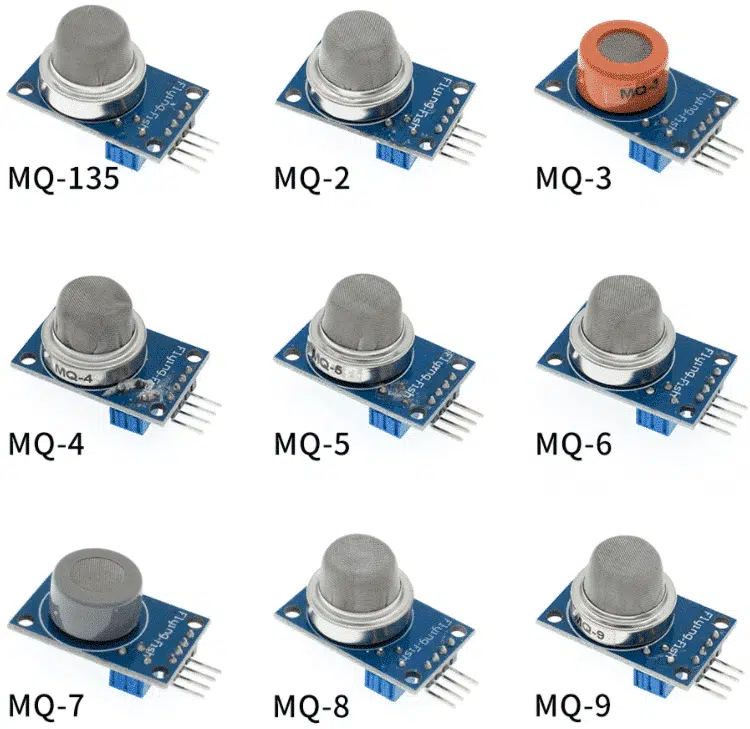
MQ Gas Sensor Module
The MQ gas sensor module has a built-in gas sensor and sensitivity adjustment knob. The module outputs an analog signal related to the amount of specific gas it senses and a digital signal with a sensitivity adjustment. These sensors are gas specific, which means that each type of gas has a specific model.
Pin Out
The MQ Gas Sensor Module has four pins.
| Pin | Description |
|---|---|
| AO | Analog Output |
| DO | Digital Output |
| GND | Ground |
| VCC | Module Power Supply (5VDC) |
How it Works
The MQ gas sensor module has a sensor that detects specific gas depending on its model. The module outputs analog signal from 0-1023. The higher the value, the higher the amount of the gas present in the air. The module also has a digital output; high output indicates a high amount of gas present in the atmosphere. Sensitivity is adjusted with the turning of the potentiometer knob on the module.
Project - Air Gas Monitor
This project will demonstrate how the MQ gas sensor module detects the amount of gas in the air and displays this value in the serial monitor.
Components
- Arduino Uno Board (1 pc.)
- MQ Gas sensor module (1 pc.)
- Jumper Wires
Wiring Diagram
The MQ Gas Sensor module pins are connected to the Arduino Uno board as follows:
| Module Pin | UNO Board Pin |
|---|---|
| AO | A0 |
| DO | 3 |
| GND | GND |
| VCC | 5V |
Code
					//MQ gas sensor pins
#define mqDigital 3
#define mqAnalog A0
void setup() {
  //Start serial monitor
  Serial.begin(9600);
  //pinmodes
  pinMode(mqDigital,INPUT);
  pinMode(mqAnalog,A0);
}
void loop() {
  //display analog reading
  Serial.println(analogRead(mqAnalog));
  //check digital signal
  if (digitalRead(mqDigital) == HIGH){
    Serial.println("Gas Detected");
  }
}
Project Test
Wire the components to the Arduino as demonstrated in the wiring diagram. Connect the Arduino to a PC and upload the program. Open the Serial Monitor in the Arduino IDE and the amount of gas detected in the air will be displayed when the threshold of the gas sensitivity is reached.


