Introduction
This tutorial details the 16×2 LCD IIC module, its functions, and the method to build a simple project using the 16×2 LCD IIC and an Arduino.
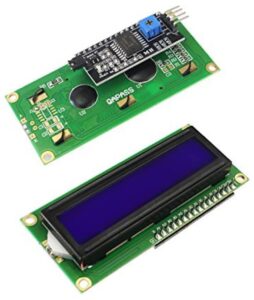
The 16x2 LCD IIC Module
The 16×2 LCD IIC module is a simplified version of a 16×2 LCD. Adding an IIC circuit enables more accessible communication with the Arduino and fewer wirings.
Pin Out
The APDS-9960 has six pins.
| Pin | Description |
|---|---|
| GND | Ground |
| VCC | Power supply to the module (5VDC) |
| SDA | IIC data pin |
| SCL | IIC clock pin |
How It Works
The 16×2 LCD IIC module is an output device that displays up to 2 lines of 16-character display. In addition, the component has an IIC module that solves the common issue of messy wiring associated with a typical 16×2 display module. The 16×2 LCD IIC module uses IIC communication protocol to communicate with the microcontroller.
Project - Arduino Hello World LCD Display
This project will demonstrate how the phrases ‘HELLO WORLD’ and ‘LCD IIC TUTORIAL’ can be projected on the first and second lines of the 16×2 LCD IIC module display, respectively.
Components
- Arduino Uno Board (1 pc.)
- 16×2 LCD IIC Module(1 pc.)
- Jumper Wires
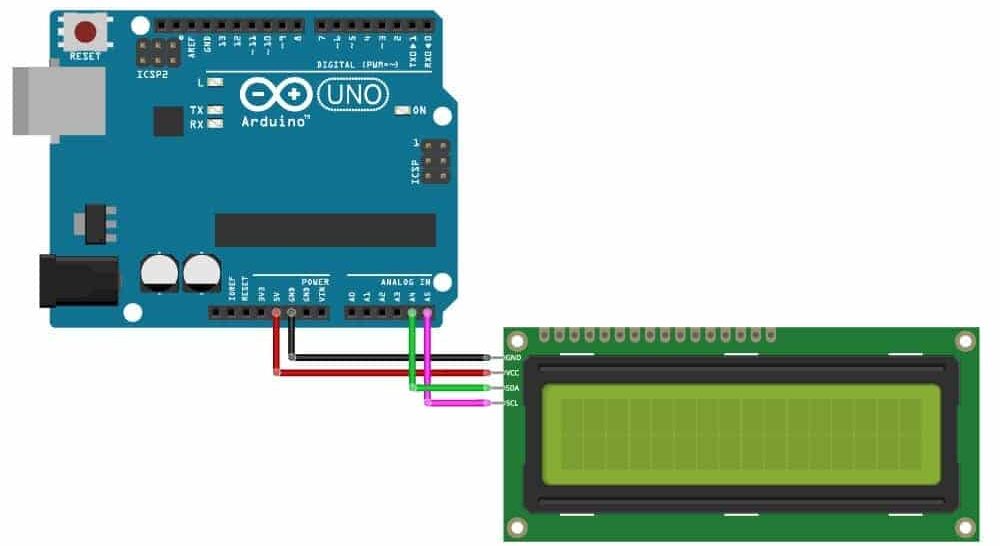
Wiring Diagram
The GY-ML8511 module pins are connected to the Arduino Uno board as follows:
| Module Pin | UNO Board Pin |
|---|---|
| GND | GND |
| VCC | VCC |
| SDA | A4 |
| SCL | A5 |
Code
					// Include the libraries:
#include <Wire.h> // Library for I2C communication
#include <LiquidCrystal_I2C.h> // Library for LCD
// Wiring: SDA pin is connected to A4 and SCL pin to A5.
// Connect to LCD via I2C, default address 0x27 (A0-A2 not jumpered)
LiquidCrystal_I2C lcd = LiquidCrystal_I2C(0x27, 16, 2); // Change to (0x27,20,4) for 20x4 LCD.
void setup() {
  // Initiate the LCD:
  lcd.init();
  lcd.backlight();
}
void loop() {
  // Print 'Hello World!' on the first line of the LCD:
  lcd.setCursor(2, 0); // Set the cursor on the third column and first row.
  lcd.print("HELLO WORLD"); // Print the string "Hello World!"
  lcd.setCursor(2, 1); //Set the cursor on the third column and the second row (counting starts at 0!).
  lcd.print("LCD IIC TUTORIAL");
}
Project Test
Wire the components to the Arduino as demonstrated in the wiring diagram. Connect the Arduino to a PC and upload the program. The 16×2 LCD IIC Module will display the characters.


