Would you like to know how to use the Schematic Editor in KiCAD? Interested to know the advantages of using this tool. Read the tutorial below to find out.
Introduction
KiCAD has a schematic editor that’s built in into its IDE. The editor can create neat schematic diagrams with its already available library symbols. Schematic entry is easy; you simply wire connections to each symbol using the wire tool. After creating your schematic, your next step would be to create a PCB layout out of this.
Important Qualities in KiCAD's Schematic Editor
Seemlessly update your PCB layout with your schematic and vice-versa
Automatic BOM Generation
Automated Design Rule Check
Adding of Hierarchical Sheet
Wiring of Busses
Add a Bitmap Image
Annotating Tools
Bulk Edit Fields of your Schematic Symbols
In this tutorial, the focus is on basic schematic entry and usage of tools in KiCAD.
How to Create a Schematic in KiCAD
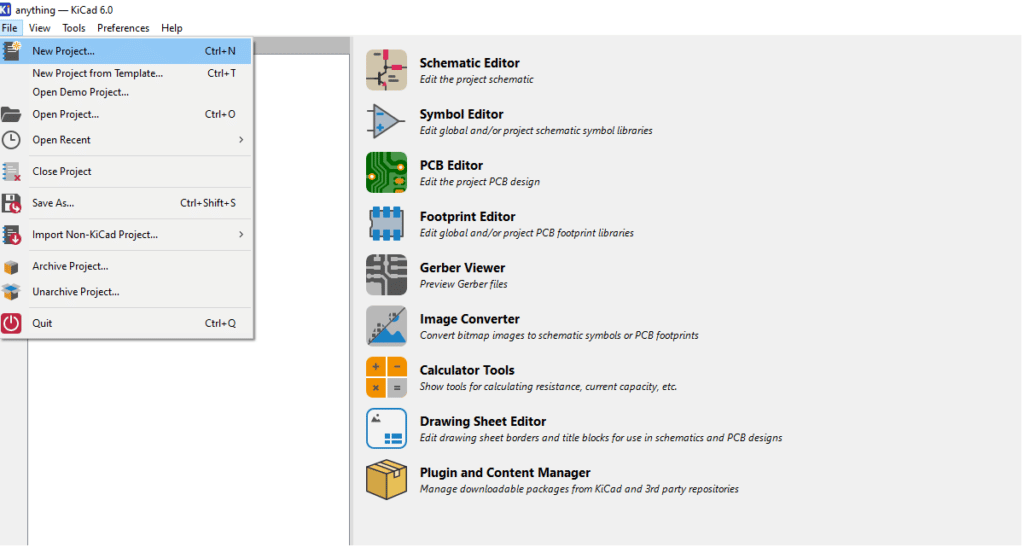
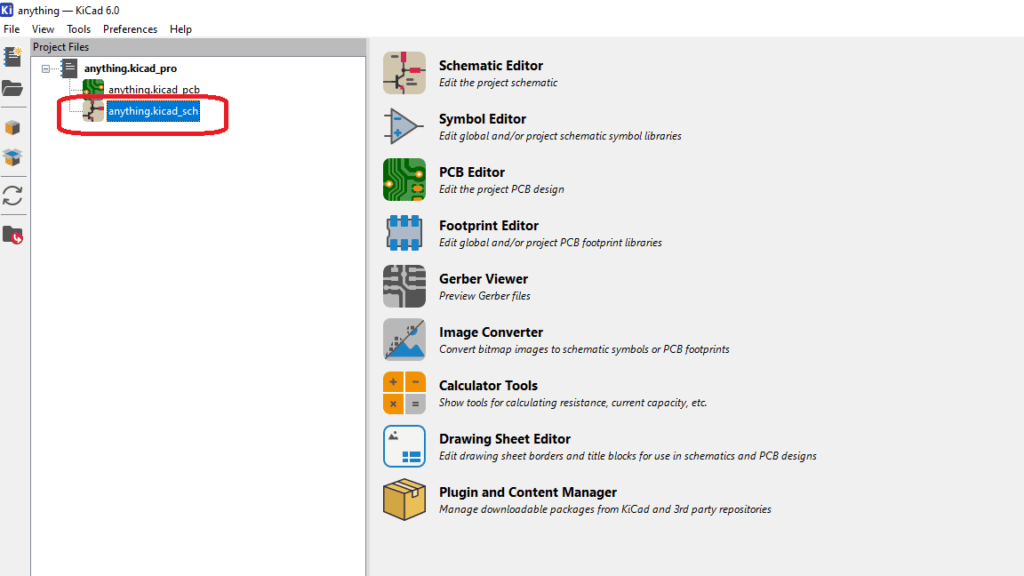
On KiCAD’s main app, click File – > New Project. After creating your new project, go ahead and click the Schematic file created for the project.
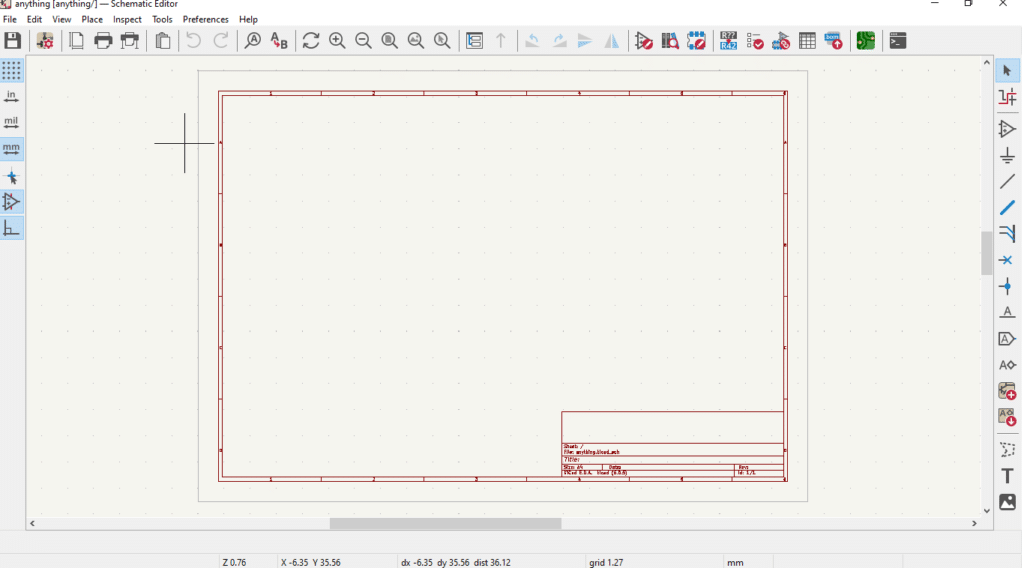
After that, you’ll immediately be brought to the Schematic Editor window.
At this point, you can already start doing your schematic. You can start adding part symbols through the Add a symbol icon from the left toolbar. You can wire these parts through the Add a wire tool. You can also add power sources through Power port tool. Consequently, for some symbols, you can already specify the footprint you want. Otherwise, you may have to go to the Symbol Properties for this. See the video demonstration below.
(Pardon some electrical rule violations as this is just mean to demonstrate schematic entry wiring. This will be corrected on the next series of blogs)
Once you’ve set up most symbols, annotate your schematic to give them reference designators. You can do this through Tools -> Annotate Schematic. You can then proceed to input the values of your symbols.
Save your Schematic
Save your schematic by clicking the Save icon. You’re now on you way to creating a PCB out of this schematic. Hope you’ve gained a lot of insights regarding this tutorial about KiCAD schematic entry.