Have you tried the Adafruit Feather boards? Interested to take a peak at the 32u4 BlueFruit LE? Read through the article to find out.
Introduction
You may have got different kinds of development kits by now. You’ve probably got the UNO, MEGA, Nano, ESP32 WROVER, ESP32-CAM, or others. There’s nothing like opening it up for the first time and trying it out. Now, we’re going to look at a different class of board called the Feather board by AdaFruit. If you haven’t heard of it, Feather boards are Adafruit’s new set of dev boards that will enhance and lessen the time of construction of your prototypes.
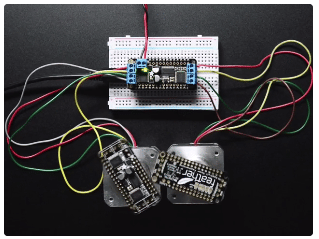
AdaFruit has several Feather boards as well as Feather Wings. Those wings are actually supplementary items that can stack up on your Feather boards. Things such as OLEDs, SD Card holders, RTCs, audio jacks and synthesizers, motor drivers, and the like. You’ll be delighted with the small form factor of the Feather architecture as it’s extremely comfortable to work with them that way.
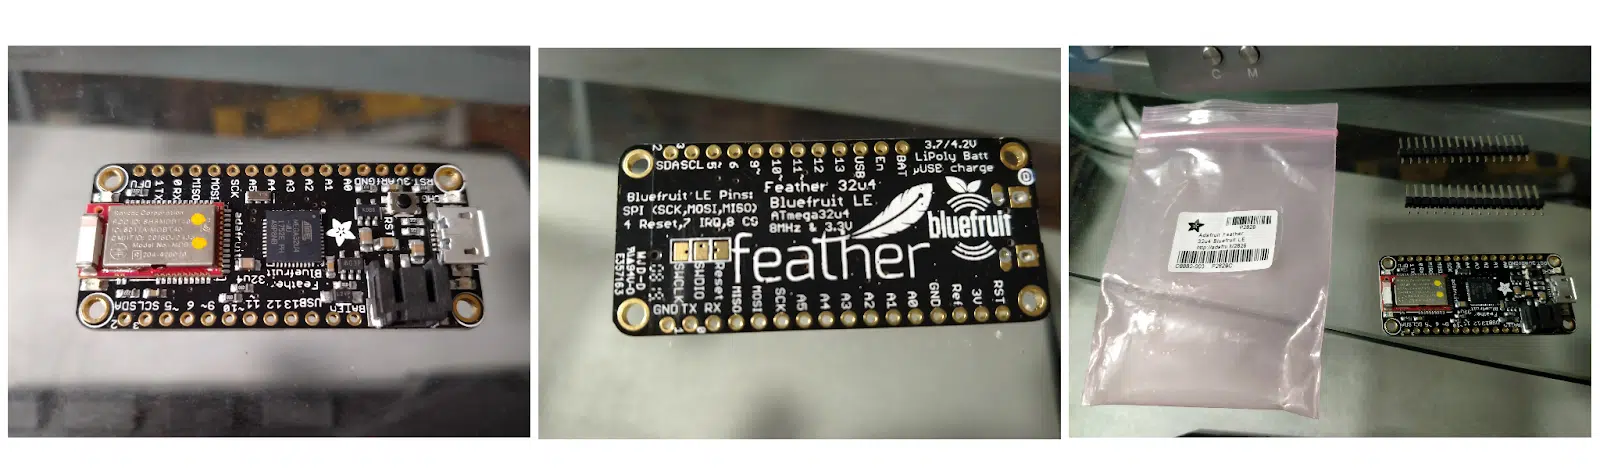
The Adafruit Feather 32u4 Bluefruit LE
The Feather 32u4 BlueFruit LE is a wireless dev board meant for your BlueTooth training and development. It’s meant for the Arduino environment as it has an Atmel (now Microchip) chip. It has the Atmega32u4 which has a built-in USB interface. With this, there’s no need for any FTDI chip. It also features the nRF51822 chip from Nordic Semiconductor for its BlueTooth Transceiver. The nRF51822 is enclosed in the MDBT40 module from RAYTAC along with a ceramic chip antenna.
Preparing For First Use
Solder The Header Pins
This Feather comes with male headers. You can optionally have female headers or a combination of them.
(It’s actually recommended to do the soldering with the headers inserted into a mini breadboard to align the headers properly)
Connect a Micro USB Cable
You will need to connect the Feather board your computer, to do this, you will need to connect a Micro USB to USB cable from the port on the Feather to a USB port on your computer.
Start Coding
Preparing the Arduino IDE
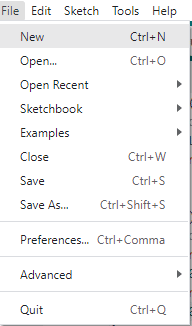
Download the latest Arduino IDE from the Arduino website. After that, you’ll have to set up the Boards URL Manager in Preferences.
After that, you can try to restart the Arduino IDE. Next, go to Tools and the Boards Manager.
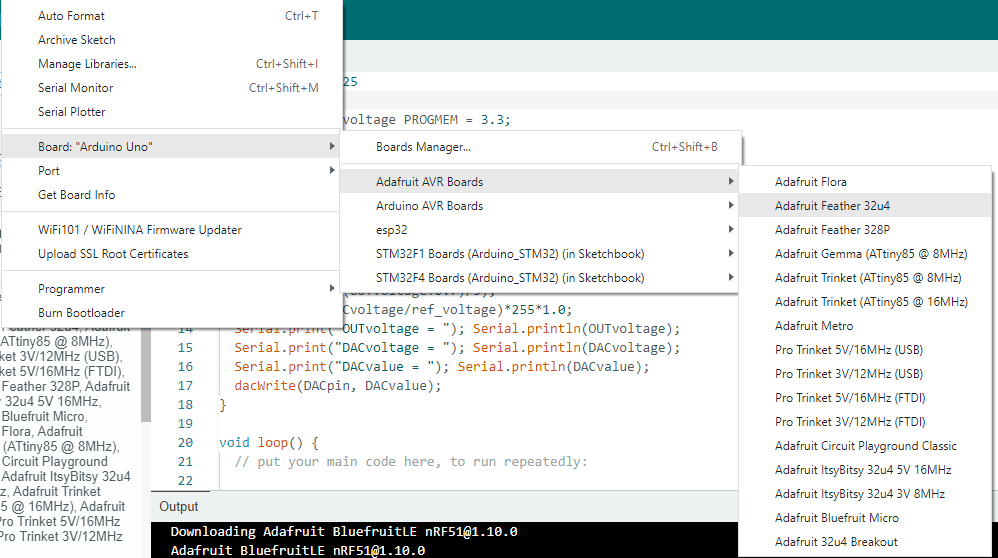
Then, search for AdaFruit AVR Boards and install it.
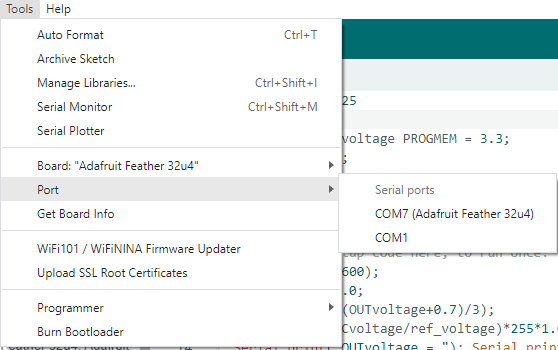
After installing. make a new project. Then choose your board (Adafruit Feather 32u4) from Tools -> Board and connect it to that Port.
LED Blink Code
You can copy and paste this code just to test if your Feather is functional.
					void setup() {
  // put your setup code here, to run once:
  pinMode(LED_BUILTIN, OUTPUT);
  digitalWrite(LED_BUILTIN, HIGH);
}

void loop() {
  // put your main code here, to run repeatedly:
  digitalWrite(LED_BUILTIN, HIGH);
  delay(1000);
  digitalWrite(LED_BUILTIN, LOW);
  delay(1000);
}
If everything goes well the LED light on the board should flash ON and OFF every second.
Testing Bluetooth Functionality
Running as a HID Keyboard
What more can you do with a Bluetooth-enabled device than to test it with your host device? Prepare your Bluetooth-enabled PC or mobile phone as we’re going to do a wireless keyboard. Surely, the 32u4 together with the nRF51822 can easily accomplish this task.
First, you’ll have to install the Adafruit BluefruitLE nRF51 library so that you can include it in your projects. To do this, go to Sketch -> Include Libraries -> Manage Libraries and search for that library.
Next, open the example hid keyboard application that comes along with the Adafruit BluefruitLE:
Code - Module Setup & Explanation
Hardware Setup
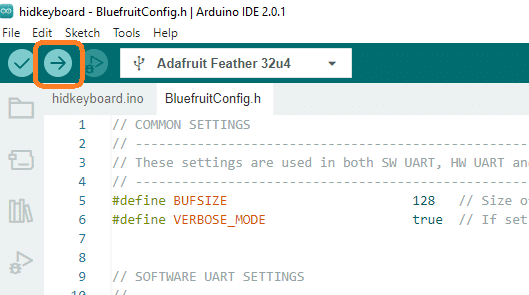
First, make sure that you are setting up your hardware accordingly. In the BluefruitConfig.h file, under HARDWARE SPI SETTINGS, makes sure that the BLUE_FRUIT_SPI_RST pin is set to pin 4.
Header Files
The Adafruit_BLE.h, Adafruit_BluefruitLE_SPI.h, and BluefruitConfig.h are the important files to include in this project. Here, we are using hardware SPI mode to communicate with the nRF51822.
Creating Bluefruit Object
Here is the statement to create the Bluefruit object by using hardware SPI.
Initializing The Module
We begin the ble object through ble.begin( ). Next, we do a factory reset through ble.factoryReset( ) to set everything in a known state.
Preparing Onscreen Information
Set echo to false and the print your Bluetooth Module info.
Changing the Device Name
Preparing The HID Service
The HID service is enabled through an AT Serial command “AT+BleHIDEn=ON” through sendCommandCheckOK( ) on the ble object.
Software Reset
The Rest of The Code
The rest of the code simply gets user input through the Serial port and then sends it to the Bluetooth module as Keyboard HID commands.
Go ahead and compile the whole code and upload it on your device.
After which, open the Serial Monitor and ensure it’s at 115200 baud rate settings.
Now get your mobile phone or Bluetooth-enabled device and pair it with your Feather. The name of this device is Bluefruit Keyboard.
Open an app on your cellphone such as Keep Notes. In Arduino IDE, on your Serial Monitor, type characters and or do an enter key (\r) through the shortcut keys. There it is! You’ve tested a Bluetooth wireless keyboard using your Feather 32u4 Bluefruit LE.
SUBSCRIBE FOR NEW POST ALERTS
Subscribe to be the first to know when we publish a new article!