Introduction
This tutorial details the 433MHZ HC-12 SI4463 Wireless Serial Port Module, its functions and the process to build a project using the NRF905 and an Arduino
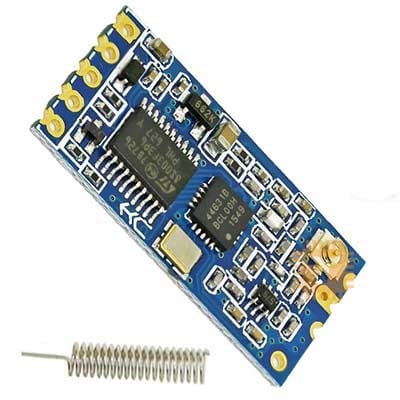
The 433MHz HC-12 SI4463 Wireless Serial Port Module
The 433MHz HC-12 SI4463 Wireless Serial Port Module provides a wireless 4-pin TTL-level UART interface (Vcc, Gnd, Tx, Rx) with 100 channels spaced 400 kHz apart, eight transmit levels, eight supported baud rates, and three different working modes.
Pin Out
| Pin | Description |
|---|---|
| VCC | Module Power Supply (3.3-5VDC) |
| GND | Ground |
| RXD | Data Receive |
| TXD | Data Transmit |
| SET | Enter Setup |
How It Works
The 433MHZ HC-12 SI4463 Wireless Serial Port Module is a transceiver module. This module is routinely used in pairs to enable 2 microcontrollers to wirelessly communicate with each other from a ceratin distance. This module uses serial communication to communicate with the microcontroller.
Project - Two Way Arduino Serial Communication
This project requires 2 sets of Arduino and 433MHZ HC-12 SI4463 Wireless Serial Port Modules, which will communicate with each other using the serial monitor.
Components
- Arduino Uno Board (2 pcs.)
- Wireless Transceiver Module – NRF905 (2 pcs.)
- Decoupling Capacitor (1pc.)
- Jumper Wires
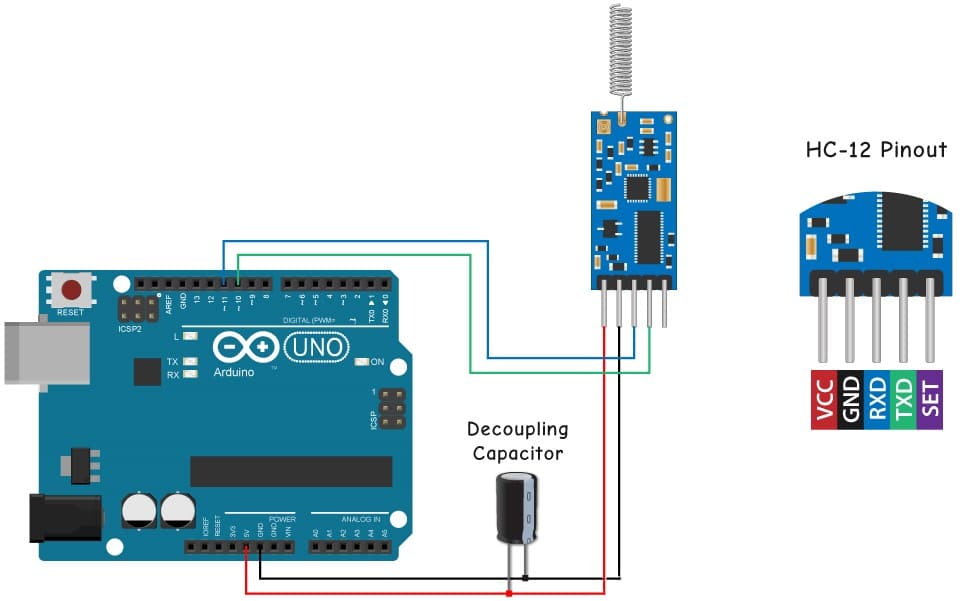
Wiring Diagram
The 433MHZ HC-12 SI4463 Wireless Serial Port Module pins are connected to the Arduino Uno board as follows:
| Pin | Arduino |
|---|---|
| VCC | 5V |
| GND | GND |
| RXD | 11 |
| TXD | 10 |
| SET | Not Connected |
Code
					#include <SoftwareSerial.h>
SoftwareSerial HC12(10, 11); // HC-12 TX Pin, HC-12 RX Pin
void setup() {
  Serial.begin(9600);             // Serial port to computer
  HC12.begin(9600);               // Serial port to HC12
}
void loop() {
  while (HC12.available()) {        // When data is received
    Serial.write(HC12.read());      // Send the data to Serial monitor
  }
  while (Serial.available()) {      // When data is sent
    HC12.write(Serial.read());      // Send that data to HC-12
  }
}
Project Test
Once the components are wired as per the wiring diagram, connect the Arduino to the PC and upload the program. Open the Serial Monitor in the Arduino IDE on both devices, type a message on the serial monitor and send. The message will appear on the other serial monitor.