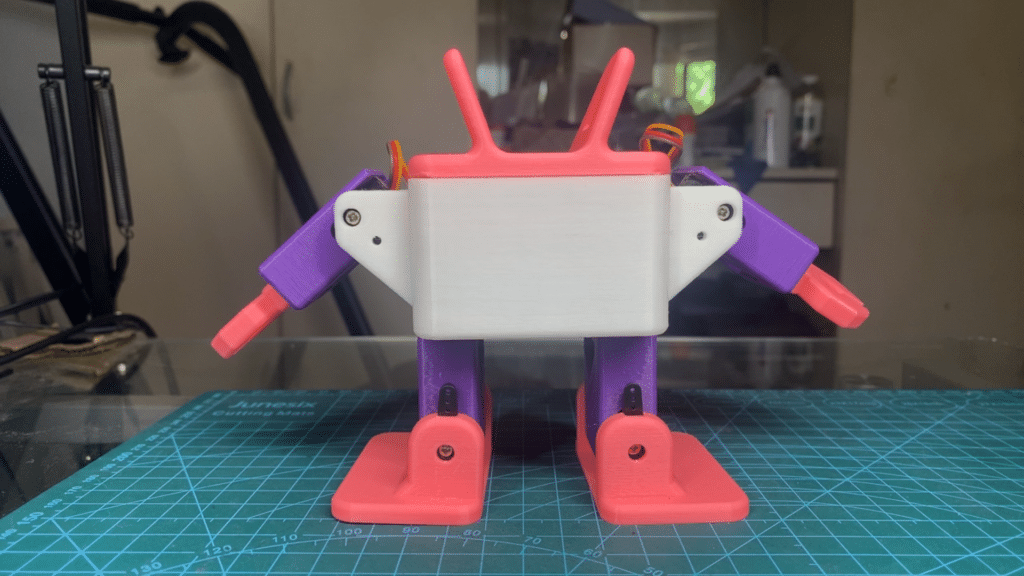
Wanting to build your own personal robot assistant, but don’t know where to start? Find the steps here to create your own DIY Xiaozhi AI Otto Robot personal assistant.
Introduction
In this era, robots are the future of technology. Soon, you will be able to find robots everywhere, including in your homes, public places (such as parks), manufacturing facilities (such as car factories), hospitals, schools, and other places.
Why wait? Start now and create your own personal robot assistant. Specifically, the Xiaozhi AI Otto Robot assistant.
If you haven’t yet, you should have gone through the Easy Xiaozhi ESP32 Voice Assistant. Here, you’ll learn about this wonderful piece of technology, where an ESP32-S3 is used as a client for a Xiaozhi server. This setup makes for an easy-to-use and setup personal voice assistant for your everyday needs. The Xiaozhi voice assistant can run on a variety of boards, including an Otto Robot-style board that can walk, wave its hand, and do all sorts of stuff.
Materials you will Need
Electronic Parts
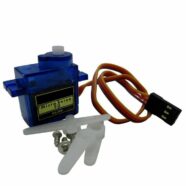
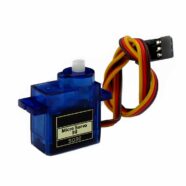
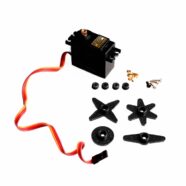
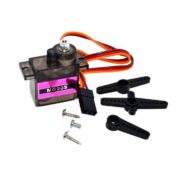
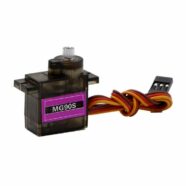
6 pcs. SG90/MG90 Servo Motors w/ screws
1 pc. 2828 4R 3W 2 Pin 1.25 Cavity Speaker
1 pc. ST7789 1.54 inch 240x240 Color IPS LCD (no metal frame)
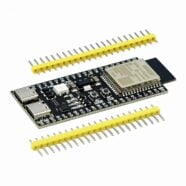
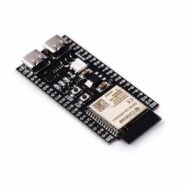
Xiaozhi ESP32-S3 Otto Robot Board
18650 ~2000mAH Li-Ion Battery
You should be able to purchase most of the parts from online electronic shops. The Xiaozhi ESP32-S3 Otto Robot Board is an open-source board designed by otto-diy.tech. You may find the boards being sold in the shop section of Otto-Diy Tech. If you are interested in making your own, find the schematic below.
3D Printed Parts
Body
Top Cover
Feet
Arms
Legs
Hands
Buttons
You can download this 3D-printed parts collection here, an improvement of the original, created by various open-source communities. After that, use a 3D printer to print them.
In the next part, you’ll learn how to download code to your Xiaozhi AI Otto Robot.
Xiaozhi AI Otto Robot Board Schematic
Complete schematic of the DIY Xiaozhi Otto Robot based on the original made by Otto DIY Tech.
Solder the LCD Screen on the Back of the Otto Robot PCB
The LCD screen is a 240×240 IPS LCD with an ST7789 driver chip. This part has no metal frame and only has a flex PCB with bare copper pads for its connections. It’s a bit tricky soldering this, so you gotta have intermediate soldering skills. If you have a microscope or a magnifier, it will greatly help.
Ready some materials for this procedure such as:
Soldering Iron
Soldering Wick
Capton or Tape
Soldering Flux
Soldering Lead
Double-sided tape or slim foam tape
Lint-Free cloth
Pre-tin the PCB pads for the LCD screen with lead for easier reflow. Apply flux if you want.
Lay down the LCD screen flex PCB as seen below. Align the exposed pads of the flex to the PCB pads at the back of the board.
Put a tape on the flex screen to keep it in place.
Apply some solder flux if you want to keep the solder fluid when soldering.
Slowly (about 1-1.5 secs per pad only), apply a sweeping solder so that the flex terminal pads bridges with the LCD pads on the board.
Gently clean the board with alcohol and a lint-free cloth.
Stick a double-sided tape or foam tape on the bottom side of the PCB. You may have to stack up some tape to level the LCD to the board when pressed together.
Let the back side of the LCD rest on the bottom PCB layer so that it sticks with the adhesive tape.
Take out the protective film of the LCD.
Now you can test the Otto Robot PCB with LCD screen if it will fit your robot chassis just like below.
Download Firmware to your Otto Robot Board
First Time Download Enter Bootloader Mode
Connect your Li-Ion battery to the terminal port of the Otto Robot board. It’s best to connect the battery before connecting the board to your computer through USB.
Optionally connect the cavity speaker to CN2 to hear some sounds.
See if the power switch SW1 is set to OFF. You’ll need it to be OFF first to be able to boot in bootloader mode correctly.
Now, connect your board through a USB-type C cable to your PC. Notice the board will have its LED charge indicator lit on. The charging current is approximately 500 mA.
Press and hold the boot button (SW2) first, and then turn on the power button (SW1) next. You can release the boot button after.
You should see a COM port initiated on your Device Manager. This indicates you are in bootloader programming mode.
You can test whether the firmware has been flashed correctly by resetting the board via the ON/OFF switch. You should hear that you are in WiFi configuration mode.
Configure WiFi and Xiaozhi Chat Agent
At this point, if you like, you can continue configuring the WiFi, Xiaozhi server, and Chat agent. It should be similar to what was done in Easy Xiaozhi Voice Assistant.