Read this article to create text and graphics on your OLED screen in MicroPython using your Raspberry Pi Pico.
Introduction
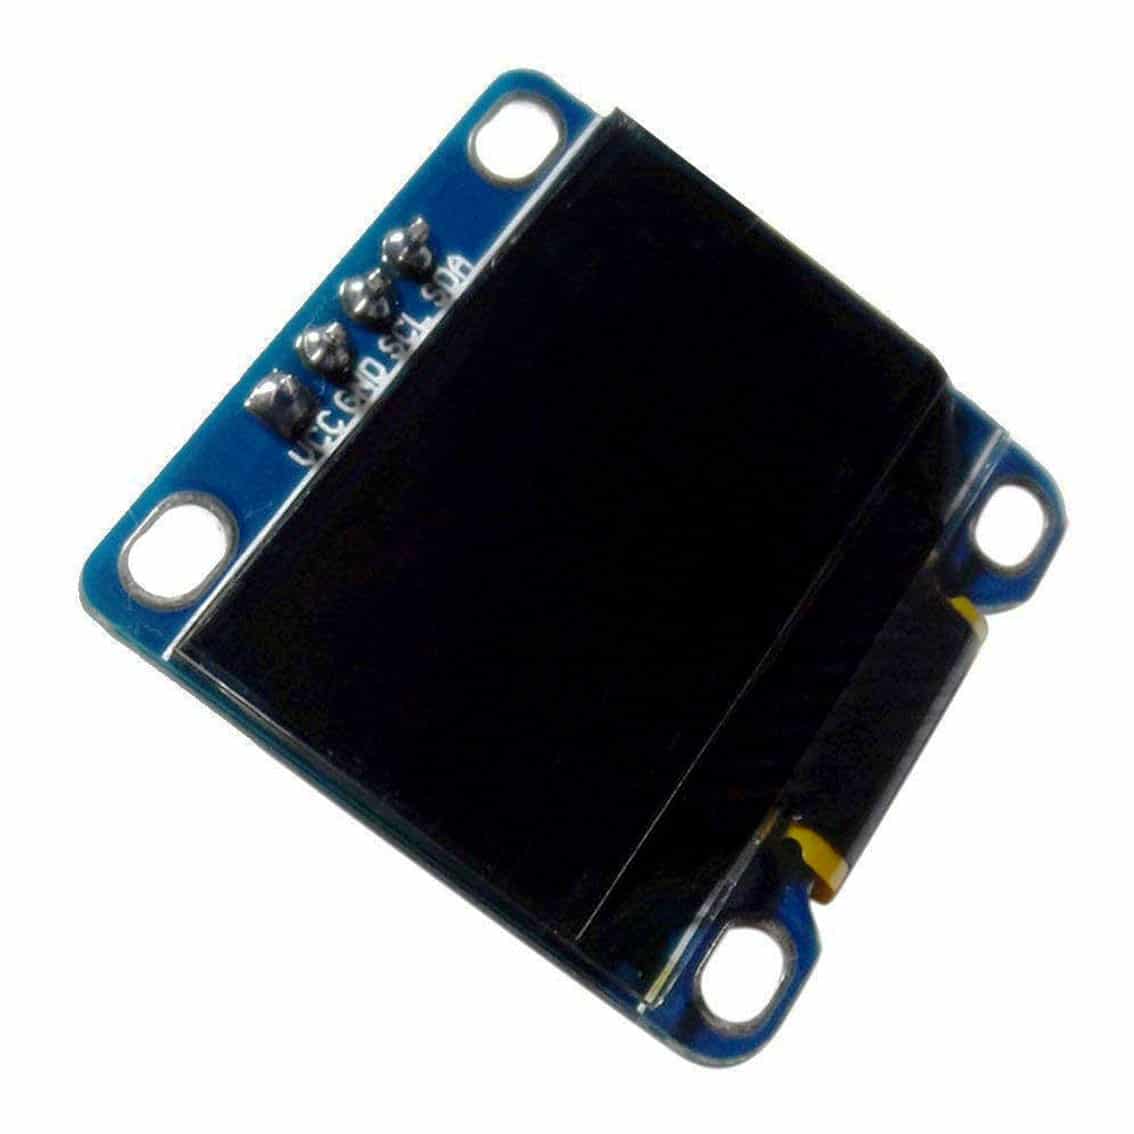
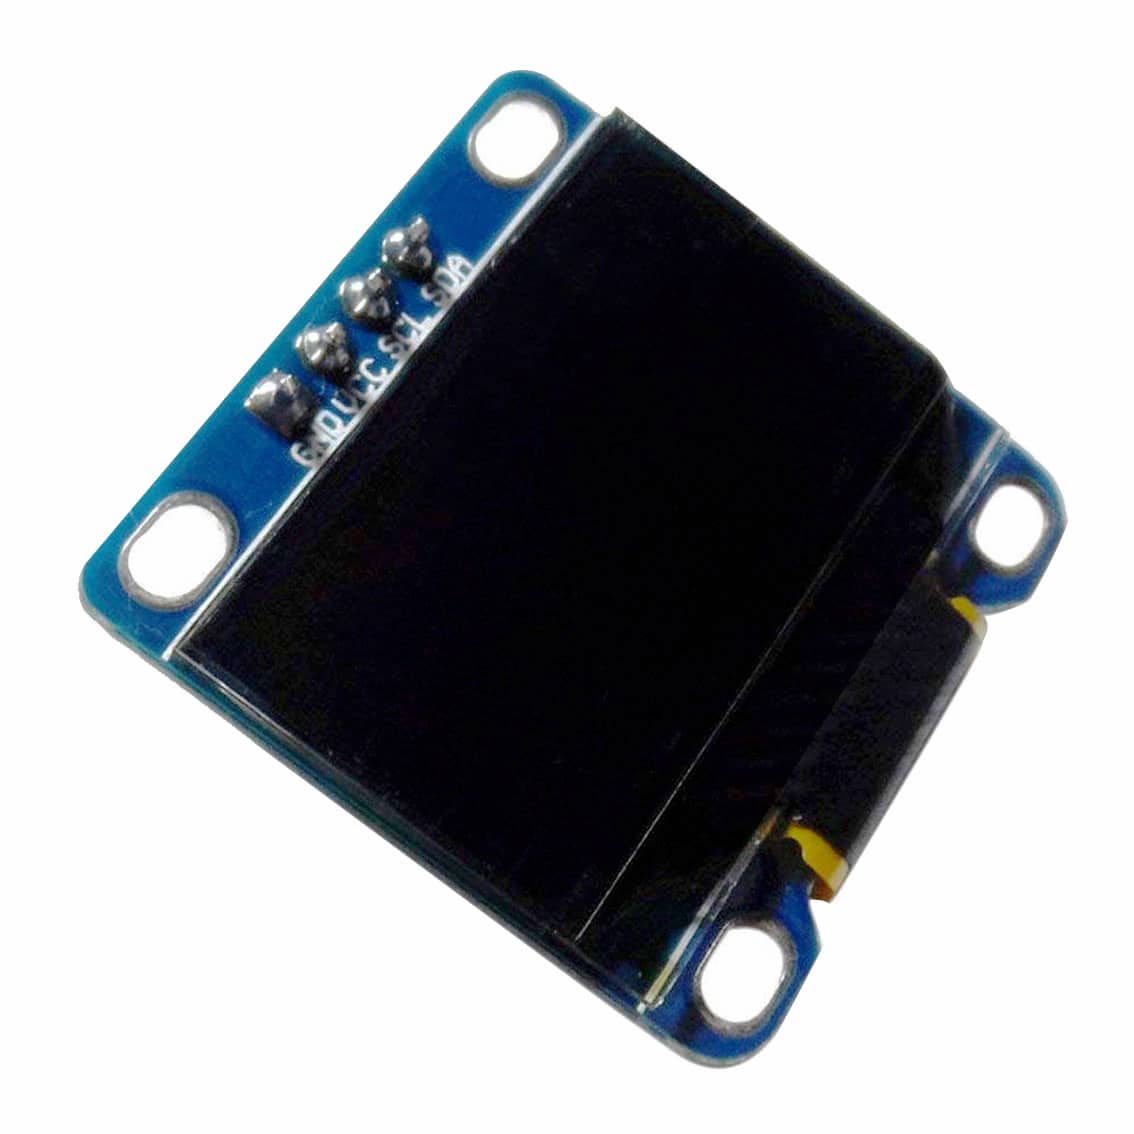
There are several mini OLED screens available in most electronics stores today. They are a viable tool to display text and graphics on your electronic projects. Knowing how to use them can make your projects more interactive and presentable. Here, you’ll learn to display text and graphics on your OLED screen using MicroPython on your Raspberry Pi Pico.
Before Starting
Make sure you’ve gone through setting up your Pico for MicroPython so that you can familiarize yourself with the Micropython environment using your Raspberry Pi Pico.
What You’ll Need
Hardware
- An Raspberry Pi Pico
- A Bread Board
- An I2C-based SSD1306 OLED screen (128×64)
- A couple of connecting wires
- A micro USB cable
- Your PC
Software
Wiring Setup
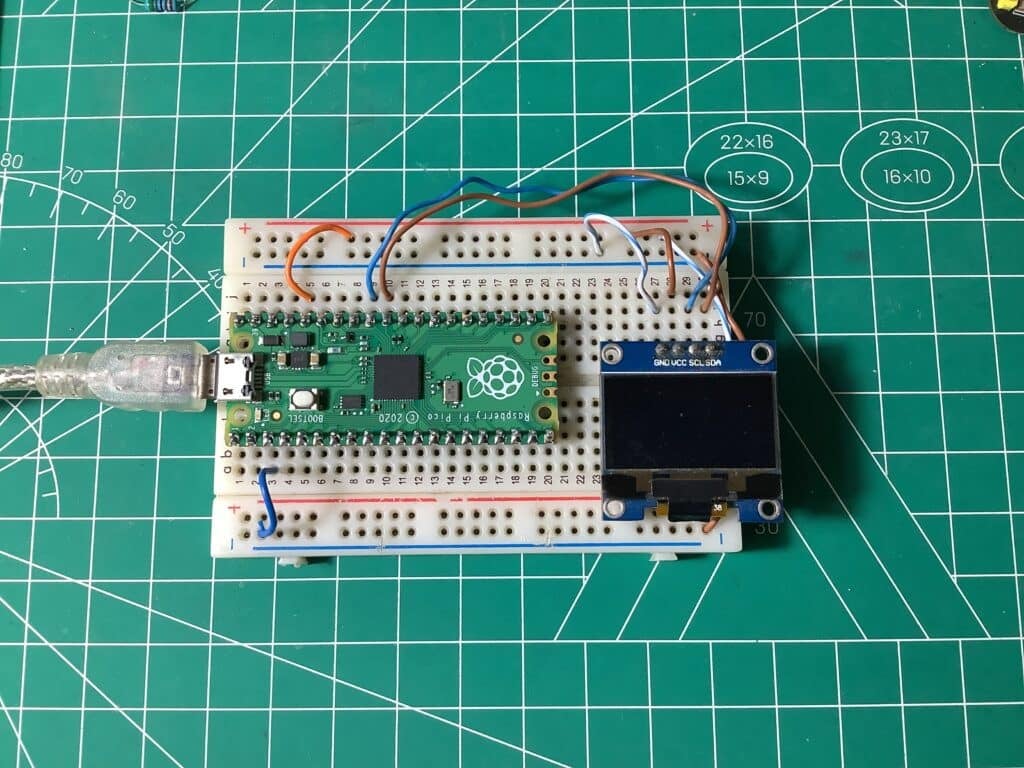
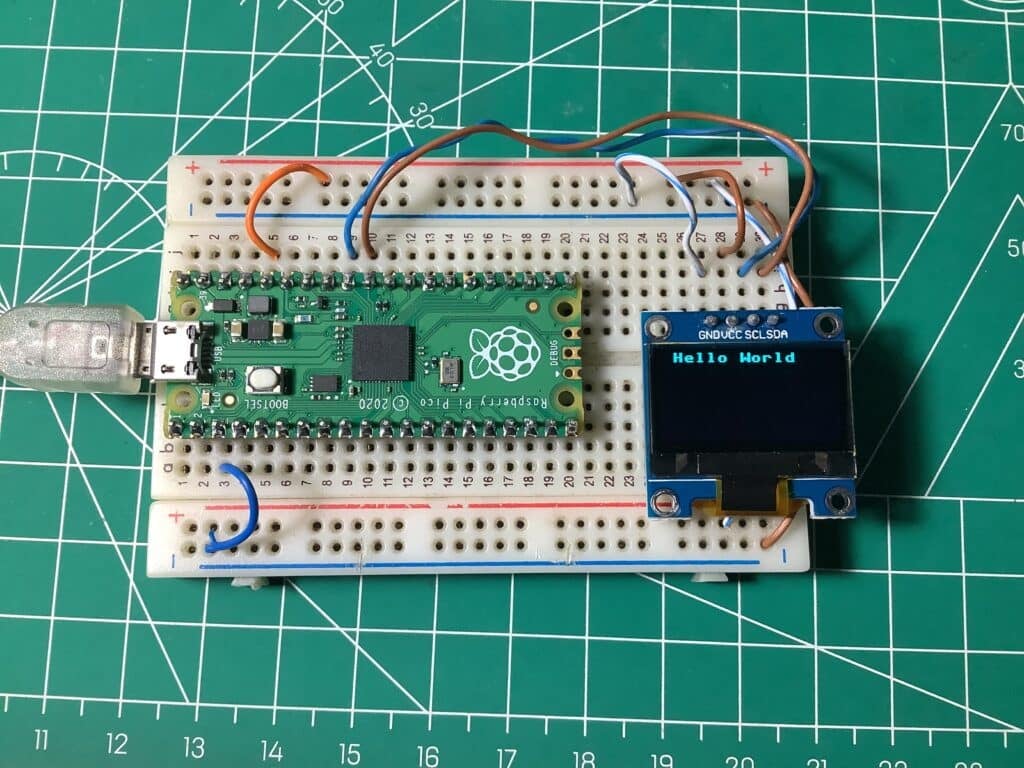
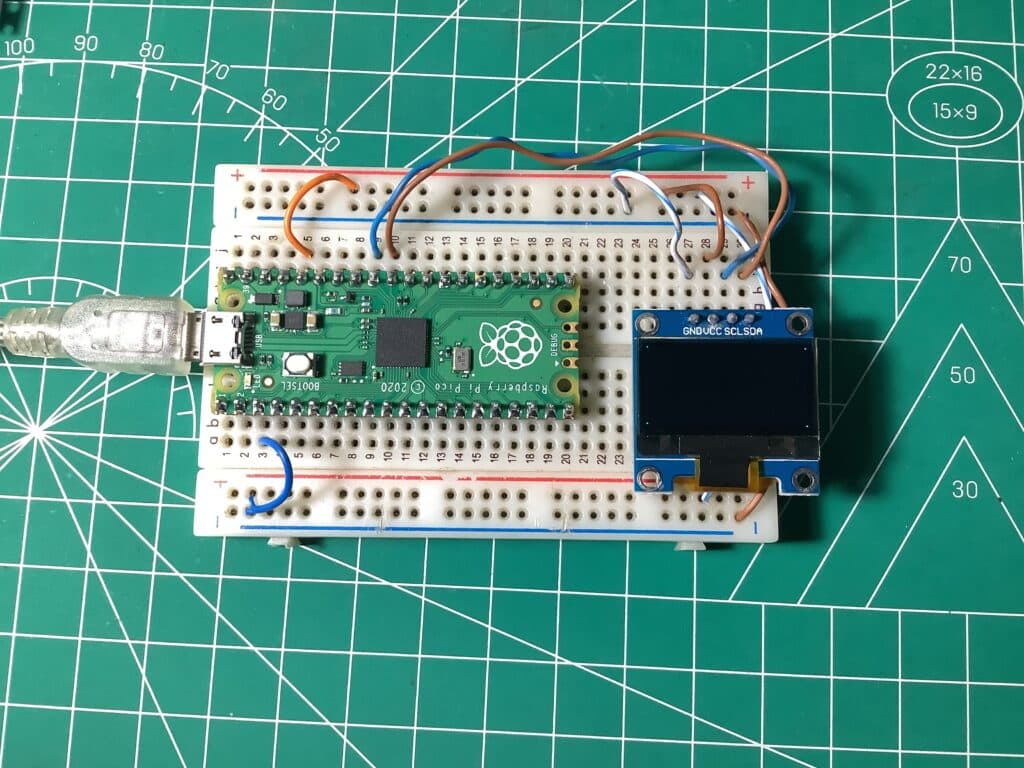
Supply power to your OLED through the same 3.3V and GND rails as your Raspberry Pi Pico. This power is stepped down from the USB port.
Also, in this setup, the I2C port of the OLED is connected to GPIO pins 26 (SDA) and 27 (SCL) of the Raspberry Pi Pico (I2C1). You can use other I2C ports if you like and experiment with their settings.
Software Setup
Download the Thonny IDE from their website. Note that some versions of Thonny may have bugs affecting package installation. Currently, version 4.0.0 of Thonny is used in this project.
Open Thonny and then connect to your Pico as you did in setting up your Raspberry Pi Pico for MicroPython.
Next, get ready to install the ssd1306 python package to your Pico.
Go to Tools -> Manage packages… and then install micropython-ssd1306 by Stefan Lehman.
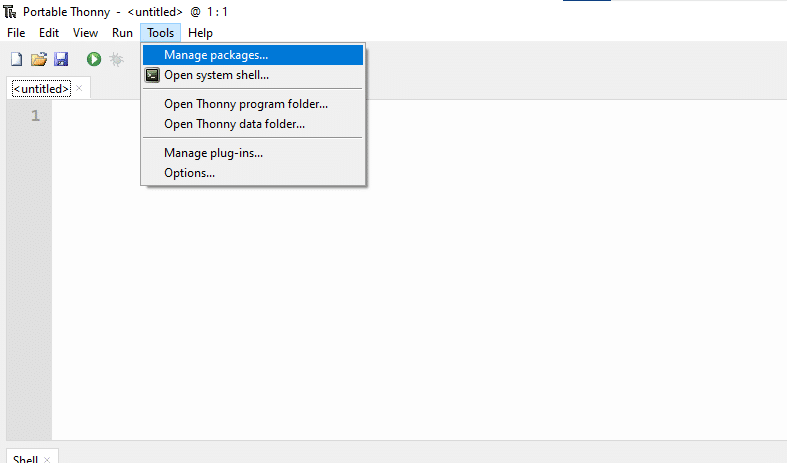
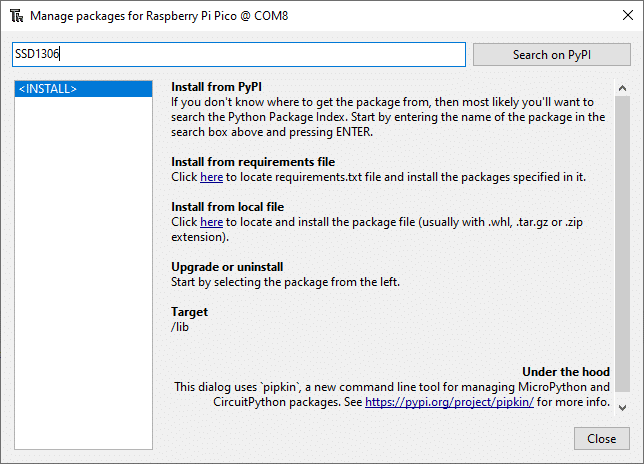
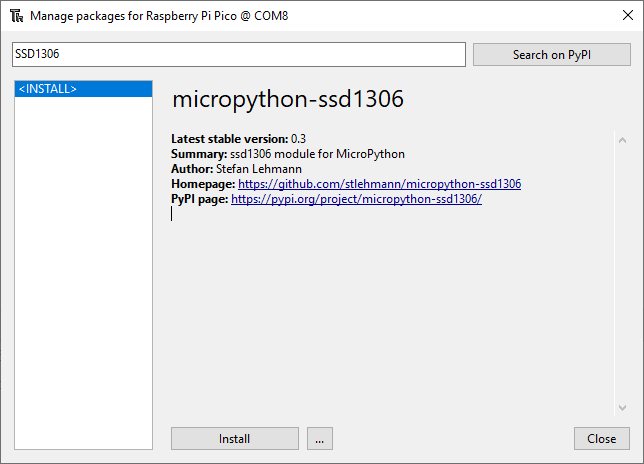
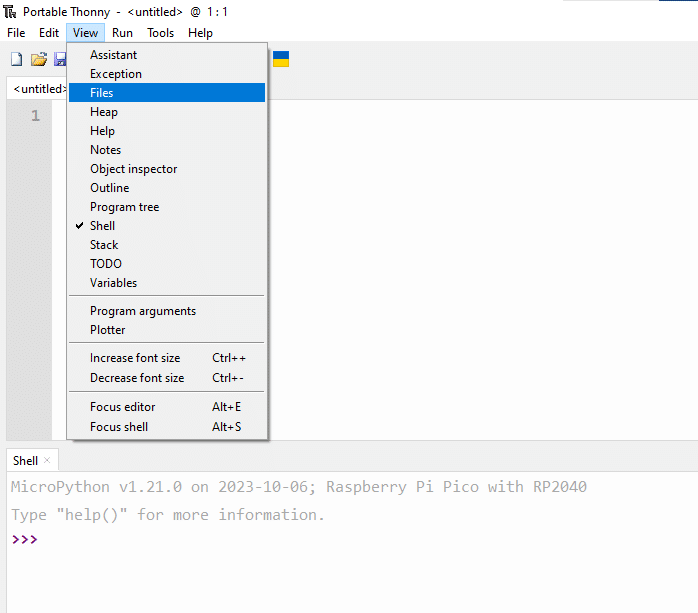
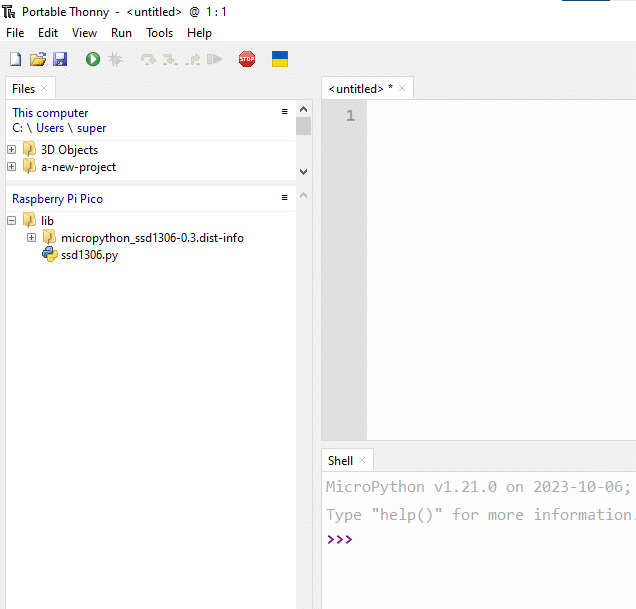
This will install the ssd1306 library to your Raspberry Pi Pico. In Thonny, you should see the ssd1306.py package in your Pico’s lib folder when you issue View -> Files. Note that Micropython has the ability to import modules and run them with scripts in it’s filesystem.
Create a Code that Displays Text on your SSD1306 OLED
Import the necessary Libraries
Import the Pin and I2C classes from the machine module.
from machine import Pin, I2C
Import the SSD1306_I2C class from ssd1306
from ssd1306 import SSD1306_I2C
Import the sleep function from time.
from time import sleep
Create your I2C and Oled Objects
Create an i2c object from the I2C class with the I2C properties shown below. I2C1 is used with sda Pin 26, scl Pin 27, and I2C freq of 400kHz.
i2c = I2C(1, sda=Pin(26), scl=Pin(27), freq=400000)
Create an oled object from the SSD1306_I2C class with the properties shown below. The oled has 128 pixels of height, 64 pixels of width, and uses the i2c object.
oled = SSD1306_I2C(128,64,i2c)
Write Your Text and Display it
Write your first text entry through a msg object and the oled.text( ) function. Oled.text( ) has parameters for the text, column number(from left), and row number (from the top). Finally, show this on your OLED screen with the command oled.show().
					msg = 'Hello World'
oled.text(msg, 10,0)
oled.show()
					from machine import Pin, I2C
from ssd1306 import SSD1306_I2C
from time import sleep

i2c = I2C(1, sda=Pin(26), scl=Pin(27), freq=400000)

oled = SSD1306_I2C(128,64,i2c)

msg = 'Hello World'
oled.text(msg, 10,0)
oled.show()
Create Graphics on your SSD1306 OLED
You can create simple graphics on your OLED, such as lines, rectangles, circles, and even pixel images. All you need are graphics commands passed to your oled object. As a tip, you can view the commands/modules you can use with your oled through dir(<object>).
					>>> dir(oled)

['__class__', '__init__', '__module__', '__qualname__', '__dict__', 'addr', 'blit', 'buffer', 'ellipse', 'fill', 'fill_rect', 'hline', 'invert', 'line', 'pixel', 'poly', 'rect', 'scroll', 'text', 'vline', 'poweroff', 'i2c', 'width', 'height', 'external_vcc', 'pages', 'init_display', 'write_cmd', 'show', 'poweron', 'contrast', 'write_data', 'temp', 'write_list']
Fill or Erase a Screen
You can fill or erase an entire screen through the commands:
					oled.fill(0) #erase entire screen
oled.show()

oled.fill(1) #fill entire screen
oled.show()
Create Pixels
You can create some pixels using the pixel command. The arguments include column, row, pixel on/off.
					# all four corners
oled.pixel(127,0,1)
oled.pixel(127,63,1)
oled.pixel(0,63,1)
oled.pixel(0,0,1)
oled.show()
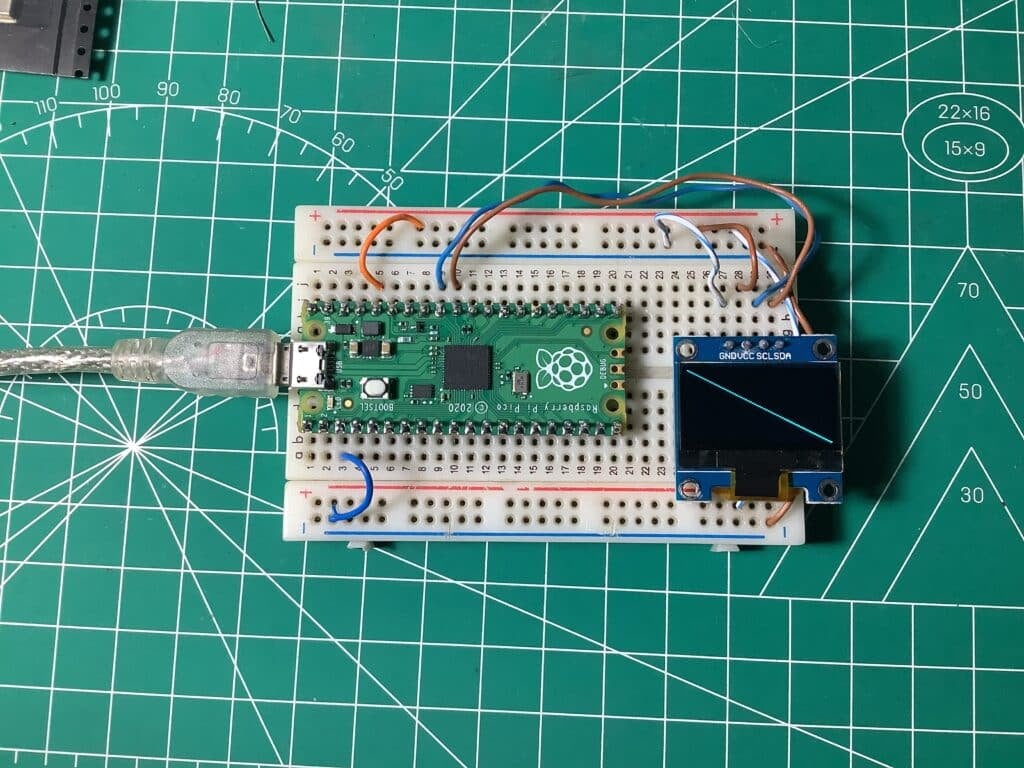
Create a Line
A line can be created with the arguments first column and row, second column and row, enable the pixels.
					oled.line(0,0,127,63,1)
oled.show()
Create a Rectangle
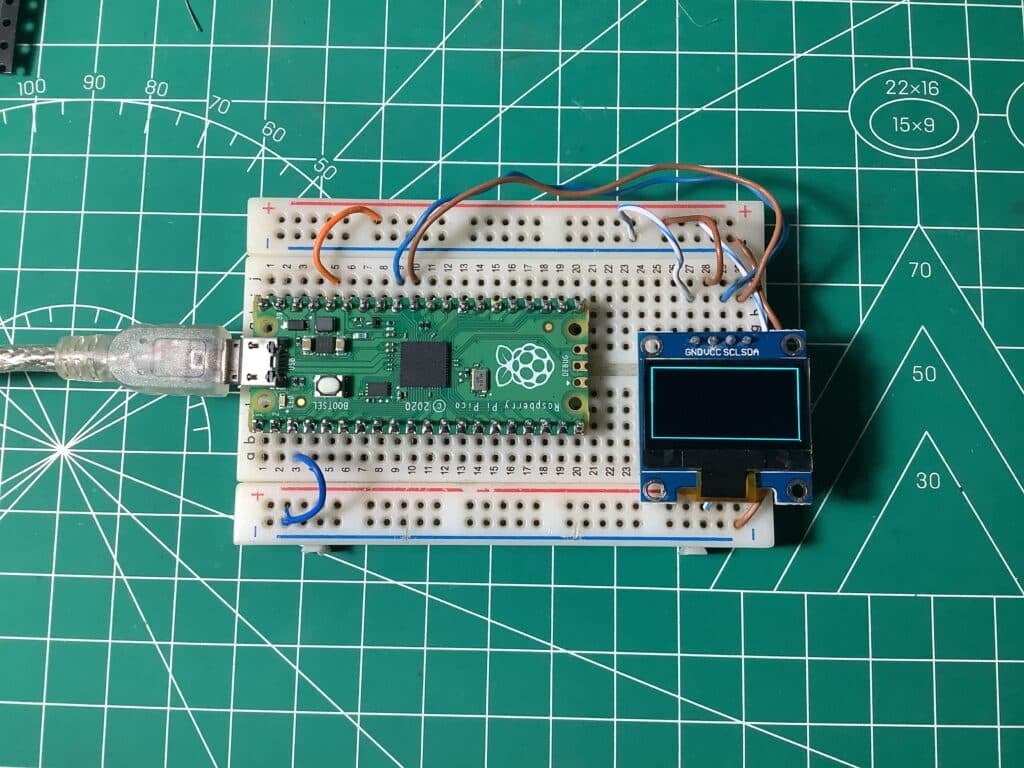
Similarly, a rectangle can be drawn with similar arguments from the line command.
					oled.rect(0,0,127,63,1)
oled.show()
Create a Circle or an Ellipse
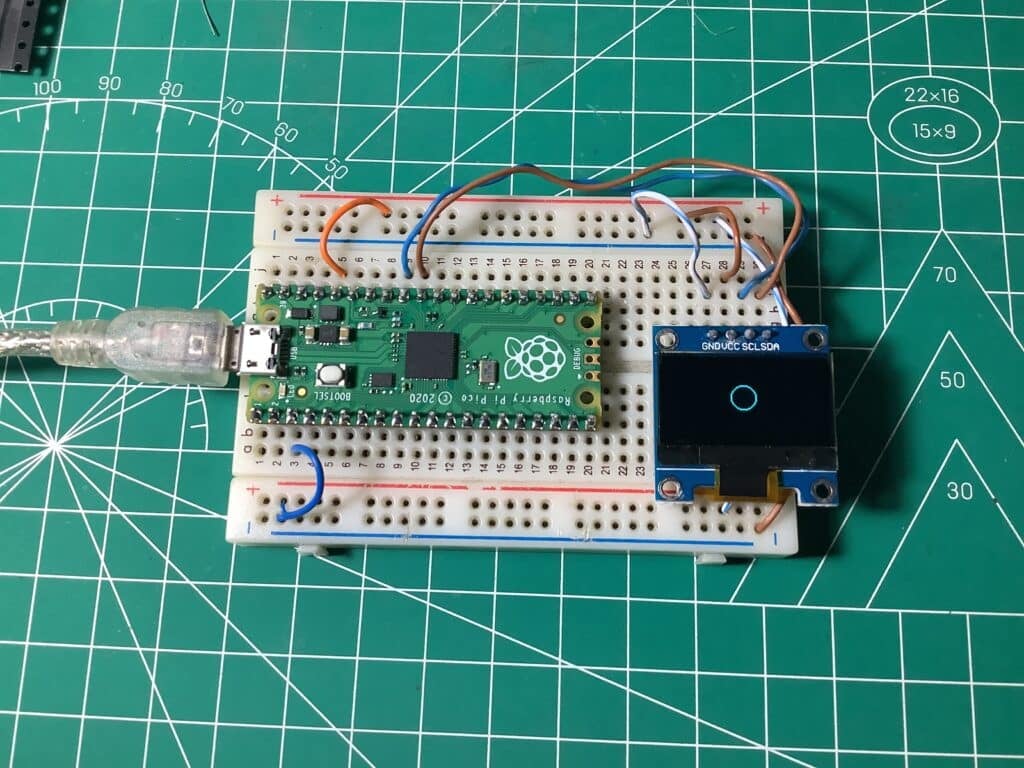
An ellipse/Circle can be created by inputting the center coordinates and a point on the curve.
					oled.ellipse(63,31,10,10,1)
oled.show()
There are other graphics functions you can check, like creating polylines, horizontal lines, vertical lines, etc…
Using a FrameBuffer and Animating Images
Creating an Image through a Frame Buffer
Here are useful functions if you want to create image graphics. First, import the framebuf module.
import framebuf
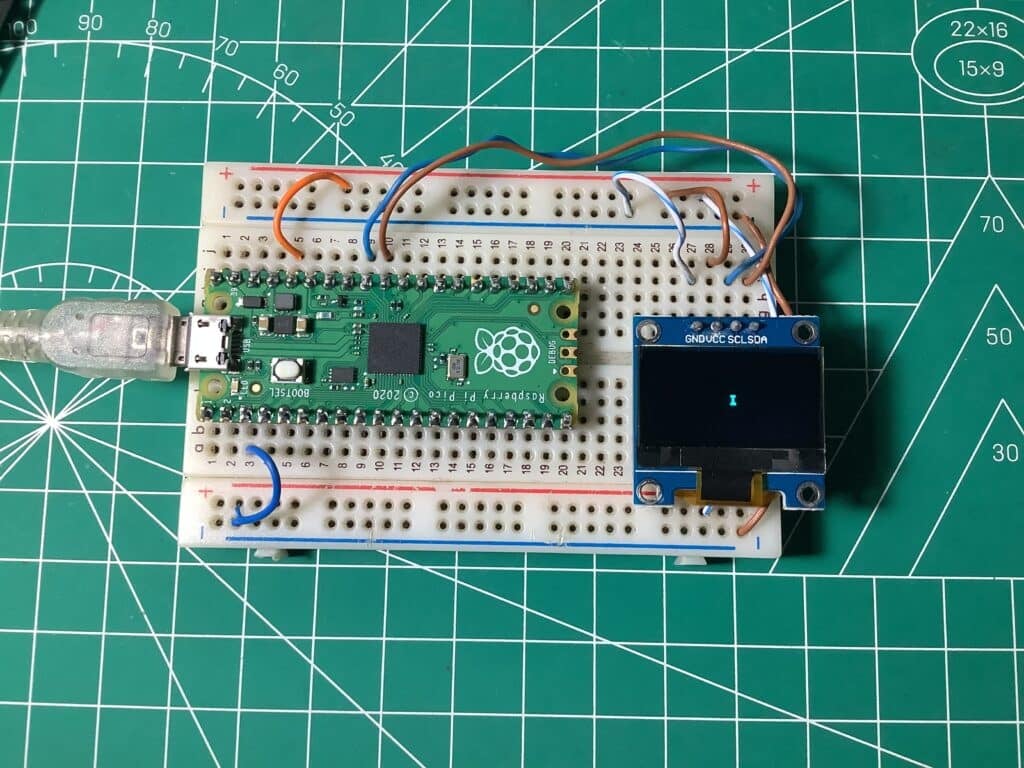
Next, create a byte array of pixels that form your image. Here is an hourglass image created from this byte array. All the 1’s are the pixels while the 0’s are the empty spaces.
					image = bytearray([0b00111100,
                       0b00111100,
                       0b00011000,
                       0b00011000,
                       0b00011000,
                       0b00011000,
                       0b00111100,
                       0b00111100])
Transform this into a frame through the FrameBuffer command:
frame = framebuf.FrameBuffer(image, 8, 8, framebuf.MONO_HLSB)
Finally, test it out using the oled.blit( ) command:
					oled.blit(frame, 63, 31)
oled.show()
					from machine import Pin, I2C
from ssd1306 import SSD1306_I2C
from time import sleep

i2c = I2C(1, sda=Pin(26), scl=Pin(27), freq=400000)

oled = SSD1306_I2C(128,64,i2c)

import framebuf

image = bytearray([0b00111100,
                       0b00111100,
                       0b00011000,
                       0b00011000,
                       0b00011000,
                       0b00011000,
                       0b00111100,
                       0b00111100])

frame = framebuf.FrameBuffer(image, 8, 8, framebuf.MONO_HLSB)

oled.blit(frame, 63, 31)
oled.show()
Animate your Image
Here is a simple demo of how you can animate the hourglass image created above.
for i in range(8):
    oled.blit(frame,63,i*8)
    oled.show()
    sleep(0.1)
    oled.fill(0)
A for loop was created that displays the frame buffer, clears the screen, and adds a small delay. The frame buffer is placed on different pixel locations during this process.
This is the whole code embedded in a while loop:
					from machine import Pin, I2C
from ssd1306 import SSD1306_I2C
from time import sleep
import framebuf

i2c = I2C(1, sda=Pin(26), scl=Pin(27), freq=400000)

oled = SSD1306_I2C(128,64,i2c)

image = bytearray([0b00111100,
                       0b00111100,
                       0b00011000,
                       0b00011000,
                       0b00011000,
                       0b00011000,
                       0b00111100,
                       0b00111100])

frame = framebuf.FrameBuffer(image, 8, 8, framebuf.MONO_HLSB)

while True:
    for i in range(8):
        oled.blit(frame,63,i*8)
        oled.show()
        sleep(0.1)
        oled.fill(0)
Conclusion
You’ve just learned how to use your OLED 1306 to work with your RPI Pico using MicroPython. Next, you can create your own designs or even create a game out of this.

