Are you sure your microcontroller receives the correct power supply voltage levels all the time? If not, you might want to turn on the brownout reset function in your microcontroller.
Introduction
Most integrated circuits operate on a pre-defined voltage range on their power supplies. The reason is that when the chip’s power source falls out of the pre-defined range, unexpected behavior can happen. Fortunately, for some chips, a BOR function can be handy in the said situation. With this, make sure you select a chip that has BOR functionality especially if you have a fluctuating power supply.
Incidentally, you may think that a simple hardware reset can put your microcontroller back on track when its power supply goes back to normal levels. However, not all internal operations guarantee to bring back your chip unscathed after a power fluctuation. One such scenario is if you’re doing flash operations inside your chip. You may be surprised that your microcontroller does not function correctly anymore after the power fluctuation even after you reset it.
The Role of the BOR (Brownout Reset) Function
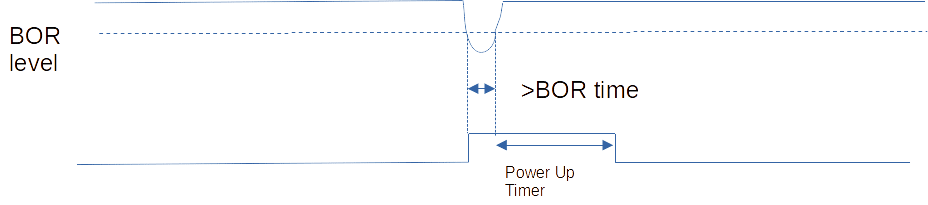
Your microcontroller has an internal voltage regulator that supplies power to your MCU’s digital and analog parts. For most MCUs, the voltage level of this regulator is monitored to ensure your MCU always receives the correct power supply input. When the monitored level dips in value (according to BOR specifications), and the length of that dip is beyond the BOR time threshold, your chip is reset through a system reset sequence.
Additionally, if your chip has a power-up timer enabled, the BOR can use it to extend the reset sequence.
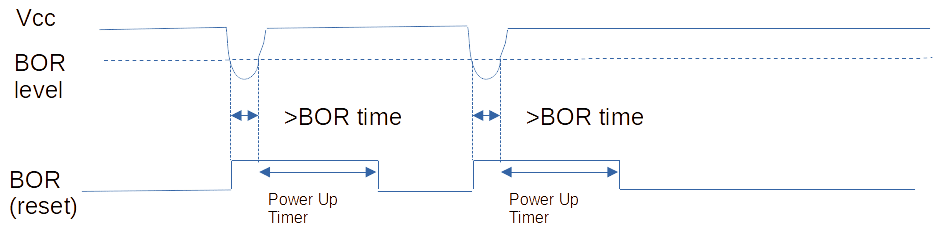
Below is a scenario of multiple BOR events that generate system reset sequences. These sequences can protect your chip from unexpected behaviors due to power supply fluctuations.
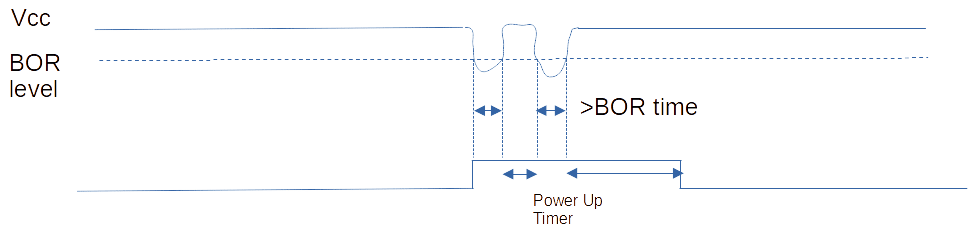
If you have several successive power supply dips, the Power up timer can also help keep the number of BOR sequences to a minimum.
How do you Set Up the BOR on your Microcontroller
BOR functionality is usually enabled through your MCU’s configuration or fuse bits. You can also choose from different BOR levels matching your power supply. Below are some examples of how BOR can be enabled for some popular microcontrollers.
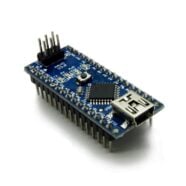
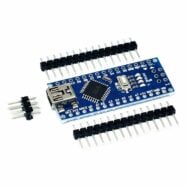
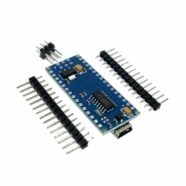
Enabling BOR for an Arduino Device
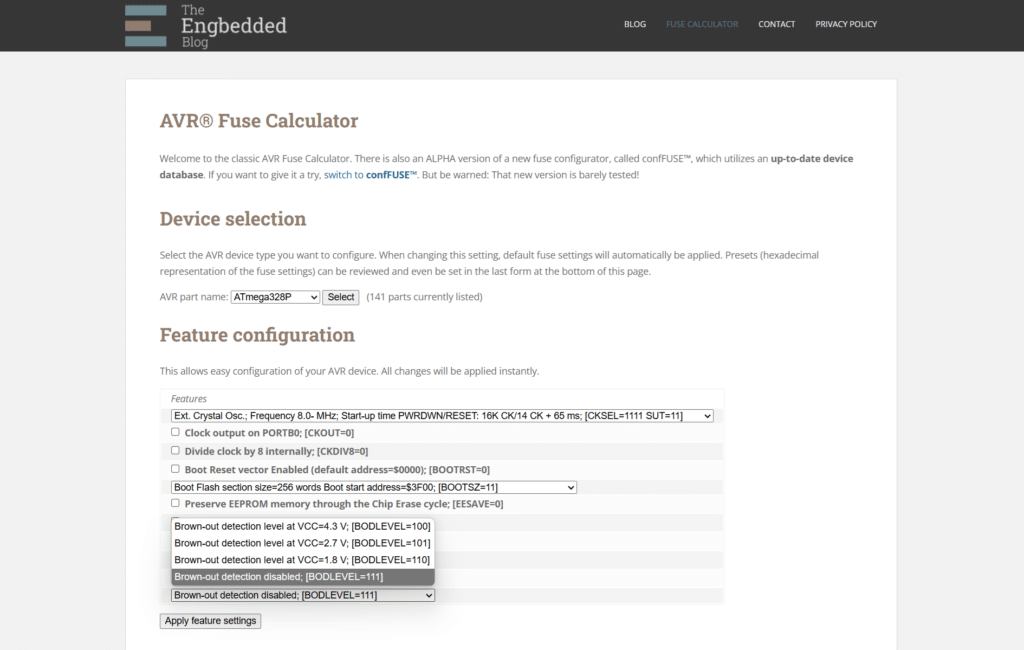
Arduino uses an AVR programming utility called AVRDUDE (AVR Downloader Updater). You can flash fuse or configuration bits through AVRDUDE. However, AVRDUDE is a command-line utility. To easily modify your configuration bits, use a GUI program called AVRDUDESS
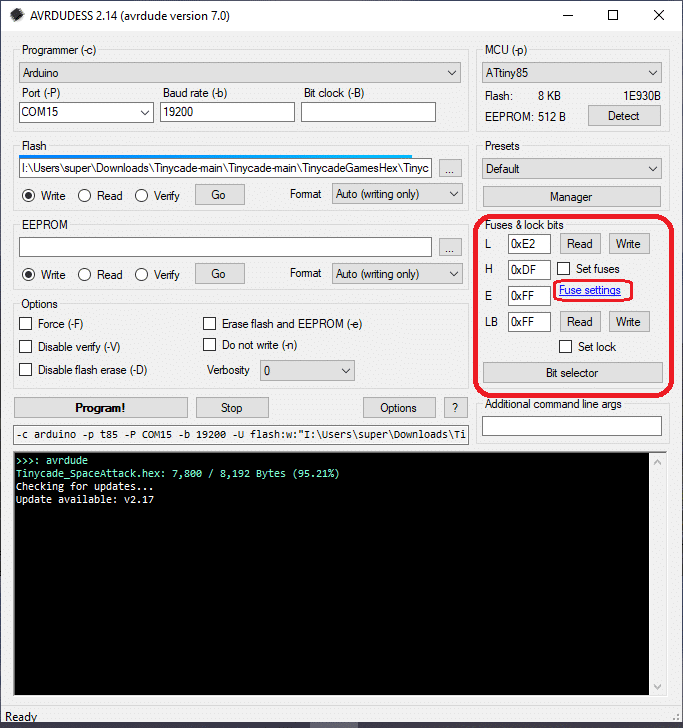
For example, setup first the environment for AVRDUDESS for your microcontroller. Here a preset is used for the Arduino UNO under Presets. Make sure to select the correct COM port. You may optionally read the Fuse bit settings of your MCU by clicking the Read button.
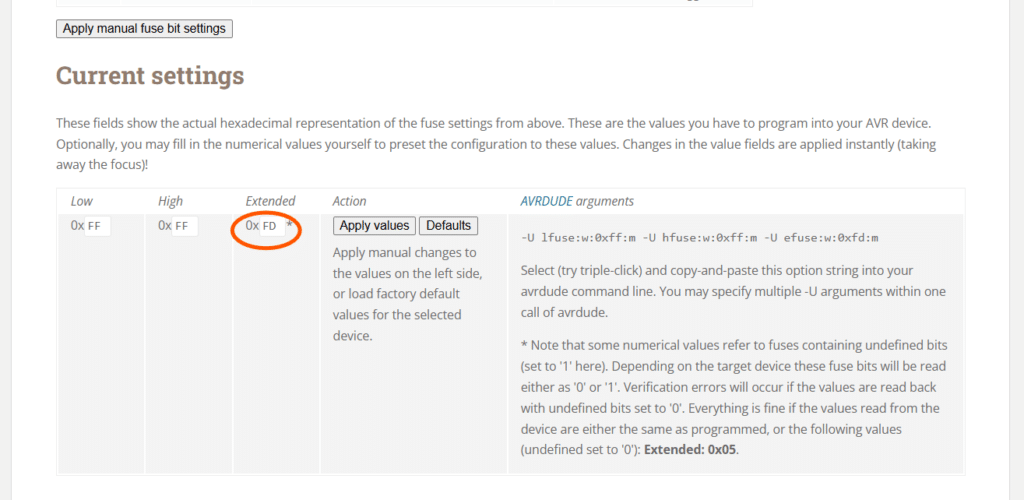
There are different ways to write the BOR bits. You may click Fuse Settings to bring you to a detailed HTML page. Here, you can adjust the FUSE settings accordingly. Click Apply feature settings. Next copy and paste this value back to the AVRDUDESS window.
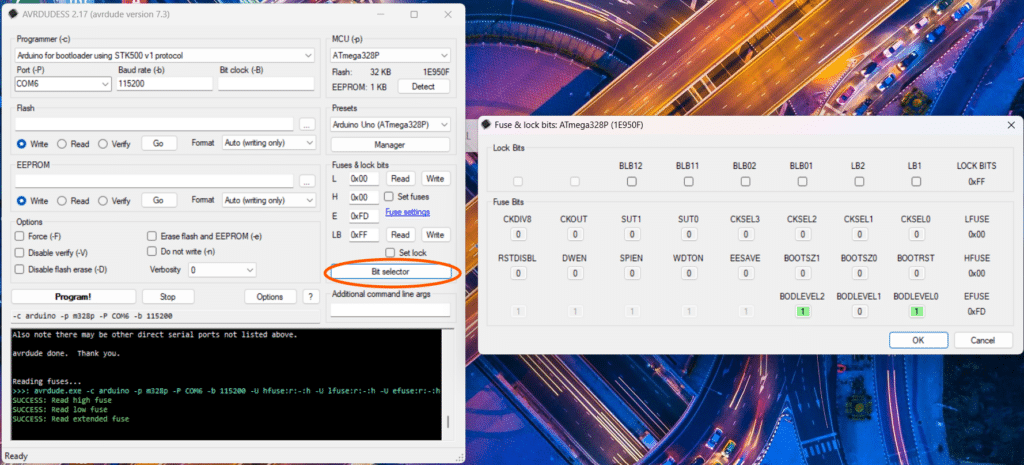
Alternatively, click the Bit Selector to manually tick the fuse settings.
After finishing, make sure to click Write to flash these Fuse settings to your MCU.
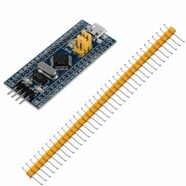
Enabling BOR for an ST Microcontroller
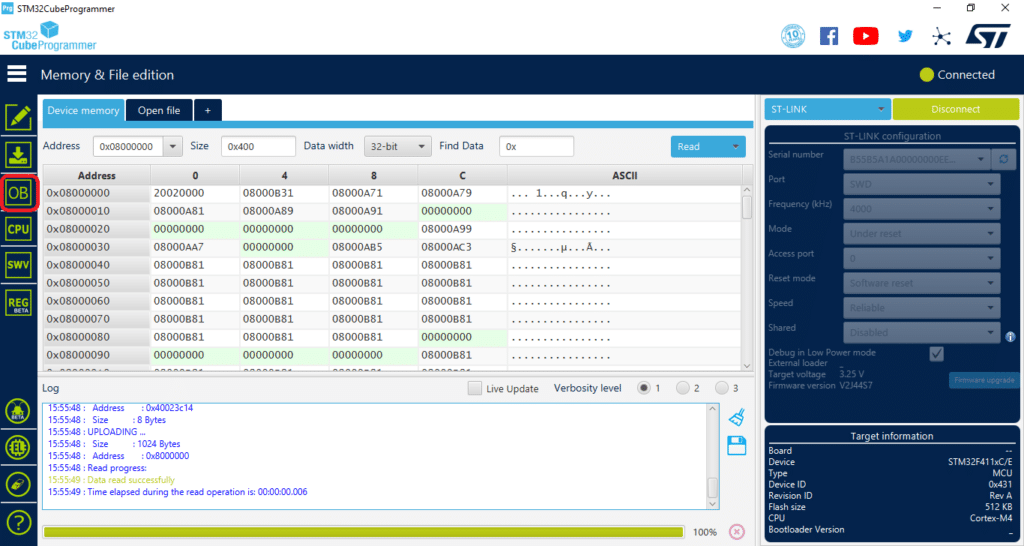
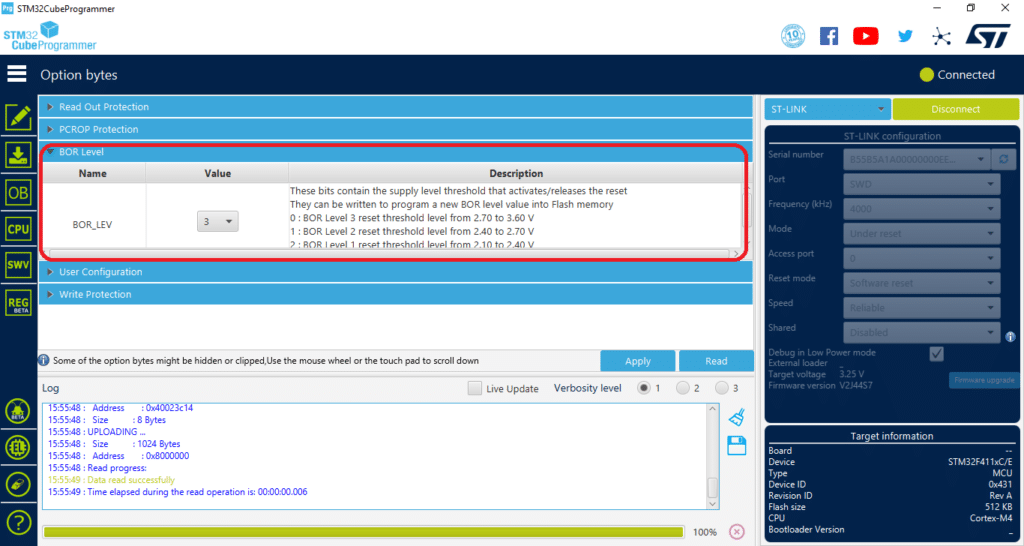
STM32 microcontrollers use the STM32CubeIDE as their official programming environment software. However, you may use their STM32Cube Programmer Utility to set your configuration bits easily. Download and install the program.
Connect to your ST MCU through an ST-Link. You can find a detailed guide on the ST-Link here. To change the option bytes, click OB (short for Option Bytes) on the side and then find the BOR_LEV option on the Option Bytes.
Click Apply to apply these settings to your MCU.
Conclusion
A microcontroller’s brownout reset feature can be very useful especially if you are unsure about the integrity of your power supply. Make sure to turn on this feature to save the data inside your microcontrollers.