If you’ve used different kinds of libraries on the Arduino IDE, you’ll be pleased with the vast amount of libraries that CircuitPython has. Read the rest of the article to find out more about CircuitPython Libraries.
Libraries make coding easier for any Integrated Programming Environment (IDE). Imagine always starting from scratch when creating your code. This situation is a real pain…and as the saying goes, you do not have to reinvent the wheel all the time.
The Arduino IDE has a lot of built-in libraries as well as community-driven ones. This makes Arduino so versatile for both beginners and professionals alike. A simple I2C or SPI operation can be done in a snap through these libraries. This was unlike in the old days when dedicated programmers always needed register-level access to microcontrollers for things to work correctly.
CircuitPython on the other hand, much like the Arduino IDE, has already been gaining a lot of followers since its inception. It’s in a class of its own; boards that support CircuitPython need more processing power and memory than simple Arduino boards can handle (think UNO). Examples of MCUs that support CircuitPython are the M0 and M4 Arm Processor, ESP32, RP2040, ATSAMD51, and the like. CircuitPython’s libraries are trying to match what Arduino achieved and it may soon be able to do this.
How to Use CircuitPython Libraries
Download the Library Bundle
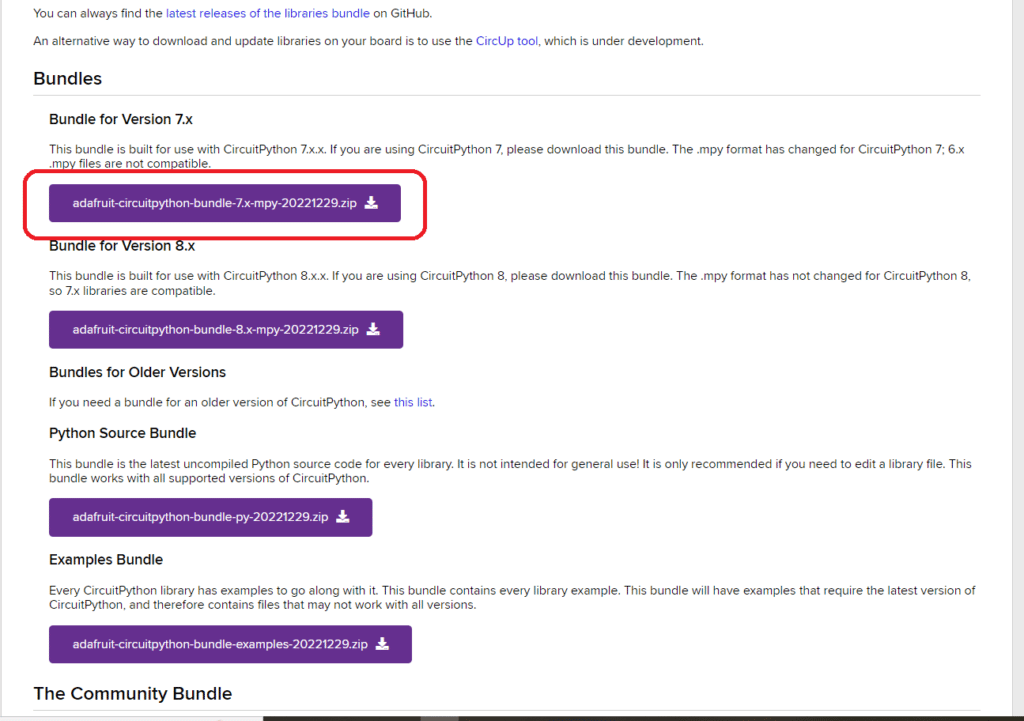
The first step to using CircuitPython libraries is to download the libraries. These libraries can be downloaded from https://circuitpython.org/libraries. This site contains ‘project bundles’ (projects ready to execute on your CircuitPython drive) that have different versions of the official Adafruit and community-driven libraries. Download the library that matches your CircuitPython version. The libraries will help you use your hardware along with your sensors or other extensions associated with your board.
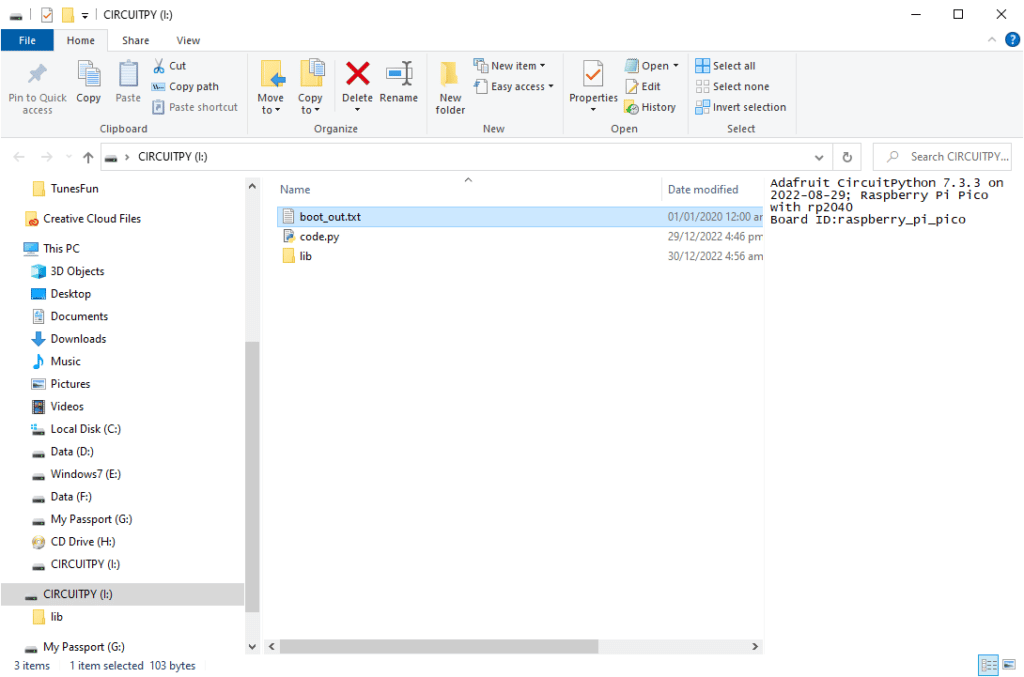
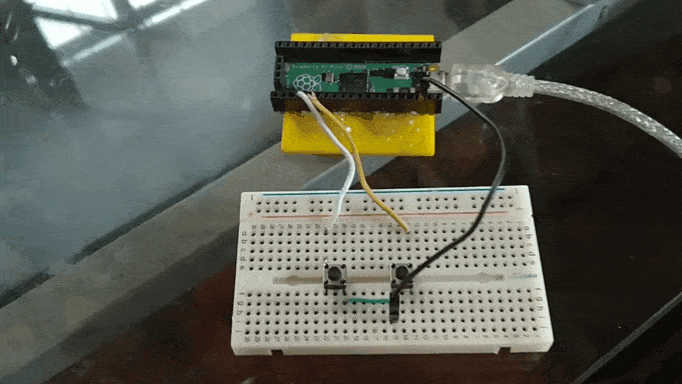
As an example, an RPI Pico will be used to do some button presses with a debounce function. The CircuitPython version installed on the Pico is 7.3.3 and can be seen on boot_out.txt on the CircuitPython drive. With this, the Adafruit library bundle for version 7.X will be downloaded.
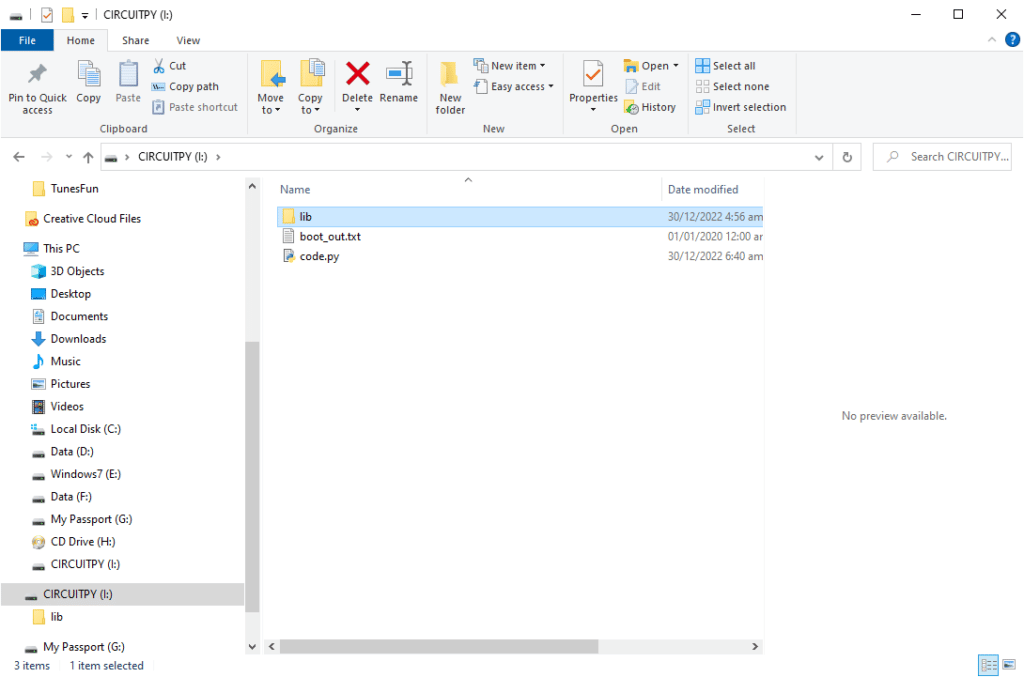
Create A LIB Folder On Your CircuitPython Drive
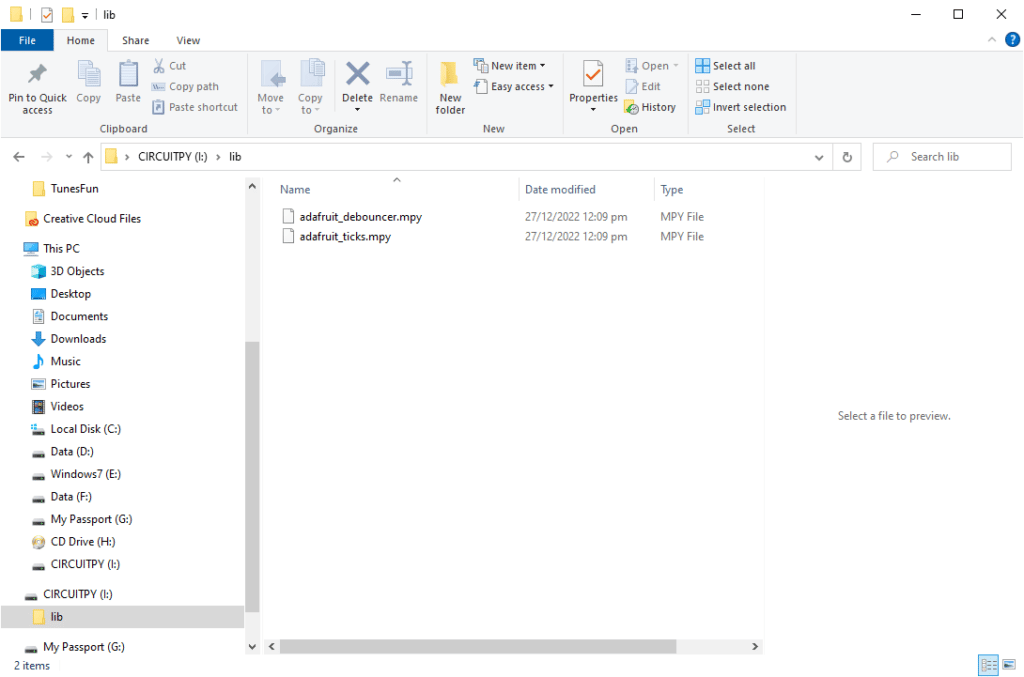
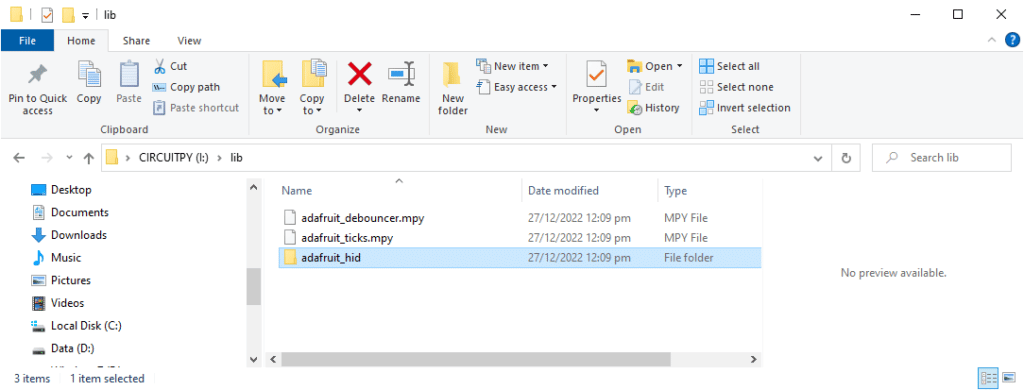
Create a lib folder if it hasn’t been created on your drive during CircuitPython installation.
Choose Your Library and the Corresponding Example Code
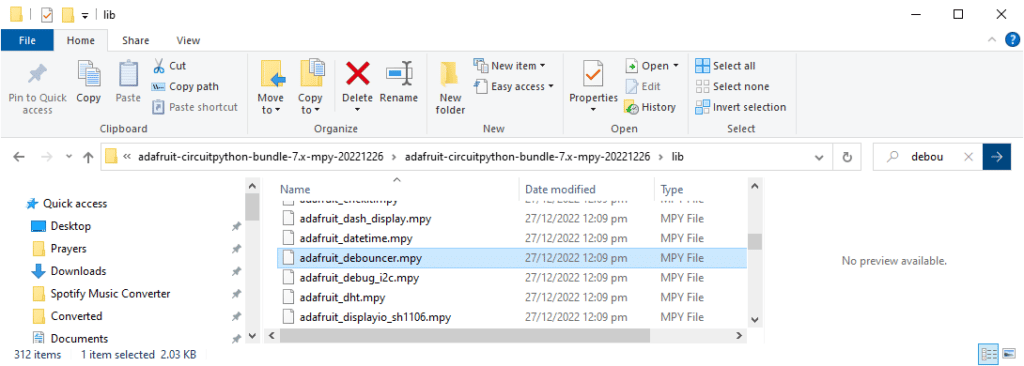
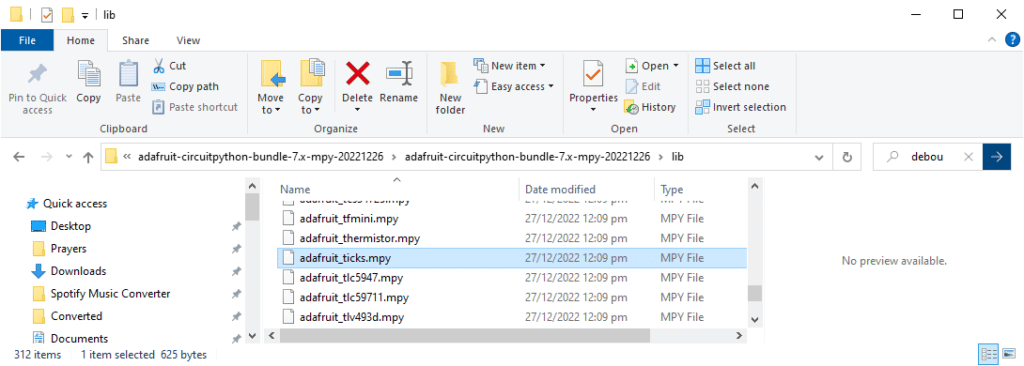
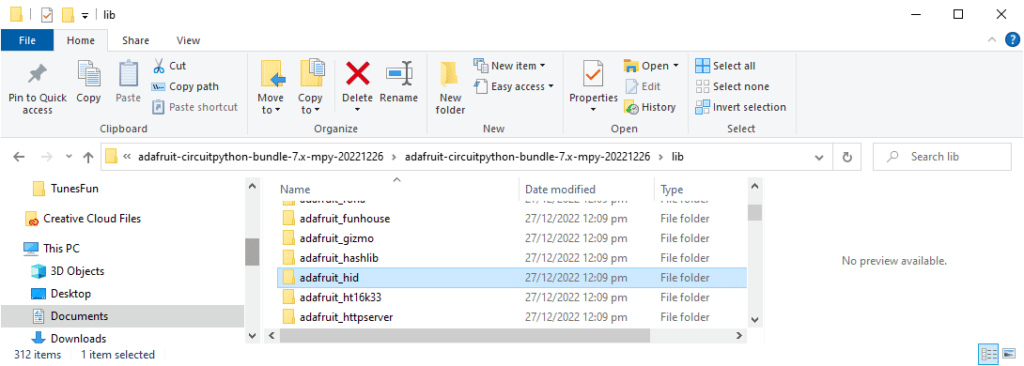
The adafruit_debouncer library will be used in this example. However, this lib also requires the adafruit_tick library. With this, you have to gather both adafruit_debouncer and adafruit_ticks in one lib folder in your CircuitPython drive. These libraries can be found in the Adafruit bundle inside the lib folder with mpy file extensions (meaning they are packaged and occupies less space). However, libraries can also be grouped inside folders. In this situation, it’s important to copy the entire folder to your CircuitPython lib folder.
Modify or Customise The Example Code
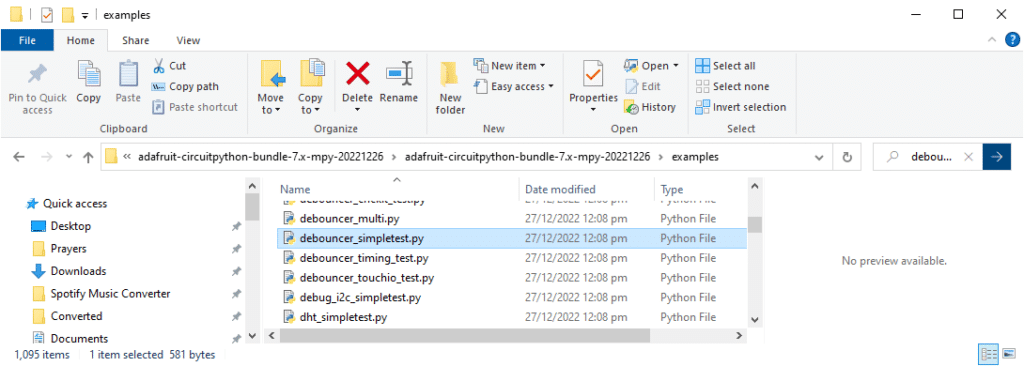
Check out the examples folder in the Adafruit Project bundle for the sample codes for your library. You can choose the debounce_simpletest.py file.
After examining and testing the code, you should now be able to create your own code for this. Here is a new code that simply toggles the LED of your Pico board using two buttons without debounce issues.
					import board
import digitalio
from time import sleep

from adafruit_debouncer import Debouncer

led = digitalio.DigitalInOut(board.LED)
led.direction = digitalio.Direction.OUTPUT

btn1 = digitalio.DigitalInOut(board.GP18)
btn1.direction = digitalio.Direction.INPUT
btn1.pull = digitalio.Pull.UP
button1 = Debouncer(btn1)

btn2 = digitalio.DigitalInOut(board.GP19)
btn2.direction = digitalio.Direction.INPUT
btn2.pull = digitalio.Pull.UP
button2 = Debouncer(btn2)

while True:
    button1.update()
    button2.update()

    if button1.fell:
        if button1.value == False:
            led.value = not(led.value)

    if button2.fell:
        if button2.value == False:
            led.value = not(led.value)

    sleep(0.1)
Adding Additional Libraries to Your Code
You can add additional libraries to your project if you want to add more functionalities to your board. It’s relatively easy to do this in CircuitPython. For example, if you want to add PC keyboard functionality to your Pico through the push buttons, simply add the necessary libraries. Add the adafruit_hid folder from the Adafruit library bundle to your Pico’s lib folder.
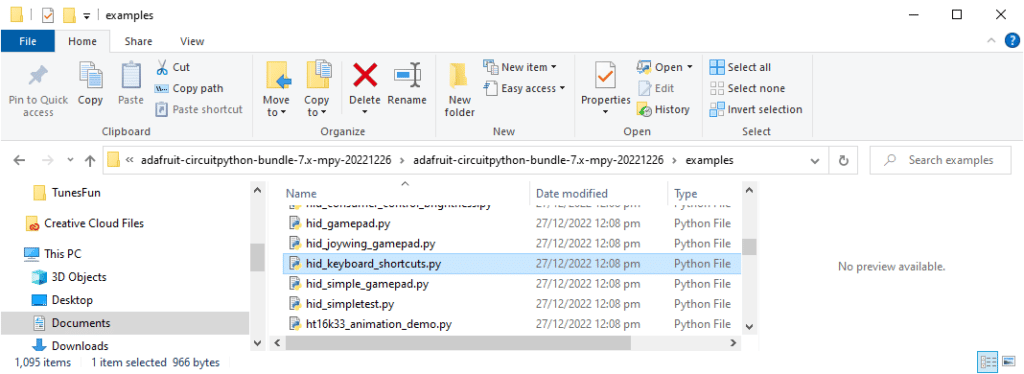
Then browse the examples folder and look for hid keyboard example Python codes. Here hid_keyboard_shortcuts.py will be used as a reference.
You can now make your own code using the example code as a reference. Here you can use the existing debounce code and add HID keyboard functionality to it.
					import board
import digitalio
from time import sleep

from adafruit_debouncer import Debouncer

import usb_hid
from adafruit_hid.keyboard import Keyboard
from adafruit_hid.keycode import Keycode

kbd = Keyboard(usb_hid.devices)

led = digitalio.DigitalInOut(board.LED)
led.direction = digitalio.Direction.OUTPUT

btn1 = digitalio.DigitalInOut(board.GP18)
btn1.direction = digitalio.Direction.INPUT
btn1.pull = digitalio.Pull.UP
button1 = Debouncer(btn1, interval=0.01)

btn2 = digitalio.DigitalInOut(board.GP19)
btn2.direction = digitalio.Direction.INPUT
btn2.pull = digitalio.Pull.UP
button2 = Debouncer(btn2, interval=0.01)

btn3 = digitalio.DigitalInOut(board.GP20)
btn3.direction = digitalio.Direction.INPUT
btn3.pull = digitalio.Pull.UP
button3 = Debouncer(btn3, interval=0.01)


while True:
    button1.update()
    button2.update()
    button3.update()


    if button1.fell:
        if button1.value == False:
            kbd.send(Keycode.A)
            led.value = not(led.value)

    if button2.fell:
        if button2.value == False:
            kbd.send(Keycode.B)
            led.value = not(led.value)

    if button3.fell:
        if button3.value == False:
            kbd.send(Keycode.C)
            led.value = not(led.value)

    sleep(0.1)
A new button btn2 was added to be able to send the keycodes ‘a’, ‘b’, and ‘c’ to your PC via USB as an HID with debounce function. Your board will only detect firm presses when you press the buttons. This will effectively eliminate any noise or debounce issues on your input buttons.