Don’t always have an ST-Link or USB-to-UART converter with you to program your STM32 BluePill? Would you like to do BluePill programming via its own USB port? Read the rest of the article to find out.
Introduction
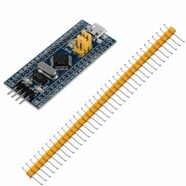
Two of the previous blogs discussed the process of programming your BluePill (stm32F103C8T6) via ST-Link and via UART. However, there may be times you don’t carry around a ST-Link or a USB-to-UART Converter. In this case, it would be more convenient to simply use the built-in USB port of your BluePill for programming. However, there are prerequisites before you can accomplish this task.
Things You'll Need
First, you need to pre-program your BluePill with a USB bootloader code in boot ROM. The reason for this is that the bootloader code will fetch your custom code through USB and then flash this code in internal program flash memory. With this, you’ll initially need either a USB-to-UART converter or an ST-Link to program the said bootloader code.
Note that if you previously installed the Arduino STM32 board manager (by Roger Clarke Melbourne), you may have to uninstall it to avoid having conflicts. With this, you can try to remove the Arduino-STM32 folder in your ~/Arduino folder.
The steps to program your BluePill via ST-Link or UART was already discussed in the previous topics so you may want to review them.
You’ll also need to download a USB bootloader code via GitHub. There are several available. However, the latest bootloader code officially supported by ST Microelectronics will be used here. A shortcut method to get this code is through Seradisis. Specifically through the STM32 HID Bootloader Releases.
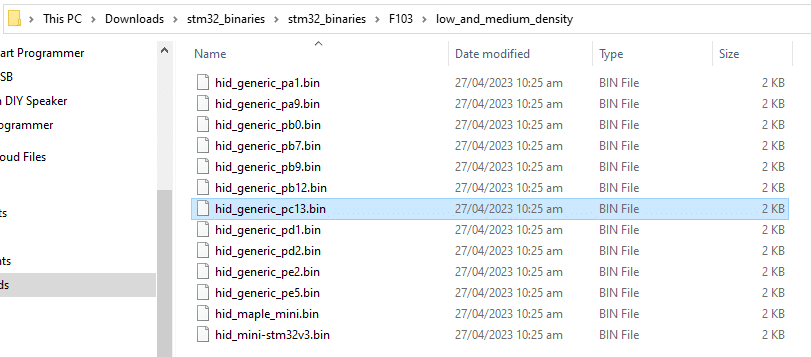
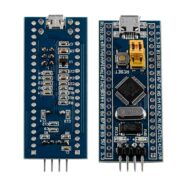
Navigate through the directories after downloading the ZIP file to find your specific BluePill model. For this example, the hid_generic_pc13.bin file is selected since the LED of this BluePill model is on port PC13.
Program the USB Bootloader on your BluePill
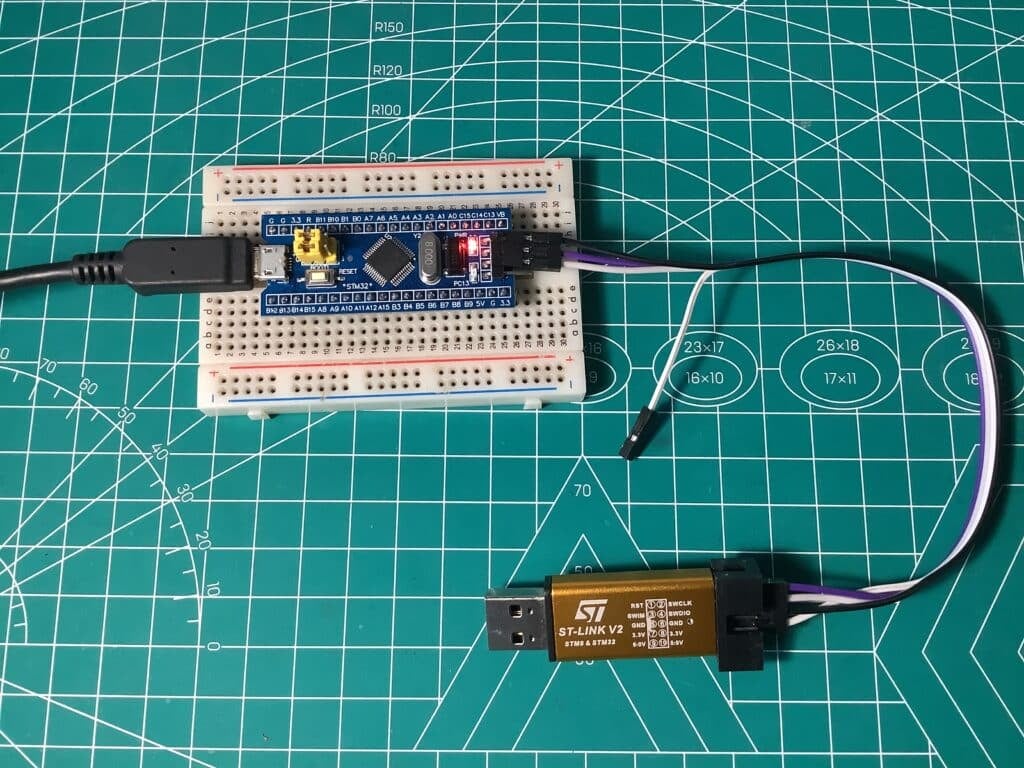
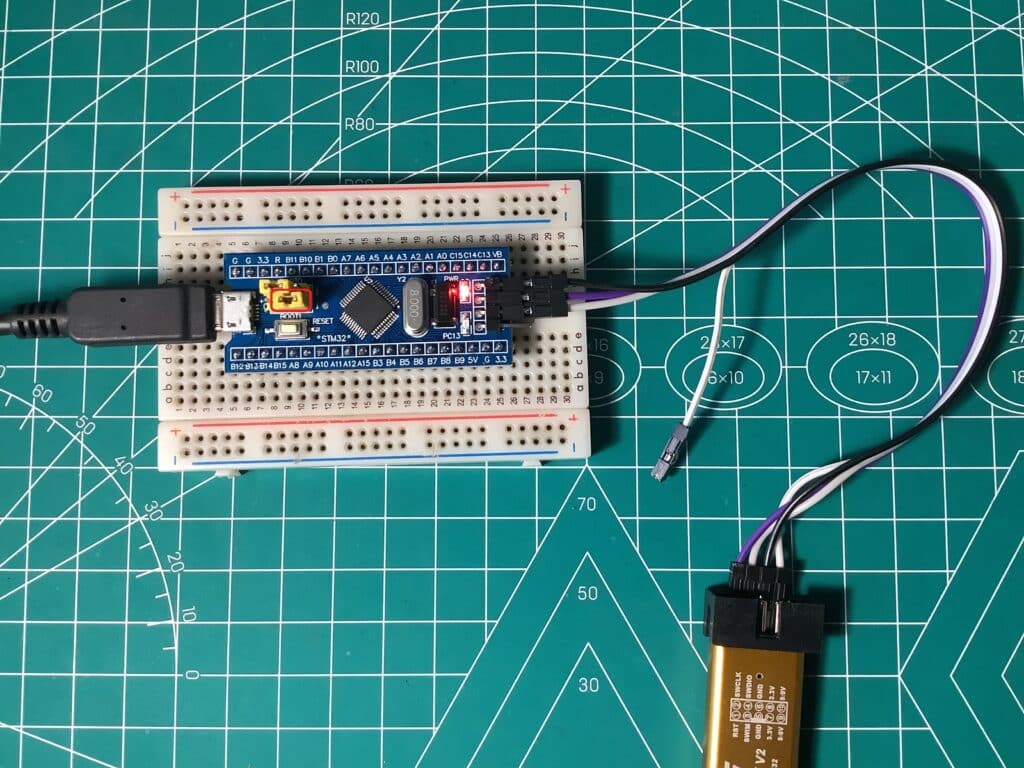
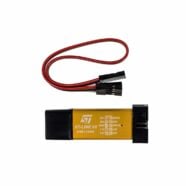
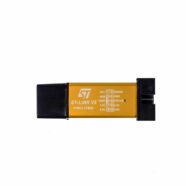
Get your ST-Link or USB-to-UART converter ready. Here, we’ll use ST-Link. The BluePill is powered through a USB cable through its USB port. Hence, the 3.3V port of the ST-Link is disconnected.
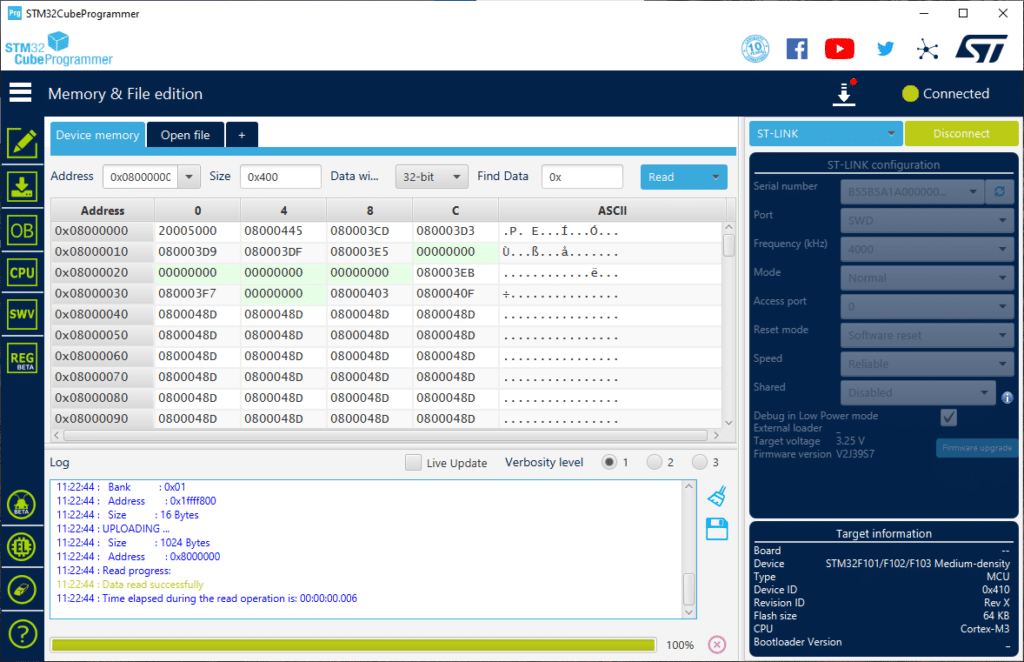
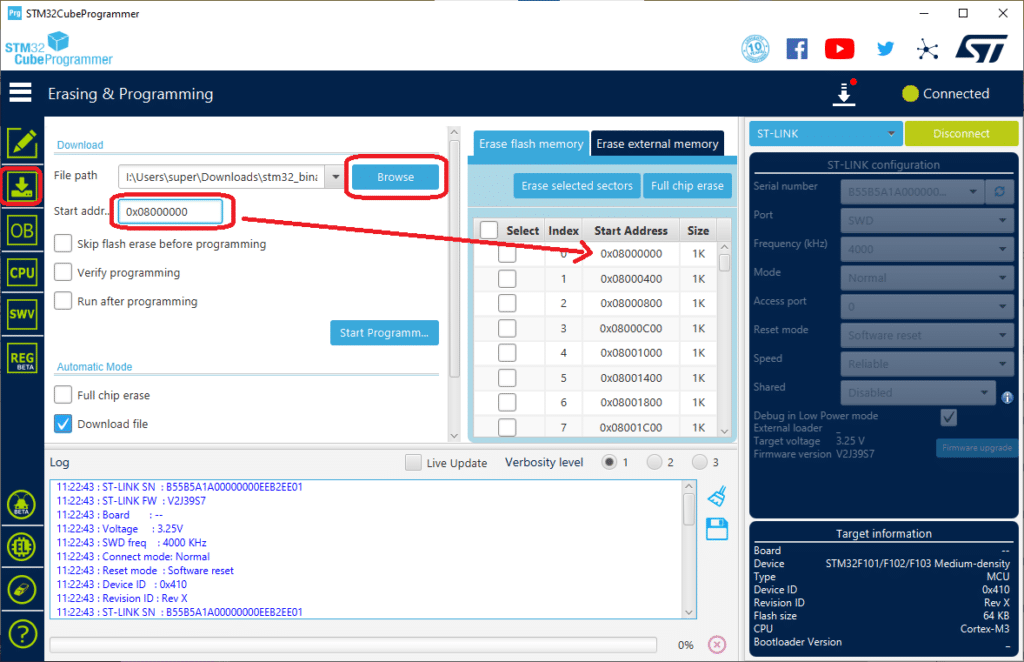
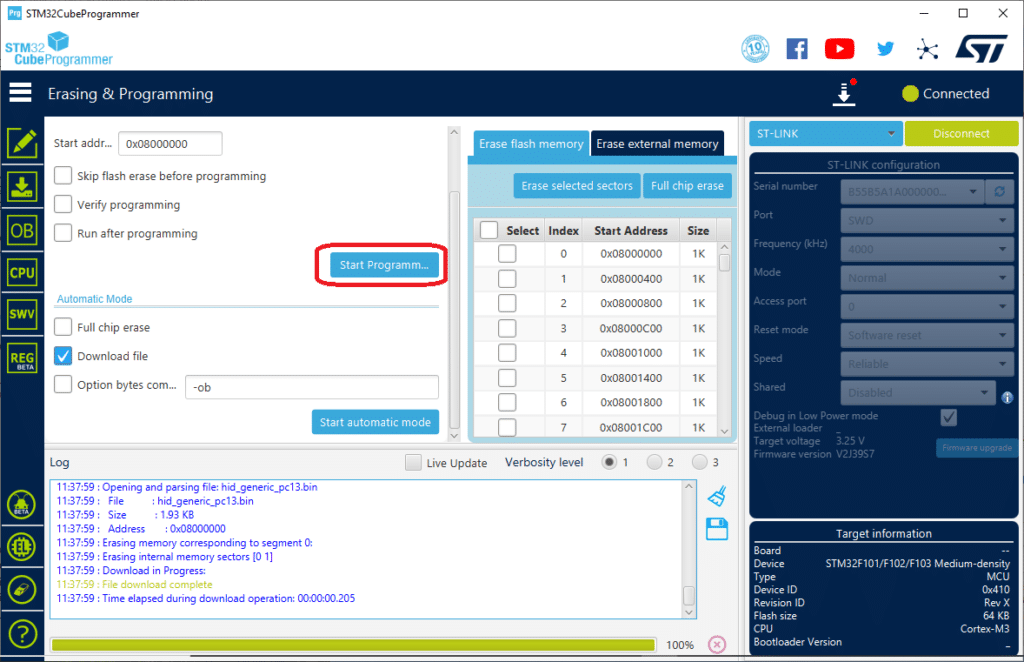
Next, click the download and programming button on the left. Browse and select your HID bootloader bin file. After that, sometimes, the programmmer may ask you for the start address to program this bin file. Put it on the very first start address (0x08000000). There is a hint of this address at the right part in the Erase memory window. You can copy this first address.
Once everything’s ready, hit Start Programming. If successful, your BluePill should be ready to run the Bootloader.
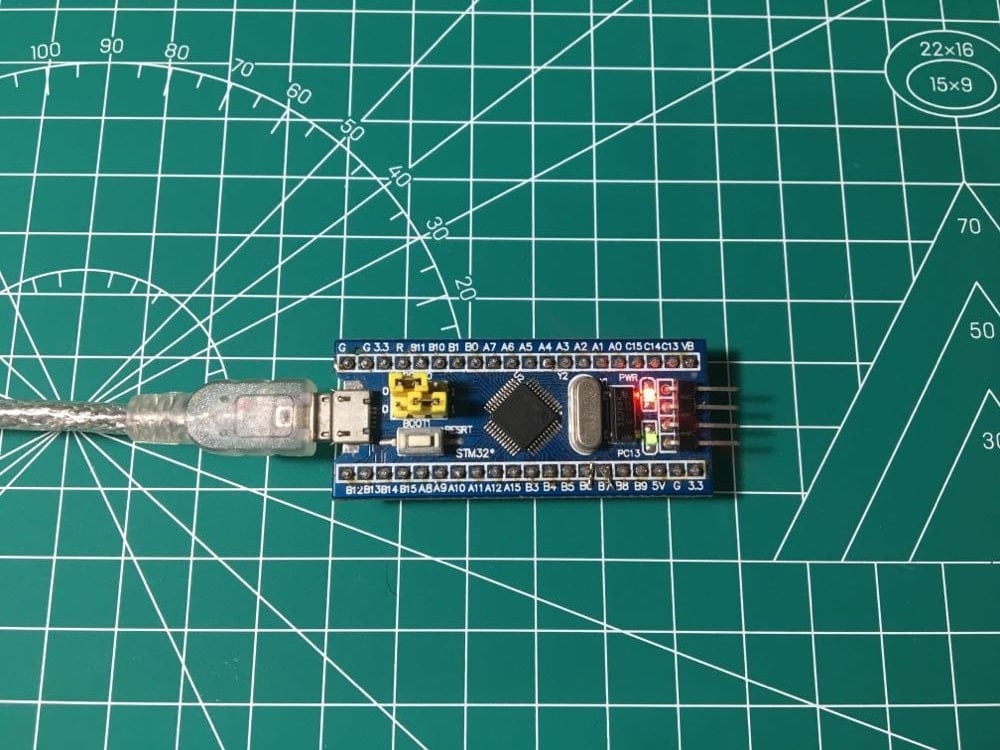
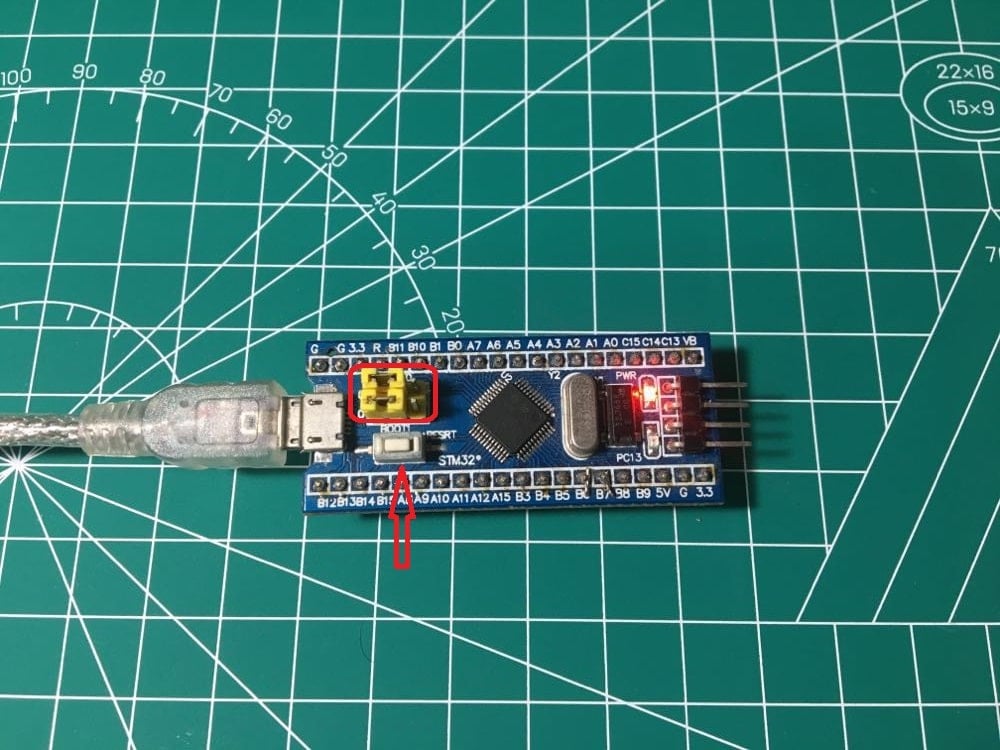
To run the USB HID bootloader, simply put the Boot1 Jumper to “1” and then press the Reset button. You should see the LED blink fast if it has reached bootloader mode.
At this point, your BluePill can program itself without any ST-Link or USB-to-UART converter.
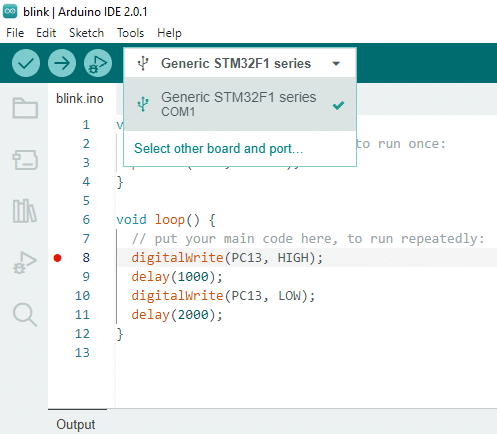
Now, open Arduino IDE and select the correct USB COM Port that connects to your BluePill which is in bootloader mode.
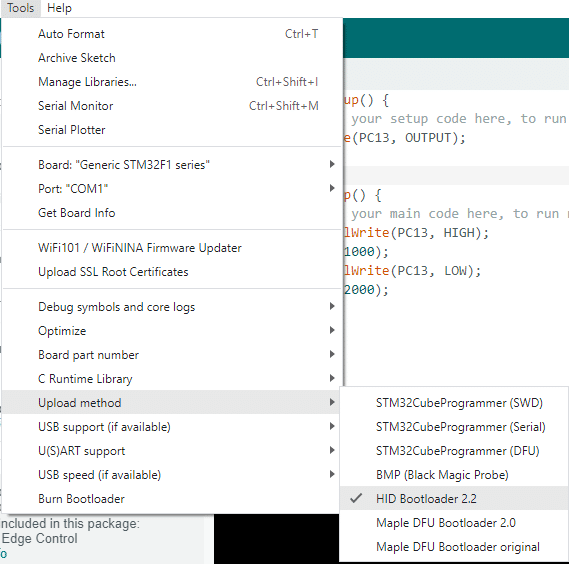
Change your Upload Method to HID Bootloader.
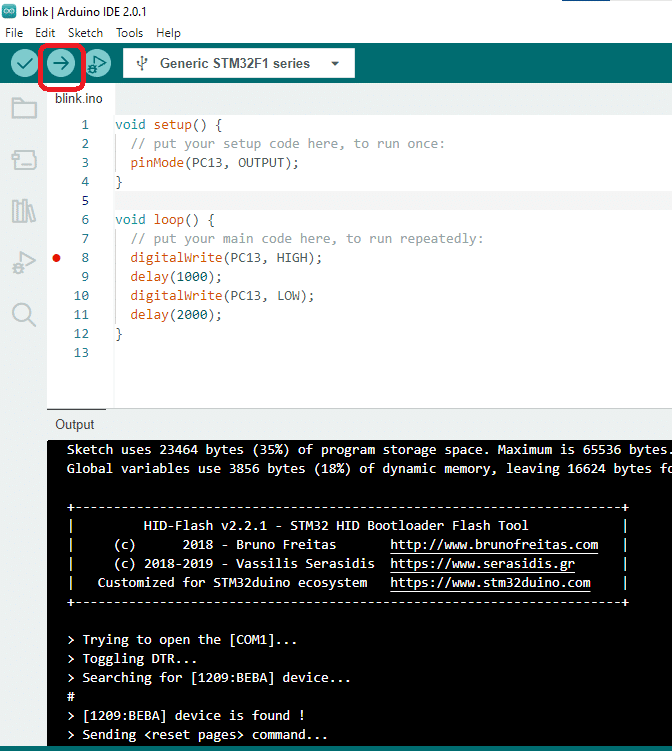
Begin writing a Blinky code just to test.
					void setup() {
  // put your setup code here, to run once:
  pinMode(PC13, OUTPUT);
}

void loop() {
  // put your main code here, to run repeatedly:
  digitalWrite(PC13, HIGH);
  delay(1000);
  digitalWrite(PC13, LOW);
  delay(2000);
}
Hit Upload to program this code via USB. You should see a successful connection and programming status.
After this, bring back the Boot1 Jumper to “0” so that you will be in Normal Operating Mode. Press Reset and you should see your Blinky code running.