Would you like to program your ST microcontrollers with the ST-Link programmer but are not sure how it’s done? Want to get your BluePill programmed in the Arduino IDE using ST-Link? Read the rest of the article to find out.
Introduction
ST Microelectronics has a unique way of programming and debugging its STM-8 and STM-32 microcontrollers. They use what is called an ST-Link Programmer/Debugger. The original ST-Link Programmer/Debugger, according to their website, is capable of doing several things listed below :
Single Wire Interface Module (SWIM)
JTAG/serial wire debugging (SWD)
Operating temperature from 0 °C to 50 °C
1000 mvrms isolation from PC to target (ST-LINK/V2-ISOL)
However, people were able to get through the high price of this module by creating clones. Although the clones are generic/unbranded, they function as intended.
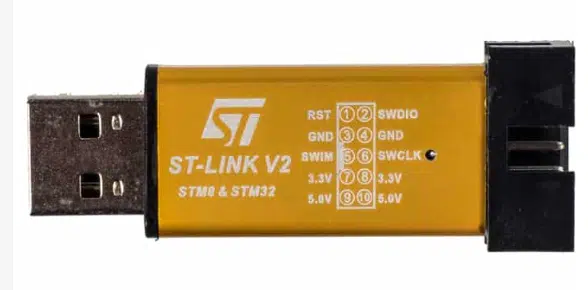
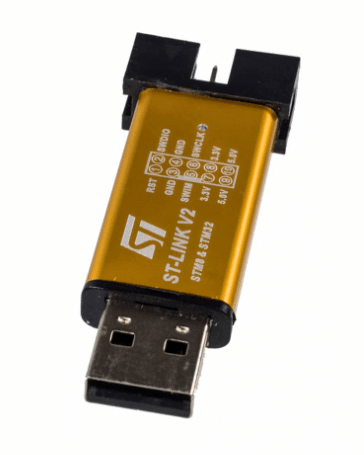
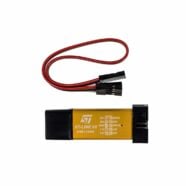
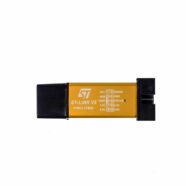
ST-LINK V2 Generic Module
The ST-LINK V2 generic module differs from the original version because it has no JTAG interface or capability. Also, it can never support the 1000 V isolation PC isolation that the ISOL version has. Of course, durability-wise, the generic/unbranded version falls short because of its cheap plastic casing. However, it does its job.
ST-LINK Interfaces
The SWIM Interface
The SWIM interface stands for Single Wire Interface Module. It’s a true one-wire interface without any clock lines. With this, you’ll only need four connections from this programmer to your device: VDD, Data, GND, and Reset. This interface is only used for STM-8 (8-bit microcontroller devices). You can do both programming and debugging using this along these lines.
The SWD Interface
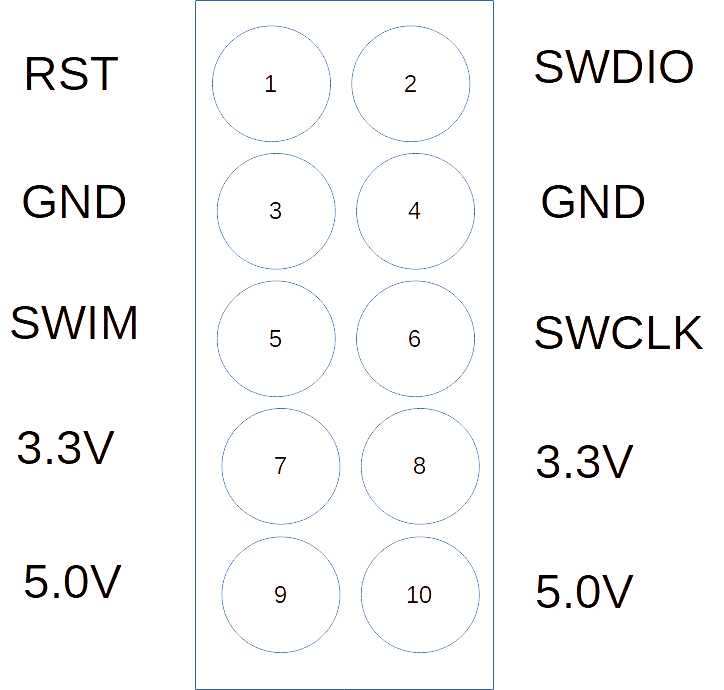
The SWD interface stands for Serial Wire Debug. Looking closely at the lines, you’ll both see a clock and a data line. With this, there is a total of 5 (or 6 pins including the reserved pin) that can connect to your microcontroller. Note that SWD is used for STM32 (or 32-bit) devices. The SWD interface of ST is a derivative of its JTAG counterpart, although, the generic/unbranded model does not support the JTAG function.
Several other IDEs may be used with the ST-Link hardware functioning as a programmer or a debugger as long as the proper drivers are installed correctly. This includes the Arduino IDE.
Sample Application: Program the BluePill with ST-Link on the Arduino IDE
The ST-Link programmer can be used with the Arduino IDE as long as you follow the necessary steps. Correspondingly, your BluePill can be programmed in the Arduino IDE. You can also program your BluePill through UART or USB in Bootloader mode.
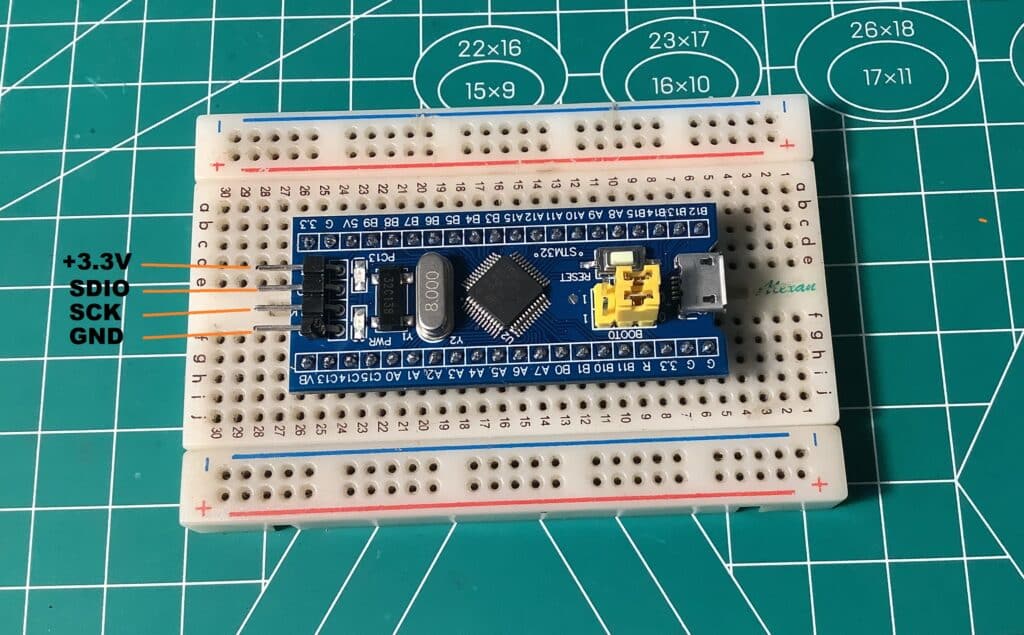
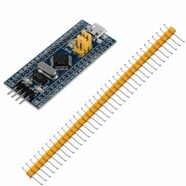
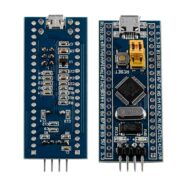
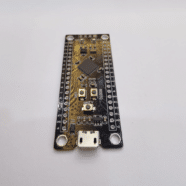
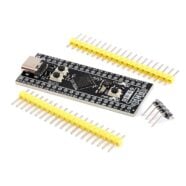
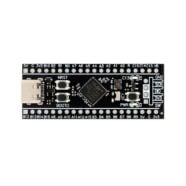
Wire up Your Bluepill with ST-Link
First, connect your BluePill to your ST-Link hardware appropriately. Apparently, this should be labeled on both of your hardware. If not, see the images below. You can either power up your BluePill using the voltage source coming from the ST-Link device, the voltage source on the header pins, or the USB interface. Use only one type of power source to avoid damaging your device.
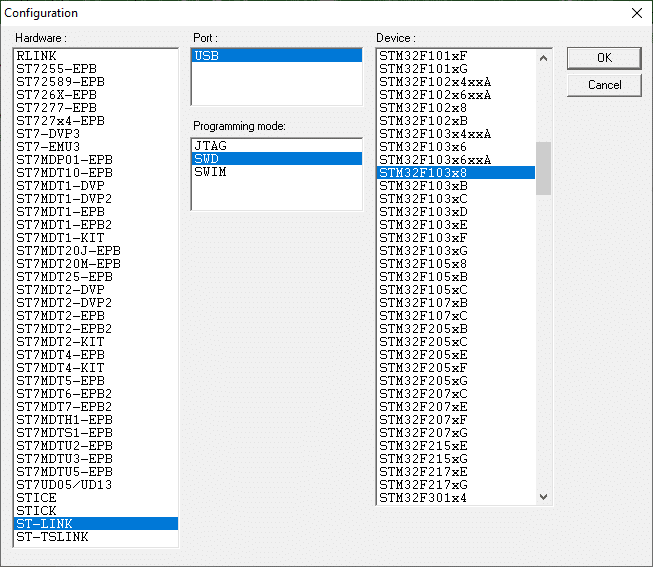
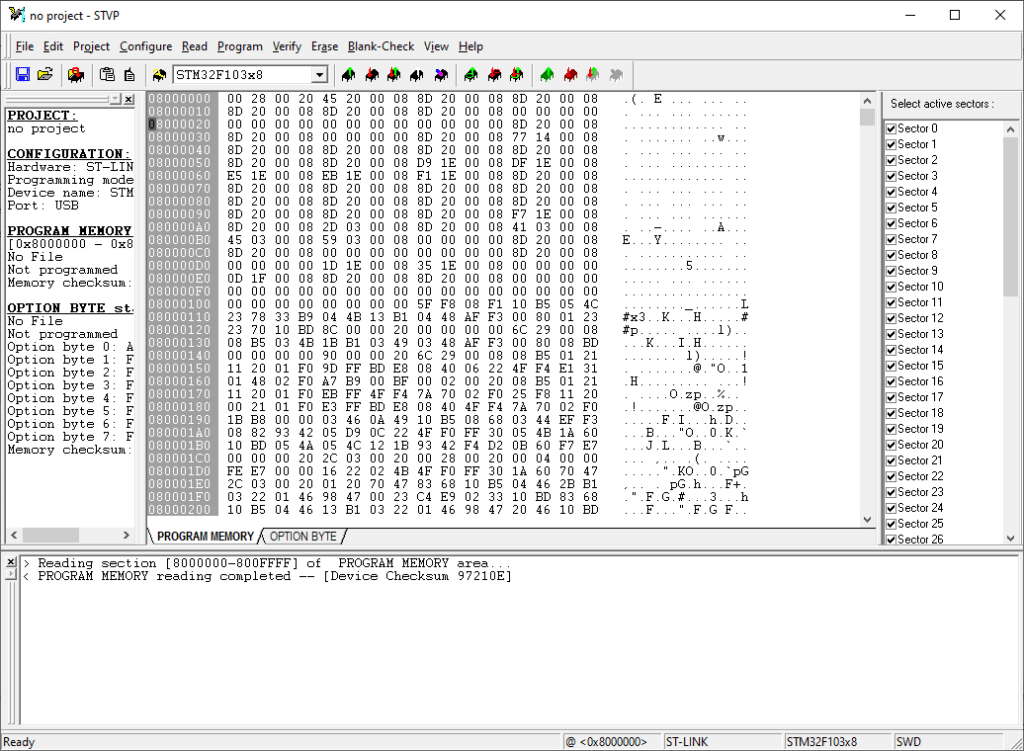
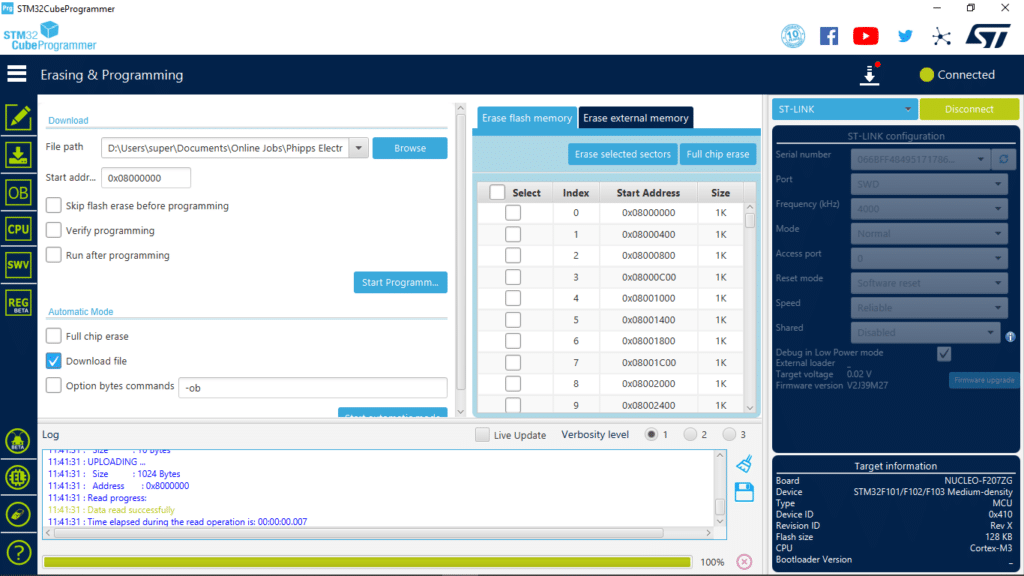
Next, run the STM32Cube Programmer so that you can properly identify your ST-Link and Target board. Make sure you are in ST-LINK mode and have SWD as the port. Press Connect to continue. You should see the correct details of your board after this. Then, press Disconnect to allow other programs to connect to it such as the Arduino IDE.
Prepare Arduino IDE to Handle your Bluepill
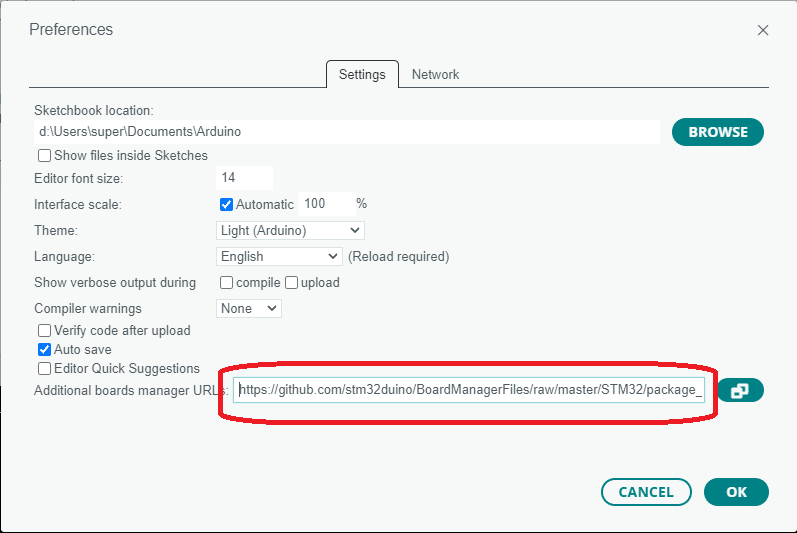
Open up your Arduino IDE, go to Files -> Preferences, and then edit the Additional Board Manager URL to be: https://github.com/stm32duino/BoardManagerFiles/raw/main/package_stmicroelectronics_index.json
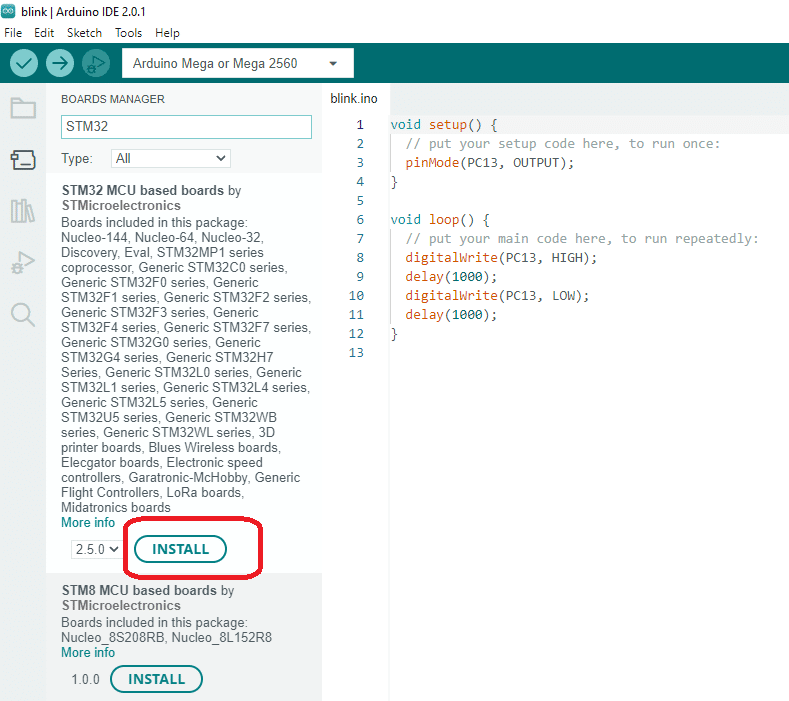
Then go to Tools -> Board Manager to install the board. Search for STM32 and then Install it.
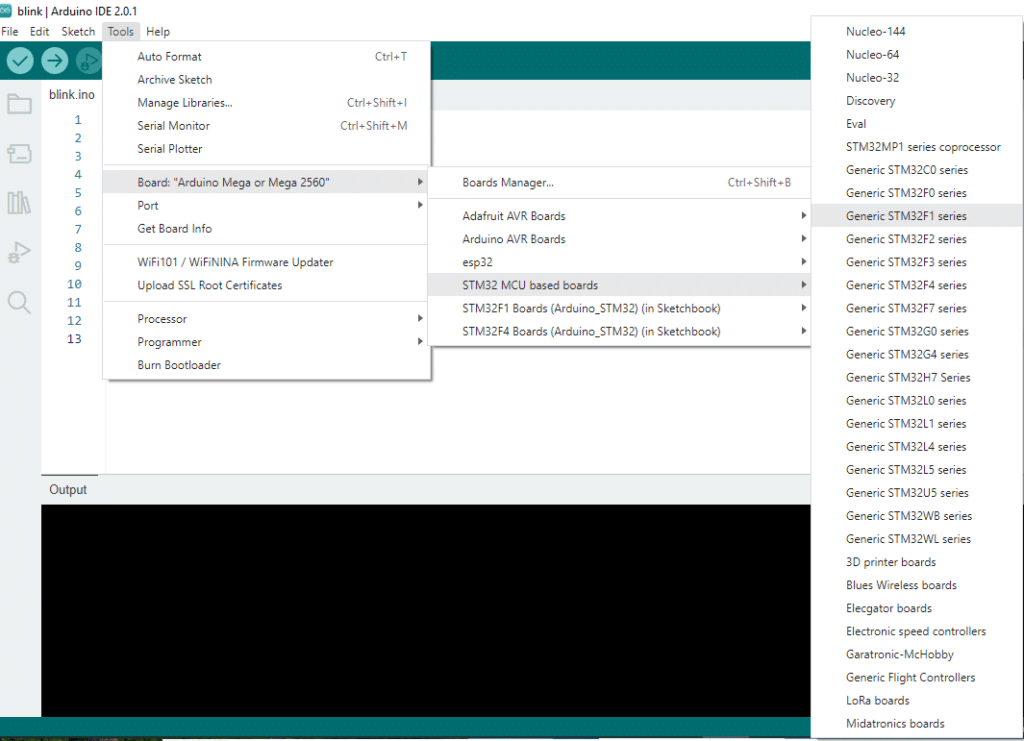
Choose your board from Tools -> Board…
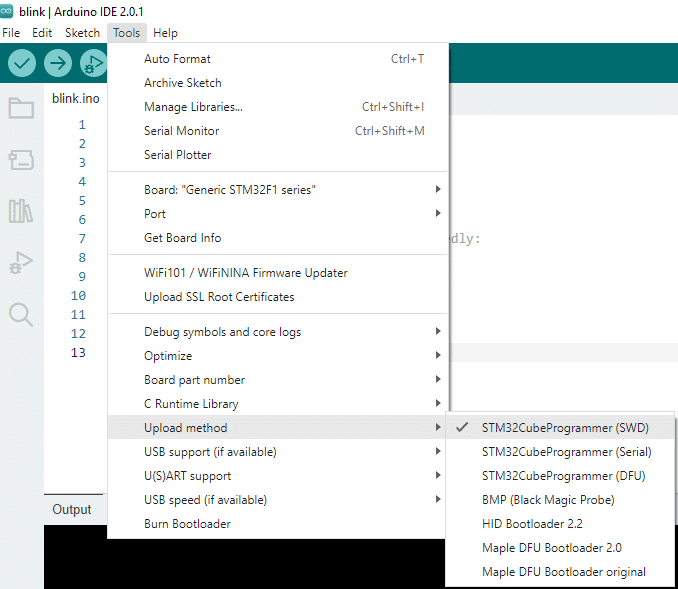
Choose STM32 Cube Programmer (SWD) as the Upload Method
Now you can begin to program your BluePill in the Arduino IDE. But first, make sure you choose the Upload method to be STM32CubeProgrammer (SWD)
Write your First Bluepill Program
Begin writing your first blink program as below:
					void setup() {
  // put your setup code here, to run once:
  pinMode(PC13, OUTPUT);
}

void loop() {
  // put your main code here, to run repeatedly:
  digitalWrite(PC13, HIGH);
  delay(1000);
  digitalWrite(PC13, LOW);
  delay(1000);
}
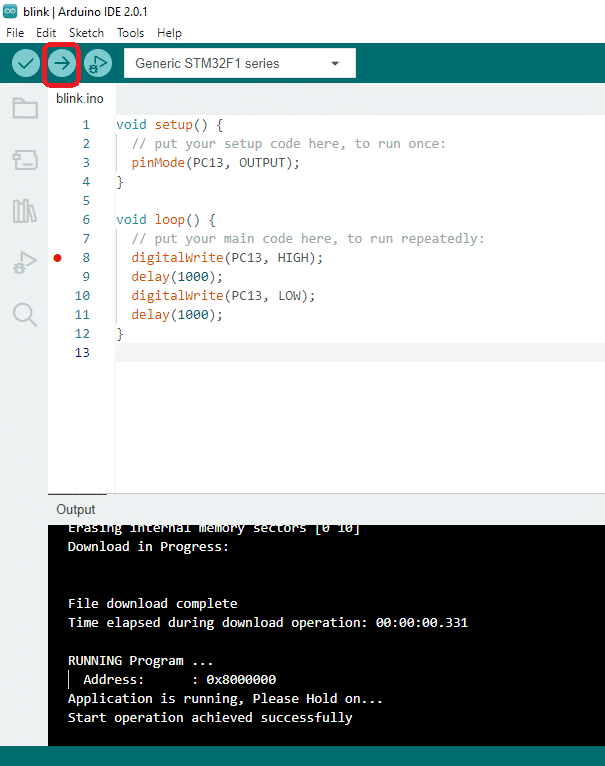
Then press the Upload button to compile and upload on your BluePill.
If everything goes well, you should have your first blinky project programmed on your BluePill using Arduino IDE with ST-Link.