Have you tried using voice control along with your Arduino projects? Interested in learning this latest innovation in data science? Read through this article to find out.
Introduction
In this article, we’ll use Python that’s installed on a PC to convert voice to text. Python is a very powerful language, and it’s the preferred programming language of many data scientists. It’s the perfect tool for speech recognition as it can access many libraries online and offline. After speech recognition, we’ll send the equivalent text to Arduino serially. The Arduino will interpret this data and extract the commands intended by the user to do real-world action.
Let’s get started.
Requirements
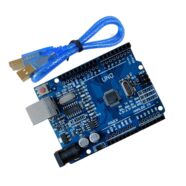
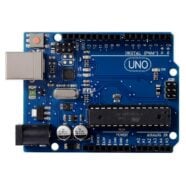
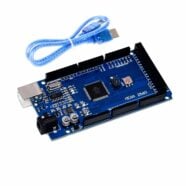
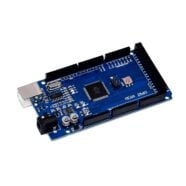
An Arduino UNO or Mega
The latest Python programming environment (we use Thonny)
SpeechRecognition Module (in Python)
PySerial Module (in Python)
A microphone for your PC.
Procedure
To make things simple, Thonny Python IDE will be used as the programming environment. You could use other Python IDE (PyCharm, IDLE, Eclipse, etc.) as long as you have the latest stable version.
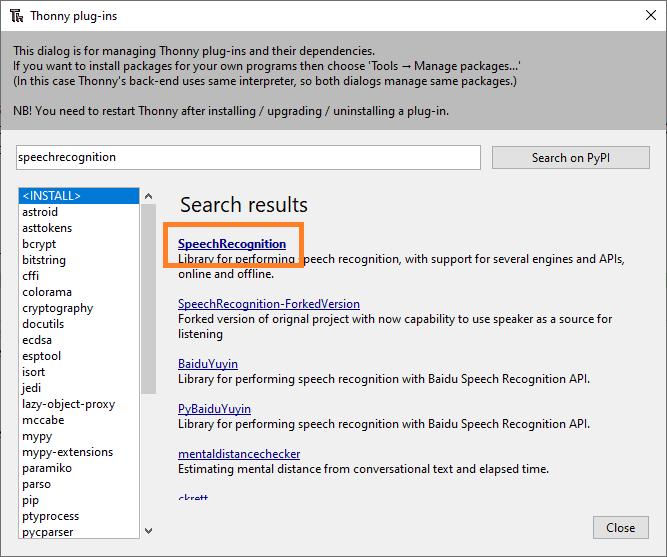
Next, you’ll need to install Python’s Speech Recognition library to convert any speech to text.
Go to Tools -> Manage plug-ins… Then type SpeechRecognition on the search bar. Choose and install the SpeechRecognition library (without the space).
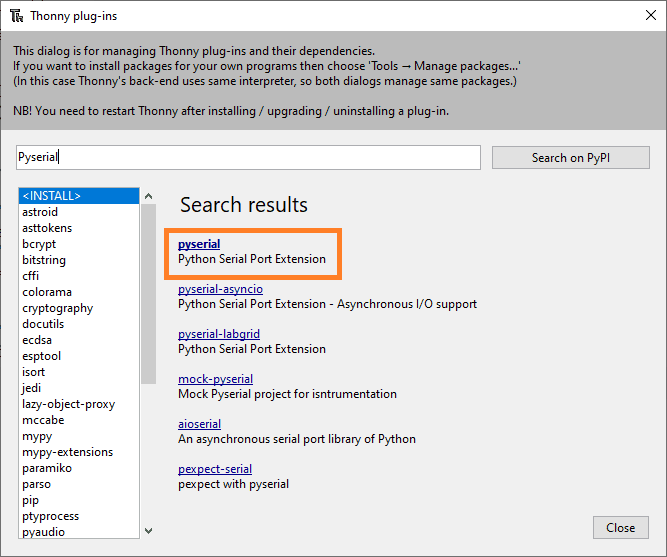
Next, we will need a Python library to open the serial port. For that, we’ll install the pySerial plugin.
Setup
You’ll just need to connect your Arduino UNO or Mega to a free USB port on your computer. These devices already implement a USB-to-serial converter. For simplicity’s sake, we’ll operate on the built-in LED of the Arduino board.
Upload this code to your Arduino.
Arduino Code
					String str;

void setup() {
        Serial.begin(115200);
        pinMode(LED_BUILTIN, OUTPUT);
}

void loop() {
        if (Serial.available() > 0) {
                str = Serial.readStringUntil('\n');

                if (str == "turn on led"){
                  digitalWrite(LED_BUILTIN, HIGH);
                }

                 if (str == "turn off led"){
                  digitalWrite(LED_BUILTIN, LOW);
                }
        }
}
Then write this code in the Thonny editor.
Python Code
					import speech_recognition as sr
import serial

ser = serial.Serial('COM9', 115200, timeout=0)
r = sr.Recognizer()

while True:
    with sr.Microphone() as mic:
        try:
            print("Silence please, calibrating...")
            r.adjust_for_ambient_noise(mic, duration=2)
            print("calibrated, speak now...")
            audio = r.listen(mic)
            text = r.recognize_google(audio)
            text = text.lower()
            print("You said "+text+"\n")
            ser.write(str.encode(text))


        except sr.UnknownValueError:
            print("Could not understand audio")

        except sr.RequestError as e:
            print("Request error; {0}".format(e))
When you run the Python code, you should see:
Silence please, calibrating…
calibrated, speak now…
Speak at this prompt and it will give an echo.
To command the Arduino’s LED to turn ON or off say:
“turn on led”
To command it to go off say:
“turn off led”
How it Works
A Python script for voice recognition is being used here.
The Python speech recognition module analyzes, dissects, and converts your speech to text. It also has dependent libraries that detect sound from your microphone.
The PySerial module establishes a Serial communication with Arduino. After the speech recognition library does its job, the next part of the code sends everything you have said serially to the Arduino.
The serial data is analyzed and compared to constant strings of texts in Arduino. If there is a match, then a corresponding response executes. Here a “turn on led” simply turns on the built-in LED of the Arduino while a “turn off led” turns it off.
You’ll now be able to control electronic and physical equipment by using these codes as templates.