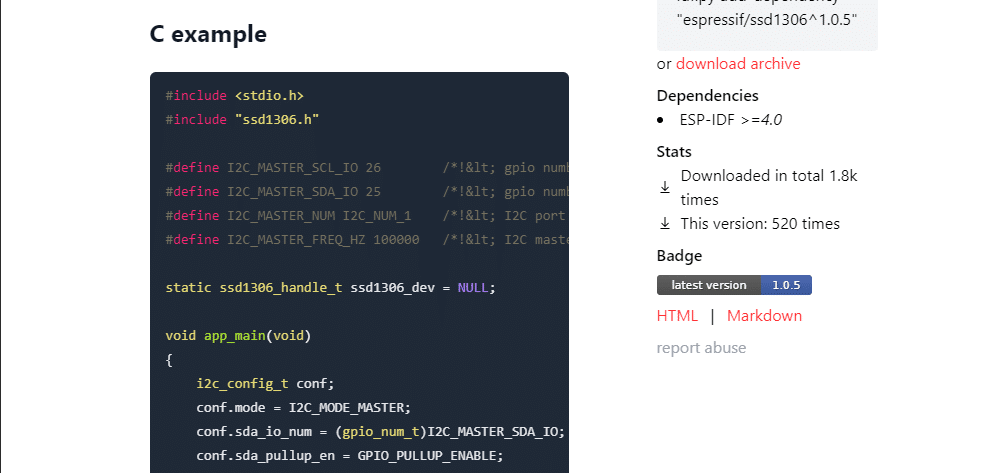
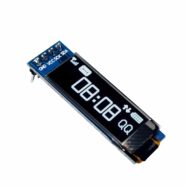
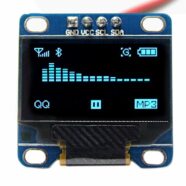
Phipps Electronics

Order within the next 

FREE SHIPPING OVER $199

50,000+ ORDERS

WORLDWIDE SHIPPING

SSL SECURED

Working with ESP-IDF Components in VS Code

Contents

Having a hard time understanding Components in ESP-IDF? Want to create or add a Component? Read through this article to find out.

Introduction

If Arduino has versatile Libraries, then ESP-IDF has something similar: Components. When transferring to an ESP-IDF environment, you might worry about where you’ll get source codes for your third-party sensors or devices. However, with components, you can worry less. Here, you’ll learn a lot about ESP-IDF Components and work on them in VSCode

What is a Component?

Components are modular codes converted into .a files (also called static libraries). During compile time, these libraries are neatly linked to the main code itself to form the executable machine code.

If you’ve used the ADC or Bluetooth in ESP-IDF, you’ve already used components. These components already come from the ESP-IDF framework. Even booting from an ESP32 chip and executing code already utilizes components since the Bootloader code becomes a component itself. Components can also help a lot in the modularization of your projects. 

Where does Components Reside in an ESP-IDF Project?

To get a glimpse of where components reside in an ESP-IDF project, here are is a rough sketch:

Project – is a directory that contains your project source files, configurations, executables, components, and other relevant info.

Target – is the hardware target ESP32 device to compile to for your project app to run.

Project configuration – this is where you configure your project. You may be able to configure hardware and app-related features in this section. You may also configure the components of your project here. One file, sdkconfig, is the main file to configure a project via menuconfig.

App – The app is the executable file created by compiling and linking the source files in your project. Two parts are generated in ESP-IDF: the Bootloader and the Project App. The Bootloader app is responsible for flashing the Project app into flash memory. With the Bootloader app run, you’ll notice you don’t need external hardware to program your ESP device.

Components – Above, you can see that your project app can have several components. These components can reside in different parts of your app. There are components compiled from ESP-IDF such as esp_adc, esp_http_server, among others. There are also components that you can download for third-party devices (ala Arduino Libraries). Additionally, you can create your own custom component yourself.

Where Can I Download ESP-IDF Compatible Components?

Espressif has it’s own ESP-IDF Components Registry. Here, you’ll find various drivers and functions for your third-party devices.

There are also third-party ESP-IDF Components libraries.You should be able to download third-party components compatible with ESP-IDF through various authors through GitHub and others. 

How to Add Open Source Components to your Project

You can immediately add open source components from the ESP-IDF Component Registry from VSCode to your projects. You don’t need to open a seperate browser or explorer window.

Go to View->Command Pallete and then search for ESP-IDF Show Component Registry

You’ll be greeted with the ESP-IDF Component Registry welcome screen.

Search for your component on the text box. As an example, a search for an SSD1306 OLED driver is made here.

Click on the component link and then press install.

You should slowly see your explorer side panel populate with a managed components section with the ssd1306 source files.

To test your component, go back to the IDF Component Registry tab and then select the example C source code for that component.

Cut and paste this code into your main.c file. However, note that there may be issues in code formatting (such as the address of operator format). You can adjust this later. Below is a modified version of the code to accommodate a Hello World greeting.

				
					#include <stdio.h>
#include "ssd1306.h"

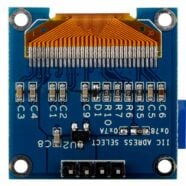
#define I2C_MASTER_SCL_IO 26        /*!&lt; gpio number for I2C master clock */
#define I2C_MASTER_SDA_IO 25        /*!&lt; gpio number for I2C master data  */
#define I2C_MASTER_NUM I2C_NUM_1    /*!&lt; I2C port number for master dev */
#define I2C_MASTER_FREQ_HZ 100000   /*!&lt; I2C master clock frequency */

static ssd1306_handle_t ssd1306_dev = NULL;
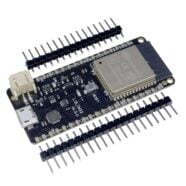
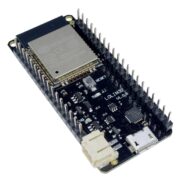
void app_main(void)
{
    i2c_config_t conf;
    conf.mode = I2C_MODE_MASTER;
    conf.sda_io_num = (gpio_num_t)I2C_MASTER_SDA_IO;
    conf.sda_pullup_en = GPIO_PULLUP_ENABLE;
    conf.scl_io_num = (gpio_num_t)I2C_MASTER_SCL_IO;
    conf.scl_pullup_en = GPIO_PULLUP_ENABLE;
    conf.master.clk_speed = I2C_MASTER_FREQ_HZ;
    conf.clk_flags = I2C_SCLK_SRC_FLAG_FOR_NOMAL;

    i2c_param_config(I2C_MASTER_NUM, &conf);
    i2c_driver_install(I2C_MASTER_NUM, conf.mode, 0, 0, 0);

    ssd1306_dev = ssd1306_create(I2C_MASTER_NUM, SSD1306_I2C_ADDRESS);
    ssd1306_refresh_gram(ssd1306_dev);
    ssd1306_clear_screen(ssd1306_dev, 0x00);

    char data_str[10] = {0};
    sprintf(data_str, "HELLO WORLD");
    ssd1306_draw_string(ssd1306_dev, 0, 16, (const uint8_t *)data_str, 16, 1);
    ssd1306_refresh_gram(ssd1306_dev);
}


Build, Flash, and then see your result…. 🙂

The next blog will help you create your own custom components…

SUBSCRIBE FOR NEW POST ALERTS

Subscribe to be the first to know when we publish a new article!
List Subscriptions(Required)

POPULAR POSTS

Scroll to Top