Have you tried programming your ESP32 using Visual Studio Code? You’ll be surprised how much flexibility it can add to your projects. Read along the article to find out.
Introduction
Your ESP32 can easily be programmed in C or C++ using the Arduino IDE, and there are specific steps to do this. However, you may find that the Arduino IDE doesn’t offer a lot of options such as debugging, autocomplete, and function navigation features, among others. In fact, you might miss out on some hardware-optimized features that can easily be accomplished using a specialized C or C++ IDE such as VS Code.
Espressif offers a complete SDK for your ESP32 series of devices (which includes ESP32, ESP32-S, ESP32-C, and ESP32-H). The SDK also includes its own Eclipse-based IDE, which is fairly good. However, there are some users that are already accustomed to the features of the popular Visual Studio Code environment. Additionally, VS Code has already established itself as a stable Microsoft-backed open-source IDE. With this, here are the steps to run your first code in ESP32 using Visual Studio Code.
Install Visual Studio Code
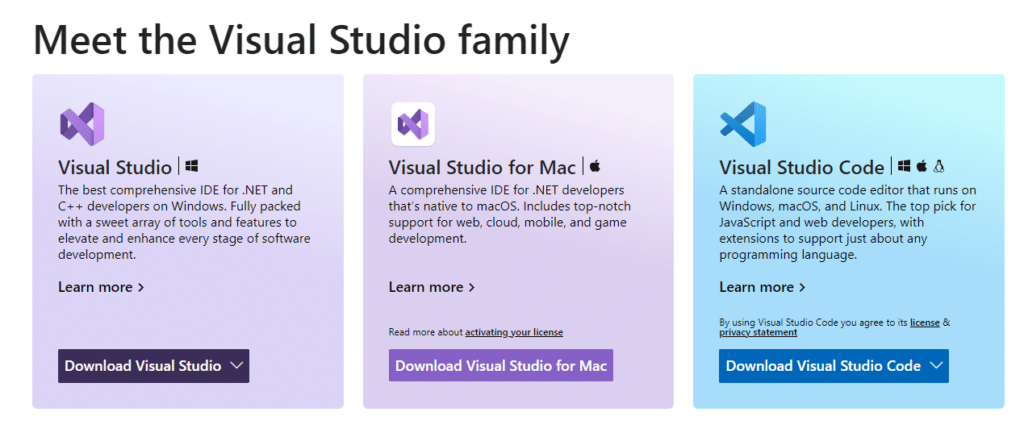
Before anything else, you have to download and install VS Code from the Visual Studio website. After that, proceed to download based on your computer architecture.
Follow the installation procedures until you’ve successfully installed it. After that, open Visual Studio Code.
Install The Espressif IDF Code Extension
Visual Studio is just an IDE (Integrated Programming Environment). In order for it to communicate with your ESP device, it needs to install the Espressif IDF Code Extension. Code extensions are the reason that makes VS Code versatile and extensible. With this, you’ll be able to add languages, tools, and debuggers of your choice to this IDE.
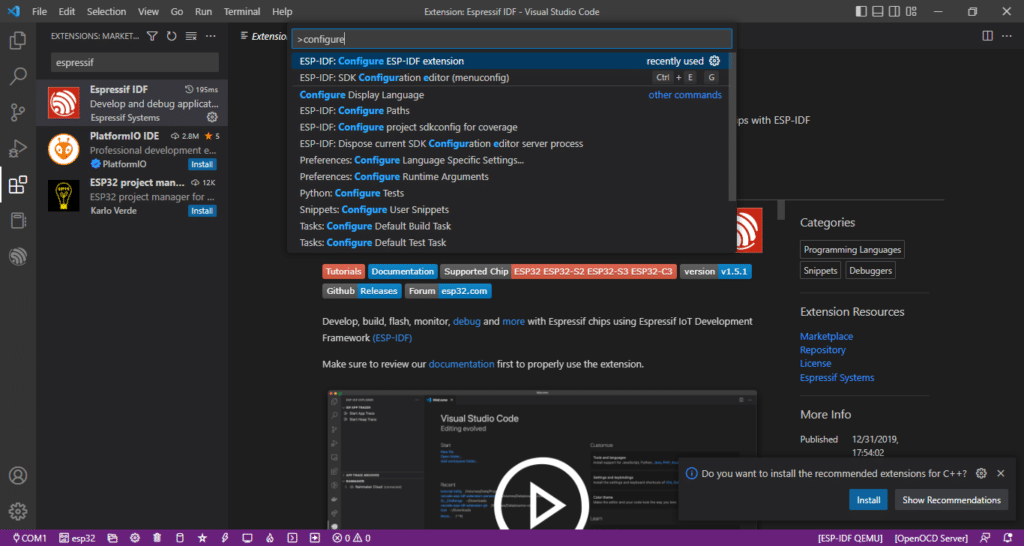
Press the Extensions icon on the left side of the toolbar then search ‘espressif’. After that, you should see the Espressif IDF extension icon. Click on it.
Press Install to install. After that, go to View -> Command Palette then type esp-idf configure extension. Click on this highlight.
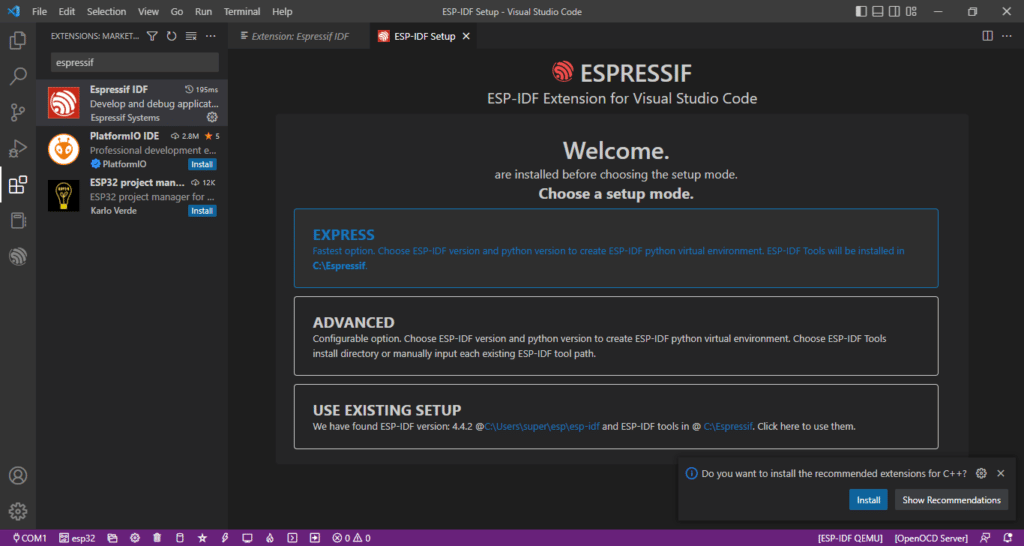
Before proceeding, you’ll need both the latest version of Python and any version of Git installed on your PC. After that, click EXPRESS for the fastest configuration installation. This will also install ESP-IDF Tools.
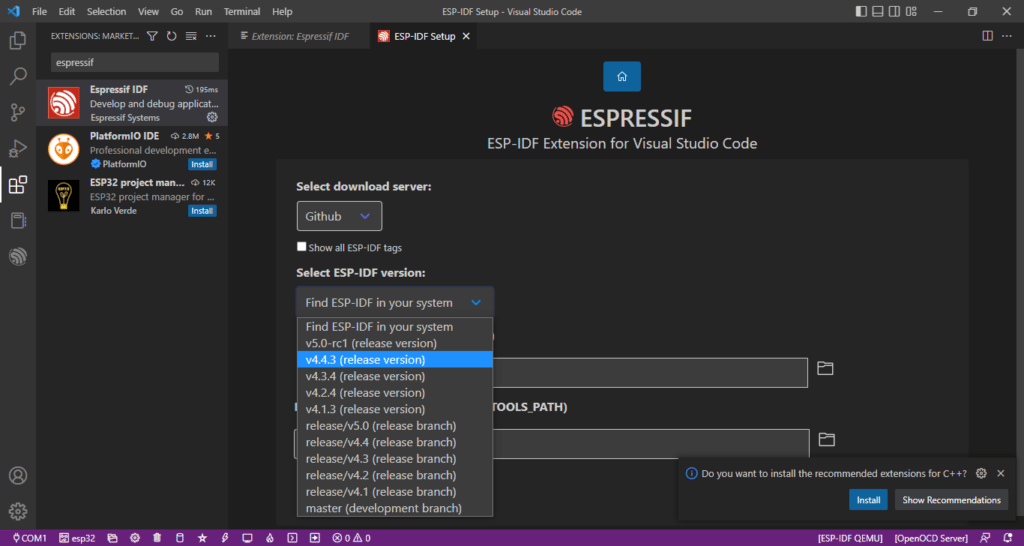
Select a stable ESP-IDF version. The latest releases are not always bug-free. A stable version ensures your product works satisfactorily, especially when it goes into production. Here v4.4.3 is chosen. Note that you will be downloading ESP-IDF through VSCode if you don’t have it already. You may also be asked what Python version to use.
After selecting your desired installation folders, click Install to continue. Be patient; it might take a while to download and install all the files. This process will install ESP-IDF, ESP-IDF Tools, and the Python virtual environment.
You’ll see the progress of your installation. If everything’s finished and set up correctly, you should see a message that all settings have been configured.
Testing out sample code in Visual Studio
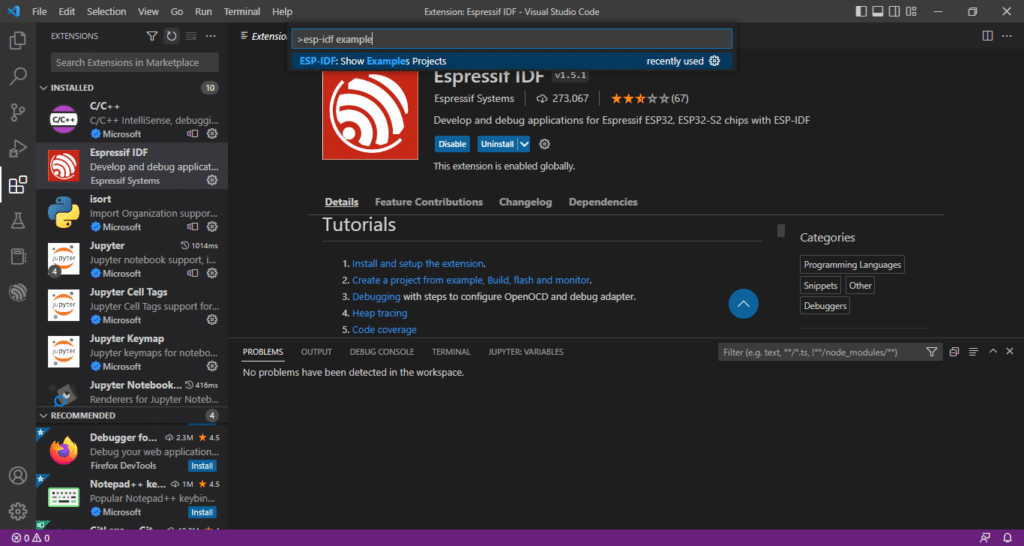
After configuring your ESP-IDF extension, it’s time to run a sample code out of its example project directory. Go back again to the Command Pallete, then type esp-idf example projects. Click on the highlighted item, then choose the framework to use.
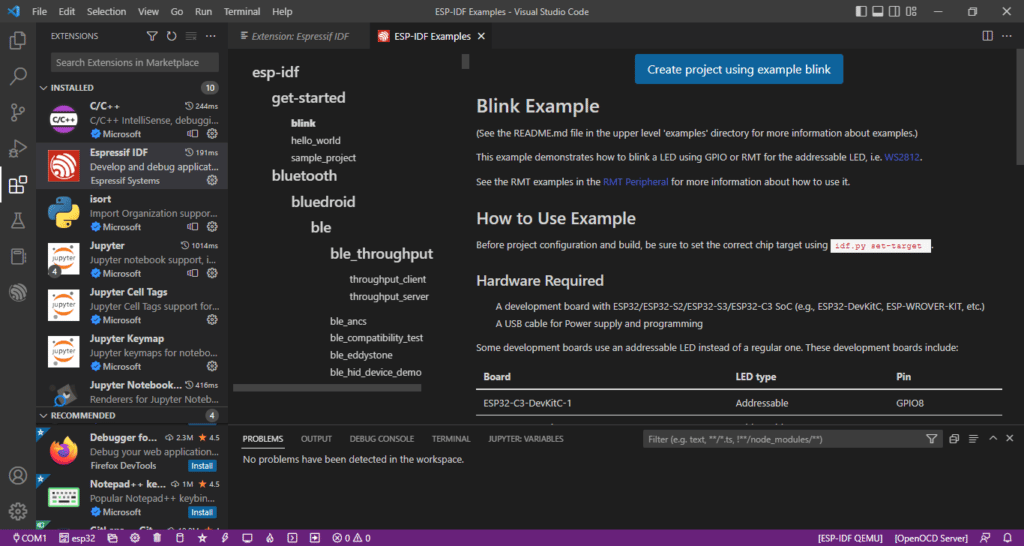
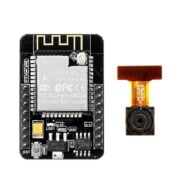
You’ll find dozens of example projects to choose from. There are examples regarding Bluetooth, Networks, Peripherals, and others. Choose the blink project as a first base project in the get started category. Note that this project requires a single LED and a limiting resistor to make it work. Now, click Create project using example blink then choose a working directory on your PC.
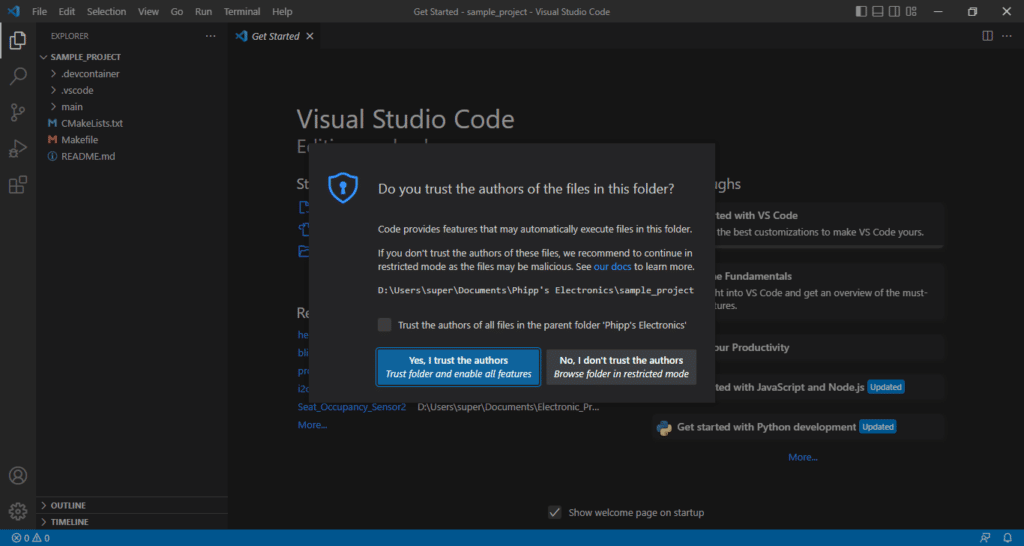
In a little while, you should see a security trust feature window pop out asking for verification. Click Yes, I trust the authors.
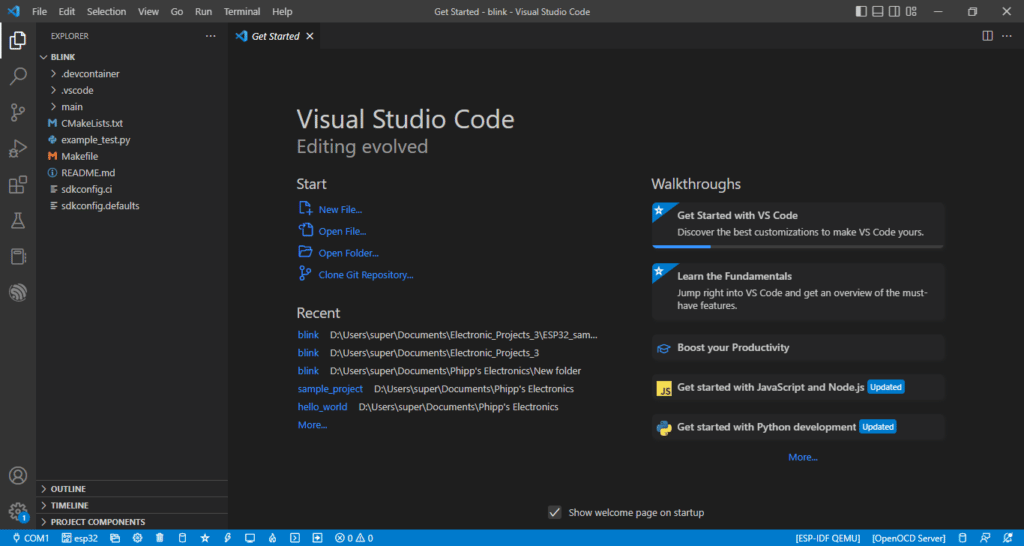
After that, your example project environment should be ready.
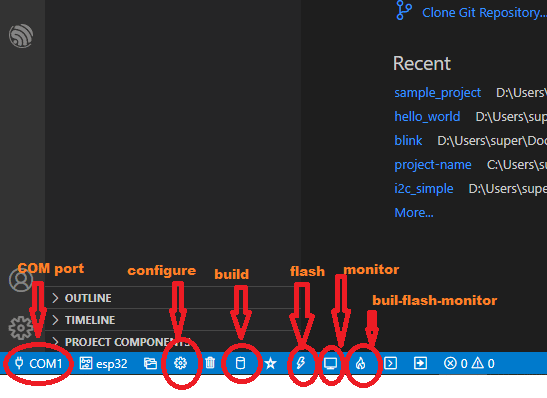
You can access shortcut keys while debugging your project from the icons on the lower left part of your project window. Make sure that your COM port is the right port that is connected to your ESP device.
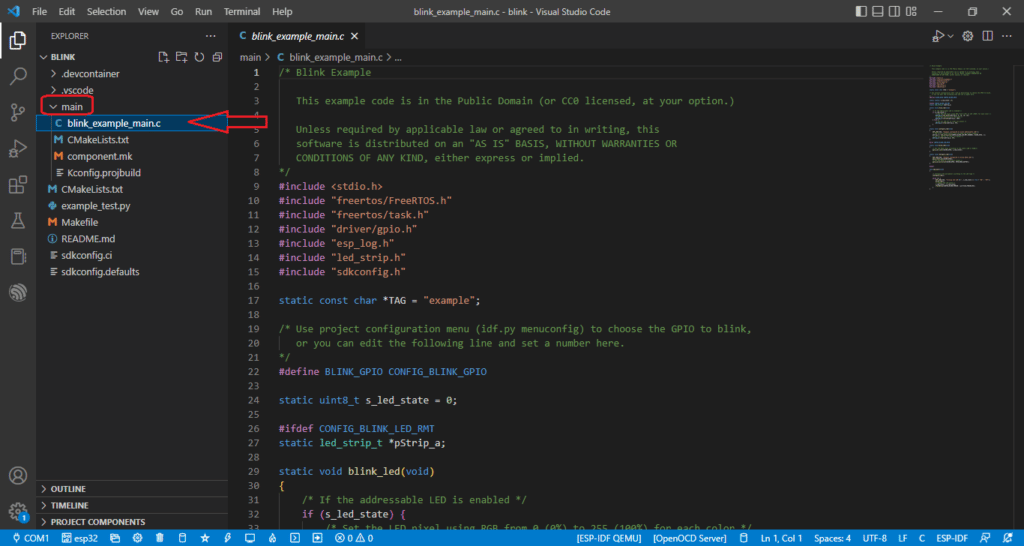
On the left side, you’ll see various files and directories similar to a standard C or C++ project. All C projects usually have a main.c file. To look for it, click on the main dropdown folder. You should see the blink_example_main.c file. If you click on this you’ll be able to view and edit this file. However, for now, you can change various settings on this project through a menu-based configuration.
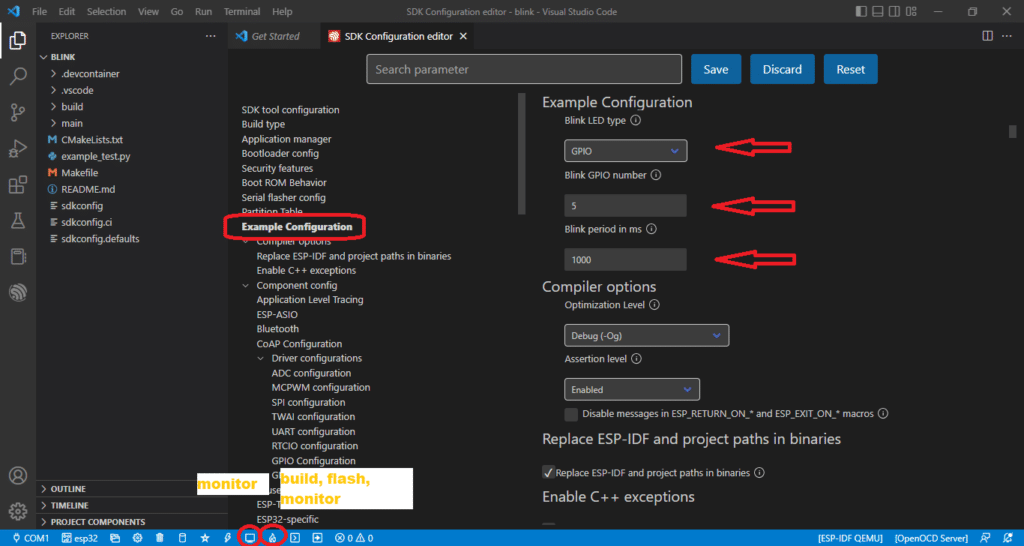
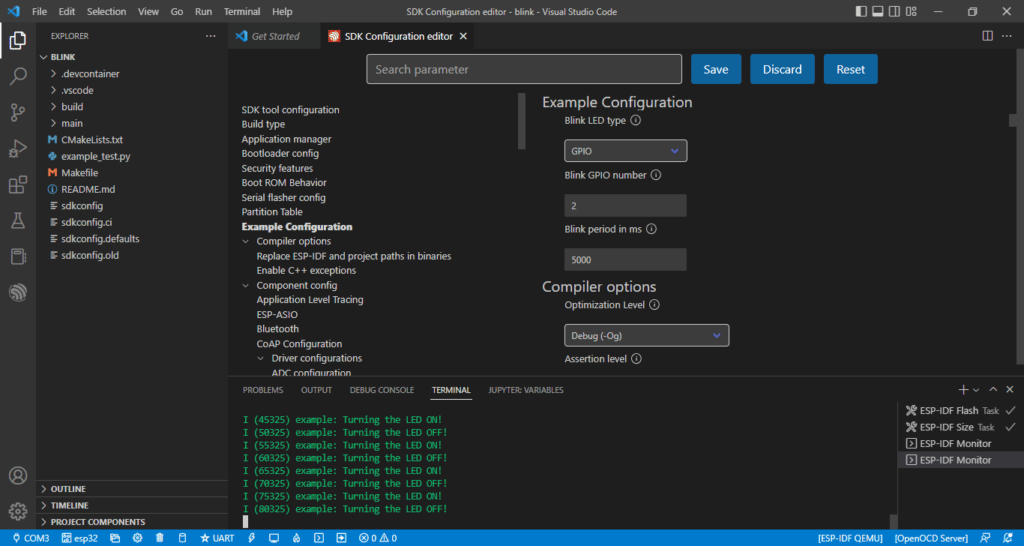
Usually, before compiling a project, you have to configure it first. Click the configure icon to configure the blink project. It may take some time to load all the configurations for the first time. After seeing the configuration menu, click Example Configuration.
This is where you can customize the settings of the Blink project. Choose a GPIO number to use for the blink and the duration you want it to blink. After that, press Save above.
Next, build, flash, and monitor the blink project by clicking the fire icon below. It may take time to do the initial build. Note that you may be asked about what flash method and project configuration location you want to use on your initial build. If you’ve successfully flashed your ESP device, you should see your LED blink at your desired rate. Correspondingly, you’ll be taken to a serial monitor to view your project’s debug output.
Conclusion
There are lots of ways to program your ESP devices. You can use the Arduino IDE, Espressif’s Eclipse-based IDE, or Visual Code Studio with the ESP-IDF extension. Visual Code Studio presents a stable open-source development environment for your ESPs.