Phipps Electronics

Order within the next 

FREE SHIPPING OVER $199

50,000+ ORDERS

WORLDWIDE SHIPPING

SSL SECURED

I2C on ESP32 using Visual Studio Code

Contents

Would you like to learn to code I2C on ESP32 using Visual Studio Code? Curious about how it can be done? Read the rest of the article to find out.

Introduction

I2C is a cost-effective serial protocol that’s embedded in most electronic devices. With I2C, you just need 2 physical wires for your devices to communicate with each other. It’s a practical approach where you’re only limitation is bus speed and distance.

ESP32 is a SoC that’s equipped with different serial protocols including I2C. Here, you’ll learn how to use I2C for the first time using Visual Studio Code. As with all add-ons for VS Code, you’ll use the ESP-IDF Code Extension to be able to build, flash, and monitor code on your ESP devices.

Whats Needed

It’s good to go through installing VSCode with the ESP-IDF Code extension before proceeding. This ensures you have the right tools for the job. Also, have your own ESP32 devkit that you can plug easily into your computer. Along with this, get an I2C device that you can communicate with. It could be a sensor, a display device, an EEPROM, or the like. Prepare a breadboard and some connecting wires if you need to make connections. Consequently, you may do away with having pull-up resistors since the internal pull-ups of the ESP32 device will be used. 

  • Visual Studio Code installed properly with the ESP-IDF Code Extension.
  • Your ESP32 device or dev kit connected through your PC’s USB port (as a COM port).
  • An I2C device such as a sensor or the like (the TC74 temp sensor from Microchip embedded on a PICDEM 2 Plus development board will be used in this example).
  • A breadboard and some connecting wires.

Open Visual Studio Code and Create a Project

After installing VS Code and the ESP-IDF code extension successfully, go to View -> Command Pallete then search for ‘esp-idf show example projects’ in the text bar. You’ll be using a template project for your first I2C code as this makes things easier. Click on this and select your IDF framework to use.

Scroll down to peripherals then under i2c choose i2c_simple. Then click Create project using example i2c_simple. Choose a directory for this.

Wait a while or click any part of the window. A trust security feature should pop up. Allow this. 

After that, see the shortcut icons below. Make sure you have the right COM port and ESP device chosen. Your next step is to configure this sample project. Press the menuconfig gear icon below.

On the left side, scroll down below to Example Configuration. Then on the right side, choose an SCL and SDA GPIO number for your I2C port. Note that some GPIOs may be shared with some needed functions for your ESP32 to run correctly. Your ESP32 devkit’s hardware guide may help you select the best ports to use. Here, the default values for SCL-19 and SDA-18 are chosen.

Press Save to continue.

Edit the main file of the sample project

Every C project has a main.c file. Your task is to edit this template file. After this, you can copy what you did in this file and add the needed header files to any project you want. The main file of this project is i2c_simple_main.c.

The things you have to change are some defines. Additionally, and add new functions. This is in accordance with your device’s datasheet. Here we’ll use the TC74 datasheet from Microchip. According to the datasheet, the device can only run at an I2C clock max of 100000Hz

The device address and registers are listed accordingly.

Change the I2C_MASTER_REQ_HZ to 100000 as the sensor uses this as max speed. Add the TC74_SENSOR_ADDR, TC74_READ_TEMP_REGISTER, and TC74_CONFIG_REGISTER values accordingly. 

				
					#define TC74_SENSOR_ADDR                    0x4D        /*!< Slave address of the MPU9250 sensor */

#define TC74_READ_TEMP_REGISTER             0x00        /*!< Register addresses of the temp register */

#define TC74_CONFIG_REGISTER                0x01        /*!< Register addresses of the config register */

#define TC74_DATA_READY_BIT                 6


The I2C read and write sequences of the TC74 seem standard. With this, you can simply copy the read and write functions of the MPU9520 example device.

				
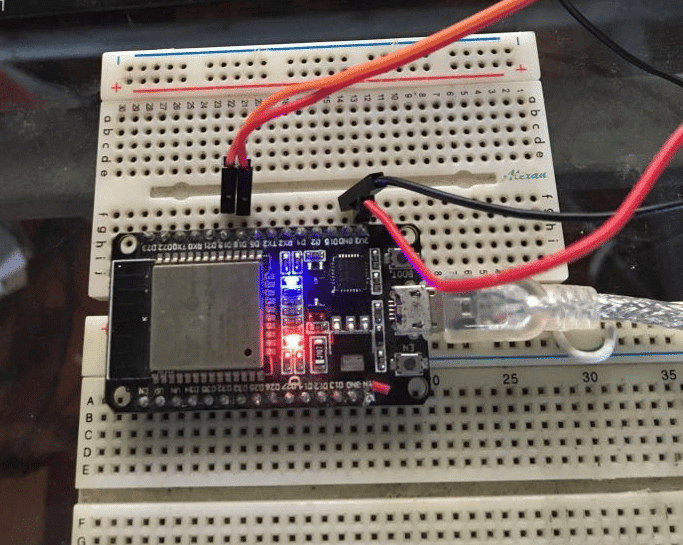
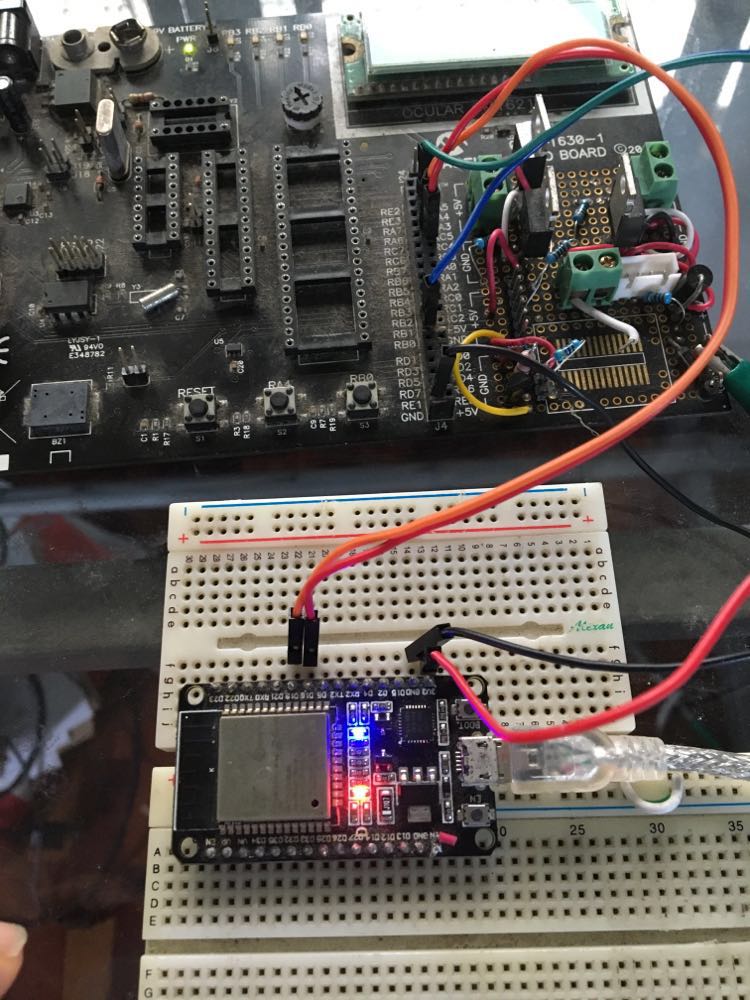
					static esp_err_t mpu9250_register_read(uint8_t reg_addr, uint8_t *data, size_t len)

{

    return i2c_master_write_read_device(I2C_MASTER_NUM, MPU9250_SENSOR_ADDR, &reg_addr, 1, data, len, I2C_MASTER_TIMEOUT_MS / portTICK_RATE_MS);

}

/**

 * @brief Read a sequence of bytes from a TC74 sensor registers

 */

static esp_err_t tc74_register_read(uint8_t reg_addr, uint8_t *data, size_t len)

{

    return i2c_master_write_read_device(I2C_MASTER_NUM, TC74_SENSOR_ADDR, &reg_addr, 1, data, len, I2C_MASTER_TIMEOUT_MS / portTICK_RATE_MS);

}

/**

 * @brief Write a byte to a MPU9250 sensor register

 */

static esp_err_t mpu9250_register_write_byte(uint8_t reg_addr, uint8_t data)

{

    int ret;

    uint8_t write_buf[2] = {reg_addr, data};

    ret = i2c_master_write_to_device(I2C_MASTER_NUM, MPU9250_SENSOR_ADDR, write_buf, sizeof(write_buf), I2C_MASTER_TIMEOUT_MS / portTICK_RATE_MS);

    return ret;

}

/**

 * @brief Write a byte to a TC74 sensor register

 */

static esp_err_t tc74_register_write_byte(uint8_t reg_addr, uint8_t data)

{

    int ret;

    uint8_t write_buf[2] = {reg_addr, data};

    ret = i2c_master_write_to_device(I2C_MASTER_NUM, TC74_SENSOR_ADDR, write_buf, sizeof(write_buf), I2C_MASTER_TIMEOUT_MS / portTICK_RATE_MS);

    return ret;

}


Lastly, the app_main() function will have to be modified according to your device:

				
					void app_main(void)

{

    uint8_t data[2];

    /* Read the MPU9250 WHO_AM_I register, on power up the register should have the value 0x71 */

    //ESP_ERROR_CHECK(mpu9250_register_read(MPU9250_WHO_AM_I_REG_ADDR, data, 1));

    //ESP_LOGI(TAG, "WHO_AM_I = %X", data[0]);

    while(1)

    {

        ESP_ERROR_CHECK(i2c_master_init());

        ESP_LOGI(TAG, "I2C initialized successfully");

        /* Read the TC74 CONFIG register */

        ESP_ERROR_CHECK(tc74_register_read(TC74_CONFIG_REGISTER, data, 1));

        ESP_LOGI(TAG, "CONFIG = %X", data[0]);

        /* Read the TC74 TEMP register, This is in two's complement */

        ESP_ERROR_CHECK(tc74_register_read(TC74_READ_TEMP_REGISTER, data, 1));

        ESP_LOGI(TAG, "TEMP = %i", data[0]);

        ESP_ERROR_CHECK(i2c_driver_delete(I2C_MASTER_NUM));

        ESP_LOGI(TAG, "I2C unitialized successfully");

        printf("\n");

        vTaskDelay(1000 / portTICK_PERIOD_MS);

    }

    /* Demonstrate writing by reseting the MPU9250 */

    //ESP_ERROR_CHECK(mpu9250_register_write_byte(MPU9250_PWR_MGMT_1_REG_ADDR, 1 << MPU9250_RESET_BIT));

}


Note that a vTaskDelay() freeRTOS function was added to provide some delay. Unlike in Arduino IDE, there is no built-in delay() function in VS Code. Additionally, RTOS headers were added as includes near the top of the main file. The vTaskDelay() makes coding for the CPU more efficient as this does not waste too many instruction cycles especially if there are various processes involved.

				
					// Include FreeRTOS for delay

#include <freertos/FreeRTOS.h>


Most importantly, don’t forget to include the I2C driver file on your new projects.

				
					#include "driver/i2c.h"


The modified i2c_simple_main.c file can be downloaded here.

SUBSCRIBE FOR NEW POST ALERTS

Subscribe to be the first to know when we publish a new article!
List Subscriptions(Required)

POPULAR POSTS

Scroll to Top